|
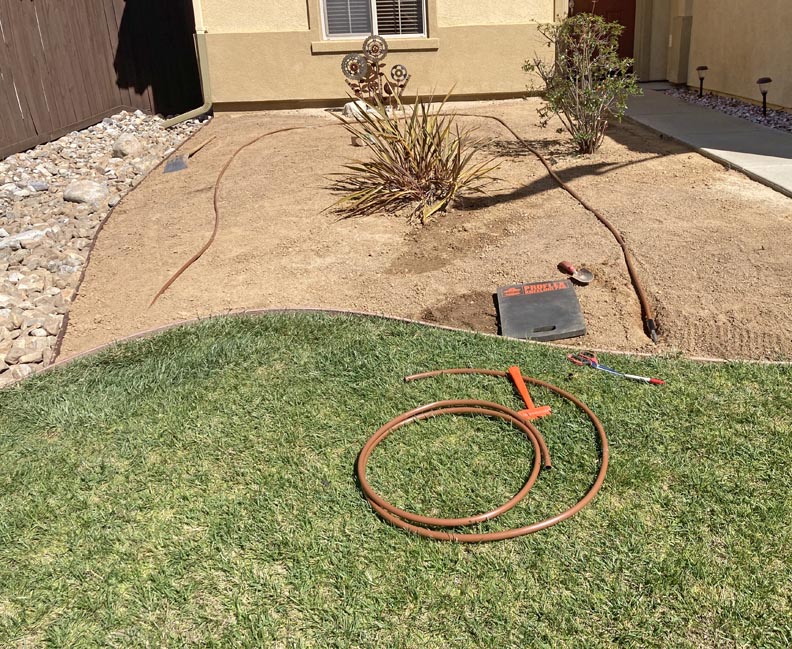
Working In The Yard Continued The drip line runs under the wash rocks by a few inches and
then comes out on the left side near the grass. Also, the drip line is held down with
large metal garden staples that are U shaped and are about 5" long by 1/8" in
diameter. I used that orange hammer to pound each staple in the ground
which goes fast. Then I attached the new drip line to the old one (below-right).
The remainder of the old drip line runs under the driveway over to the the right side of the
house. I bought a 100 foot roll of brown drip line and used almost all of it as
you can see.
|
|
 |
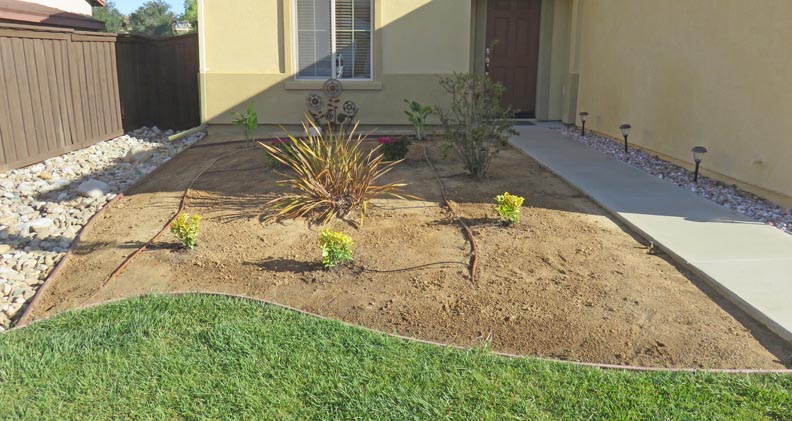
If you look close, we planted seven
plants. And after a few minutes, we liked everything that was going on
here...except one.
|
|
 |
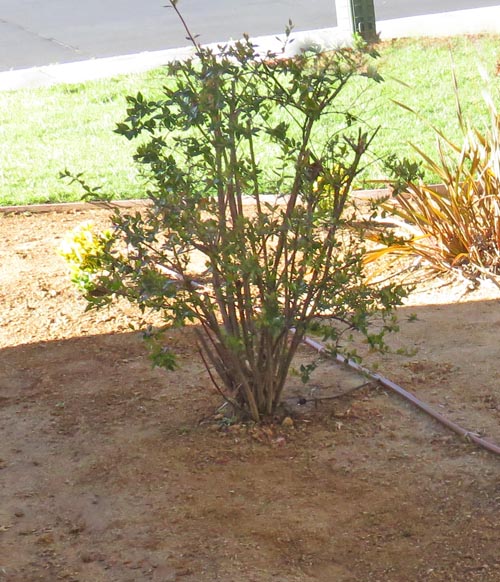
This is the one we both decided had to go so I dug it out.
|
|
 |
|
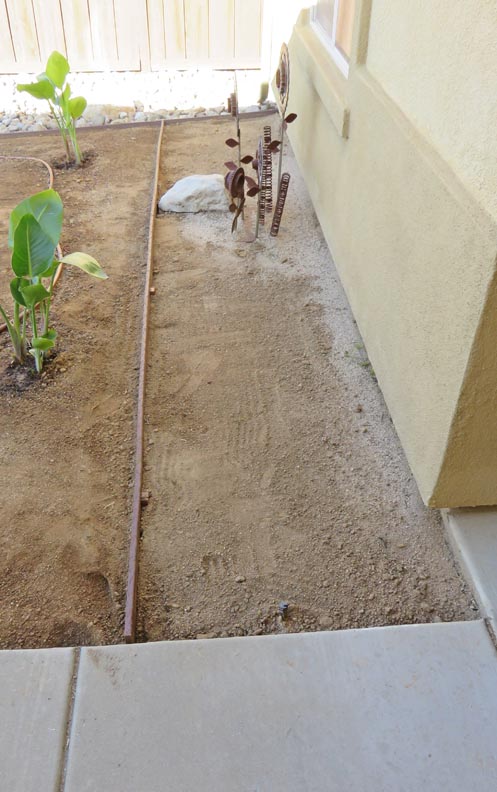
I used more edging here to separate the bark from
the house. I plan on putting 1" rock in this area, like I have on the
other side of this walkway.
|
|
 |
|
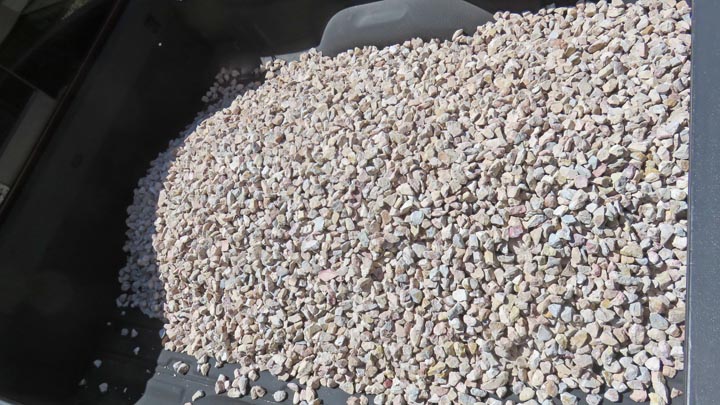
This was suppose to be a 1/2 yard of rock, but after
shoveling it for awhile, I think they gave me much more than that. Once
I had the area near the house topped off, I had enough left over to fill
that same area a second time. Anyways, I used the remainder of it and distributed
it all on the other side of
the driveway in a few thin spots. Now it's time to work with some bark.
|
|
 |
|
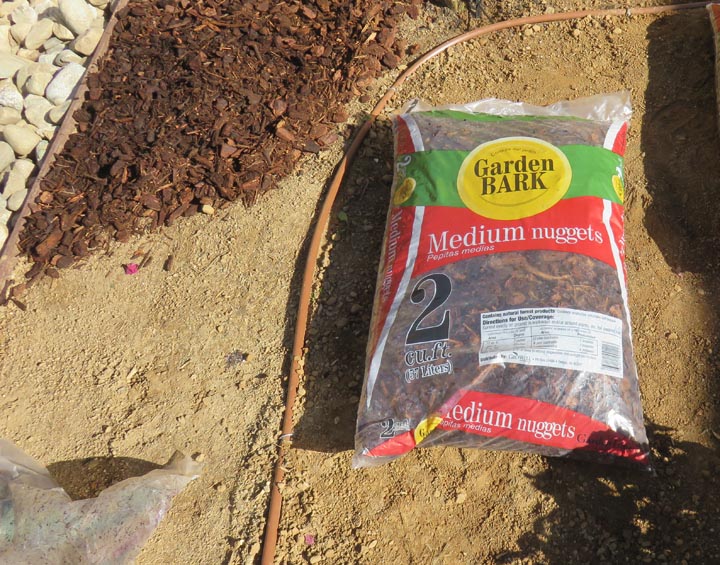
I looked at a bunch of mulch and bark and decided on
this medium size stuff that is brown in color. Now there are a lot of
colors and sizes of bark, it just depends on what you're looking for. To
complete this project, I used 23 bags of this stuff.
|
|
 |
|
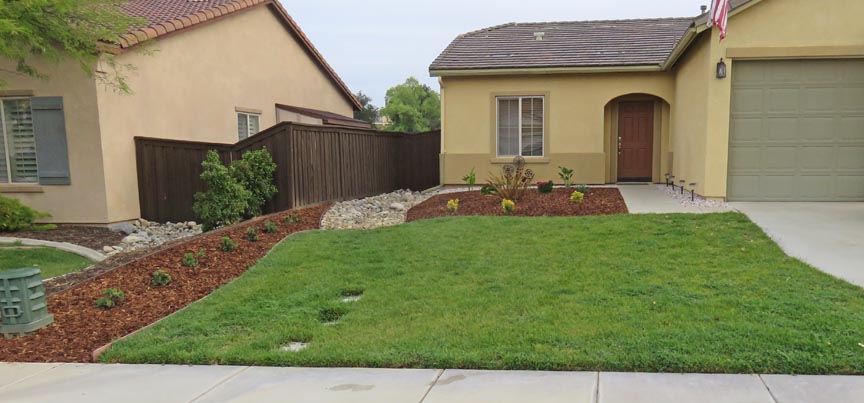
It's Almost Finished
Laying out all those bags of bark was easy, just dump it and
smooth it out with your hands (with gloves on).
|
|
 |
This area should look nice in one or two years once the bushes get
larger.
|
|
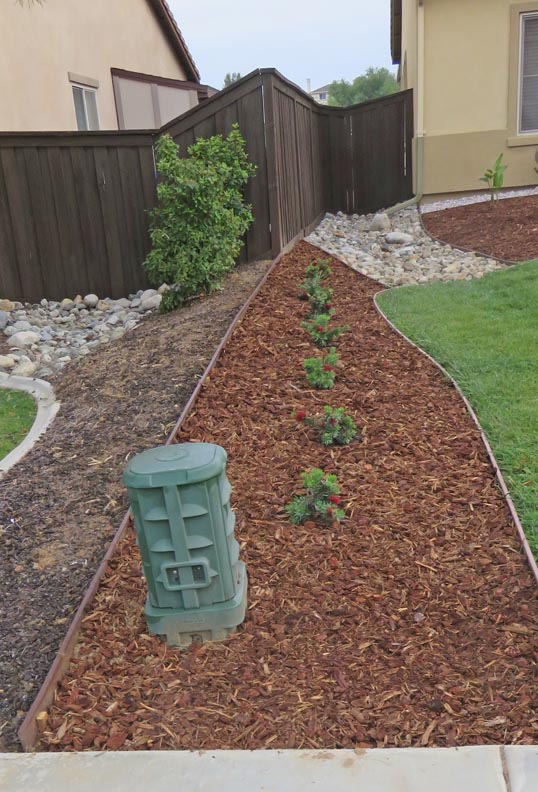 |
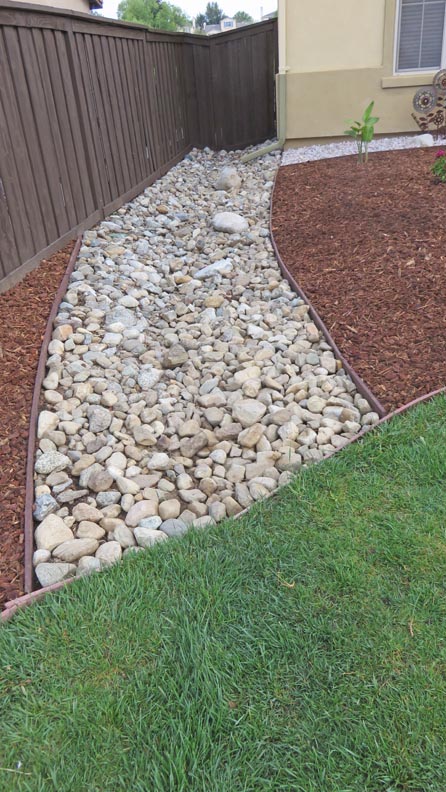
I made a slightly different path for the wash rock but not too drastic.
And with the edging in place, all that bark should stay in place.
|
|
 |
|
1
2
3 |