|
Working With Aluminum Continued
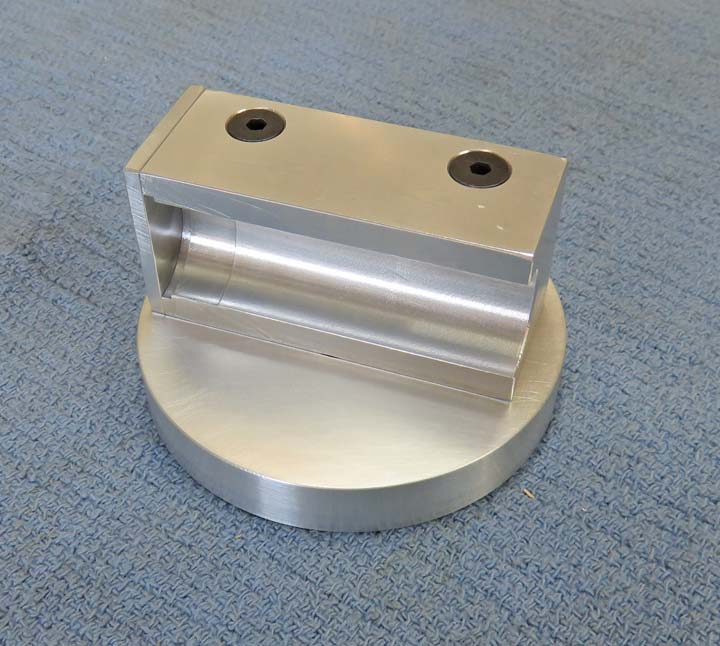
Here is what the block looks like mounted on the 3" round piece. This
piece will turn once it's mounted onto another separate piece. Now it's time
to add a couple of other details.
|
|
 |
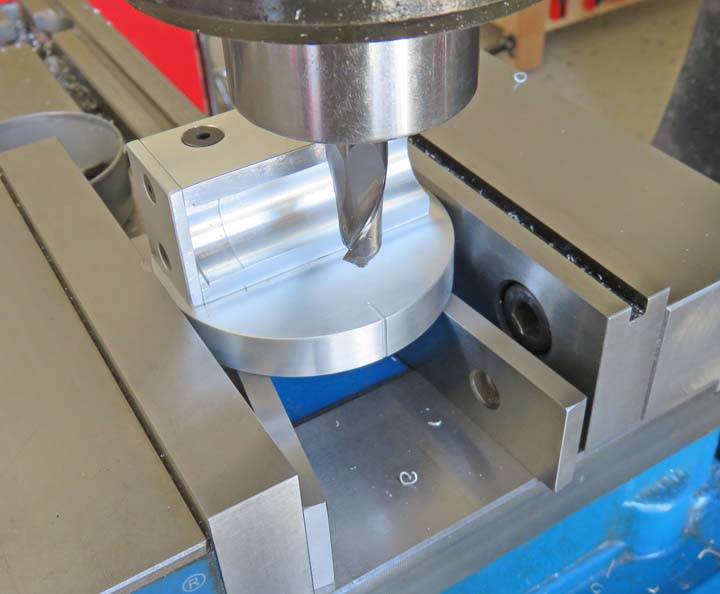
I'm adding a reference line with a 45
degree cutter that will line-up with some numbers or letters (depending
on what Angela uses). The
numbers or letters will be on the plate that this mounts to.
|
|
 |
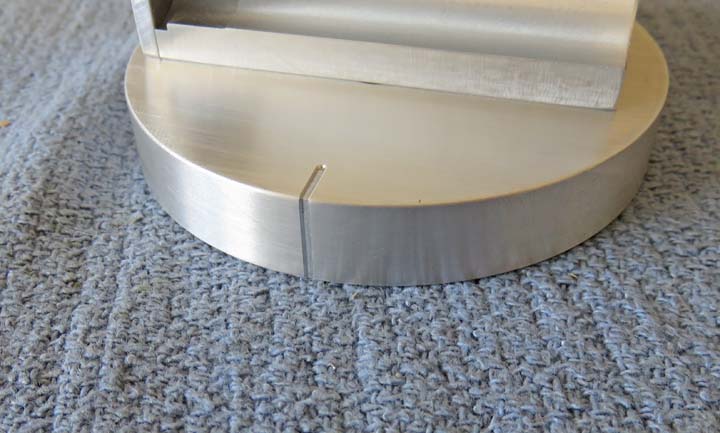
Those lines are .015" deep. But wait...there's more.
|
|
 |
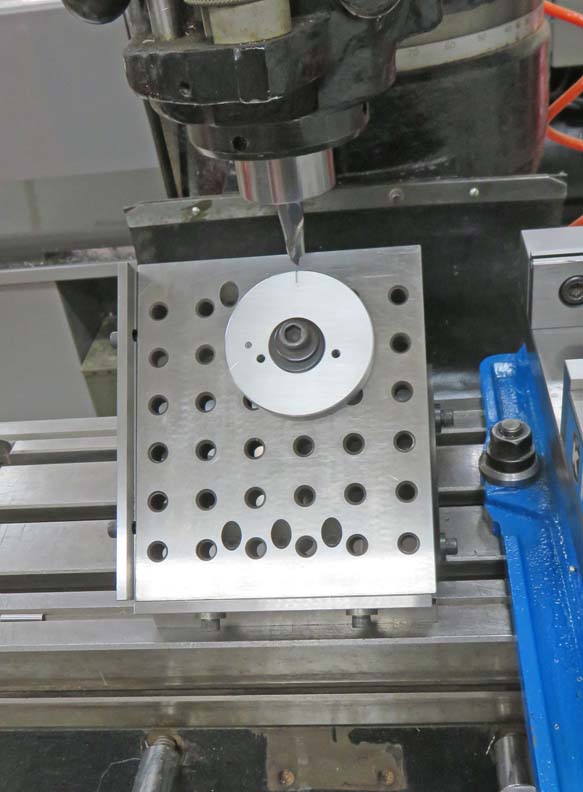
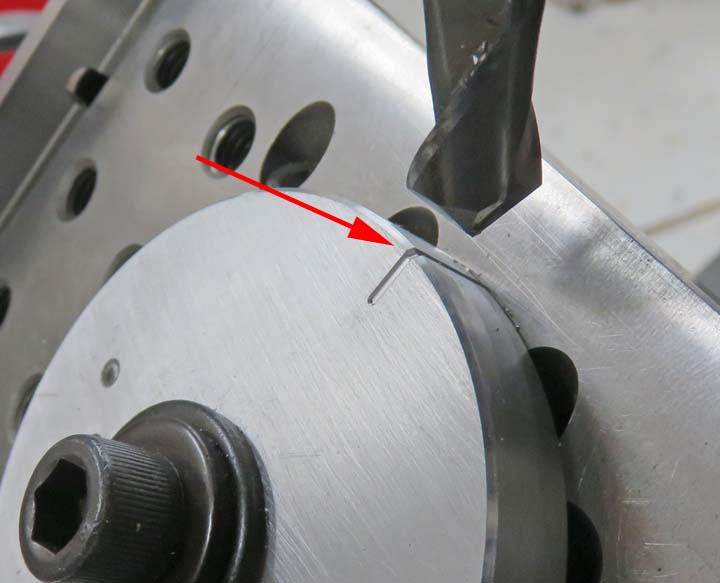
I did a separate setup for a small chamfer area using a sine plate set
at 45 degrees.
|
|
Yes I know... a really small detail. And you wouldn't ever know I did
this if I didn't tell you. But I figured, why not!!
|
|
|
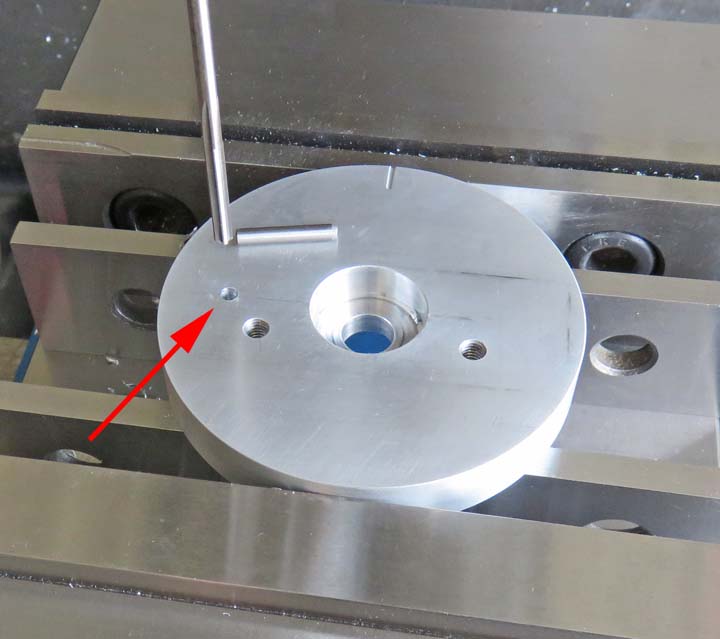
One other detail I'm adding is a 'positive stop' so this
round piece will only rotate a certain amount when it's turned. The
arrow is pointing to a 3/16" diameter reamed hole that will have a
steel dowel
pin pressed in. This pin will follow a slot in a mounting plate
which will limit the amount of movement.
|
|
 |
|
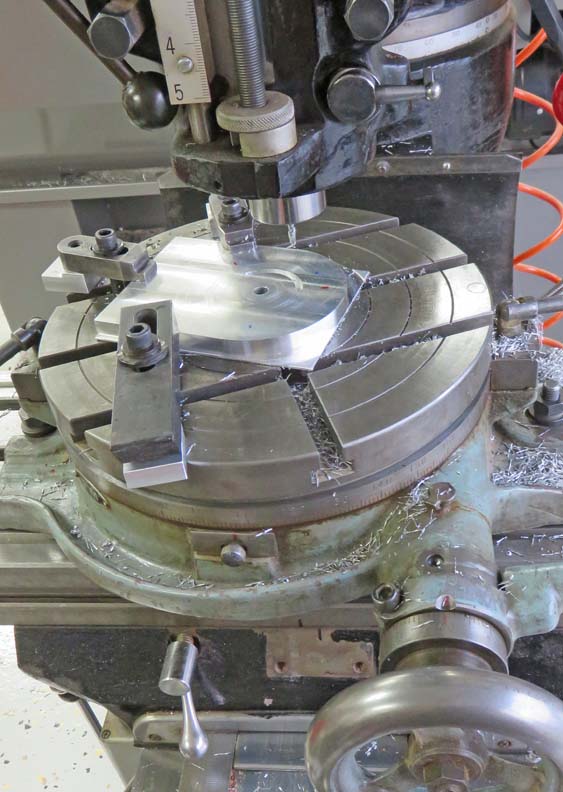
This is the plate that the 3.0" round piece from above
will mount to. I'm using my rotary table for three setups here: one for
the full radius at the top of this mounting plate, a small chamfer that
goes around the full radius, and last is for
a slot that the 3/16" pin will follow in.
|
|
 |
|
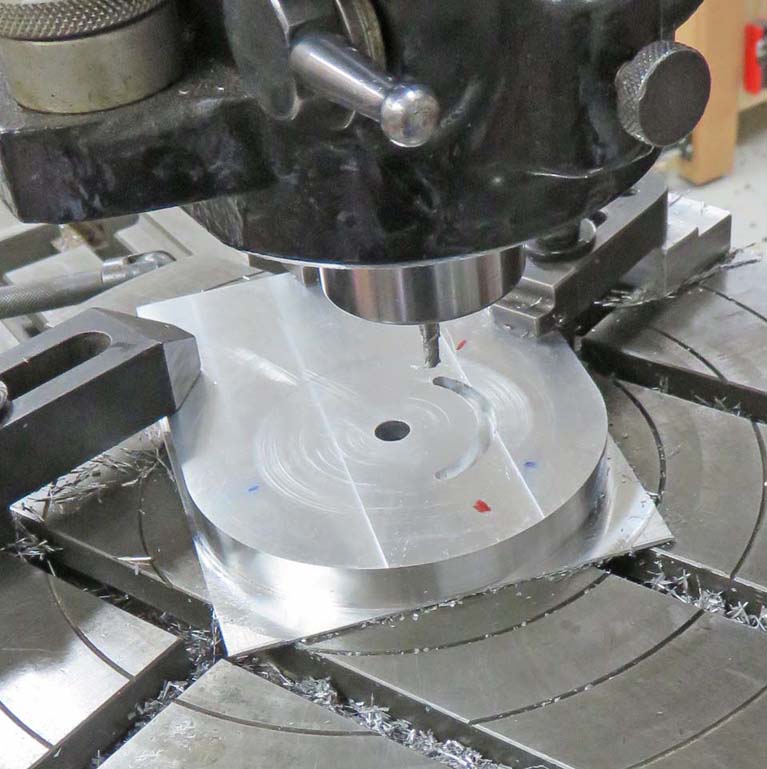
I'm using a 1/4" end mill for the slot so there
will be plenty of clearance between the slot and pin. I'm also using a
sacrificial plate under my work piece so I don't cut into my rotary
table.
|
|
 |
|
Working With Plastic
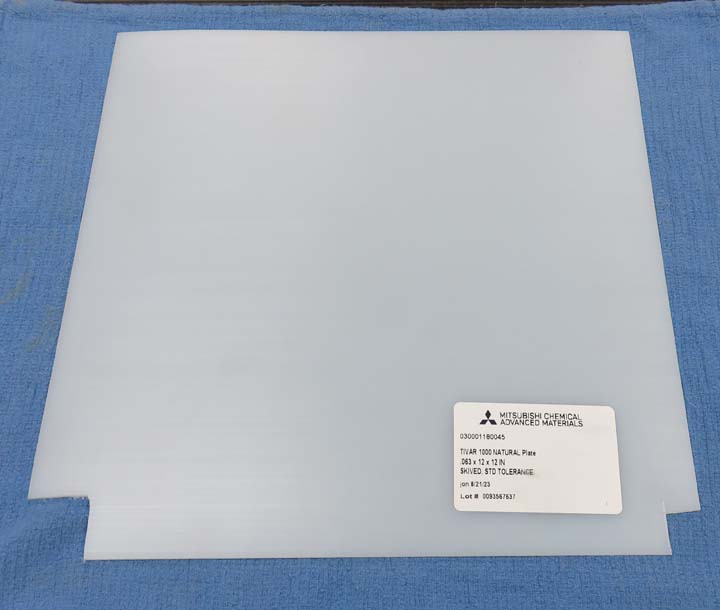
This is Polyethylene sheet that measures 12" X 12" X
1/16" thick. I'm going to use this between the pieces that will rotate,
which will act like a bearing. It's very slippery and should work great for this. I
plan on machining some 3/4" diameter pockets in the aluminum, which
means I'll need to make some round pieces out of this plastic.
|
|
 |
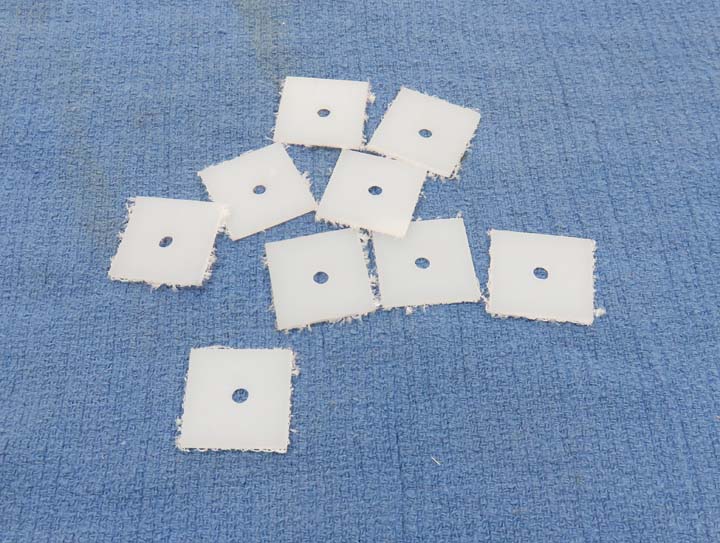
I used my bandsaw to cut out some 1" squares and then I put a 3/16" hole
in them.
|
|
 |
|
1
2
3
4
5
6 |