|
Final Details Continued
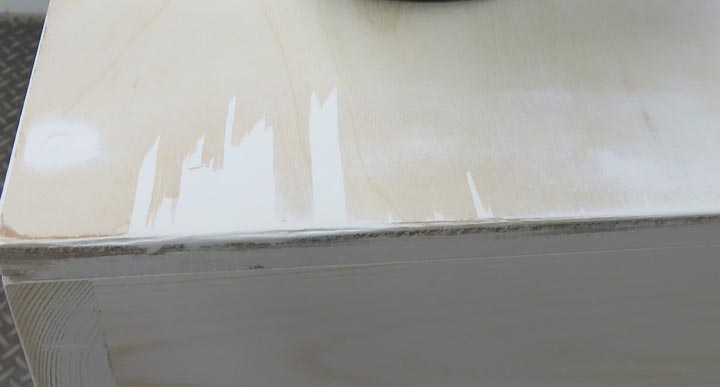
What you see here is two or three days of applying primer, letting it
dry and then sanding it off. This process works but it's slow.
|
|
 |
|
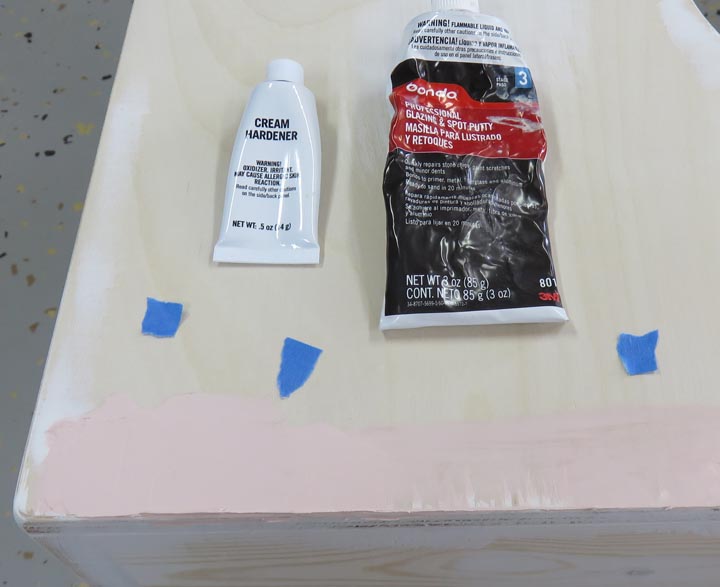
Then it hit me, I have some glazing compound leftover
from another project so I tried it. And it worked great because I only
need to apply one coat and it dries within about one hour. However, I
sanded it the next day, which only takes a few minutes.
|
|
 |
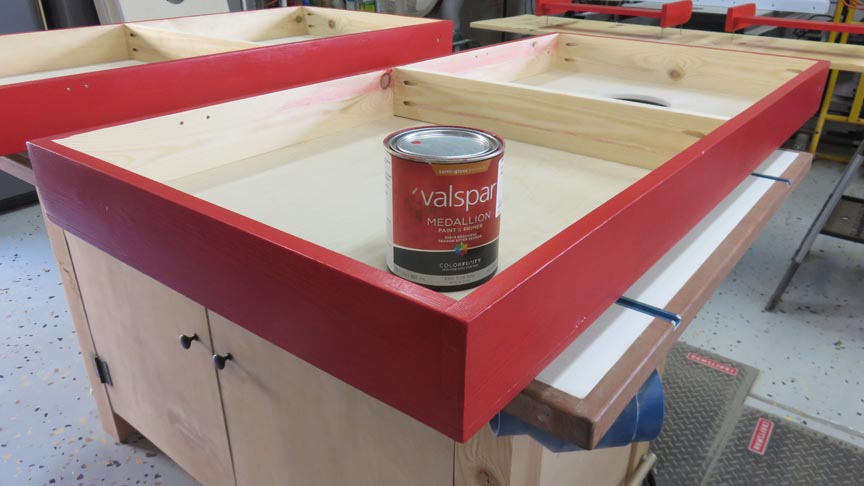
I thought this color red would look good for Tony's boards. But I only
painted the surfaces that you see here, not the playing surface because
I have something else in mind for that.
|
|
 |
|
I did some testing with these 1/2" drills to find out
which one does the least amount of damage when it exits the other side.
What I came up with is using the 1/8" drill thru, followed by the
Forstnor bit on the left, but only going halfway thru from each side. This combo
produced the cleanest hole by far. These holes are for my rope handles.
|
|
 |
I bought some 1/2" diameter rope that should work well for the handles.
|
|
 |
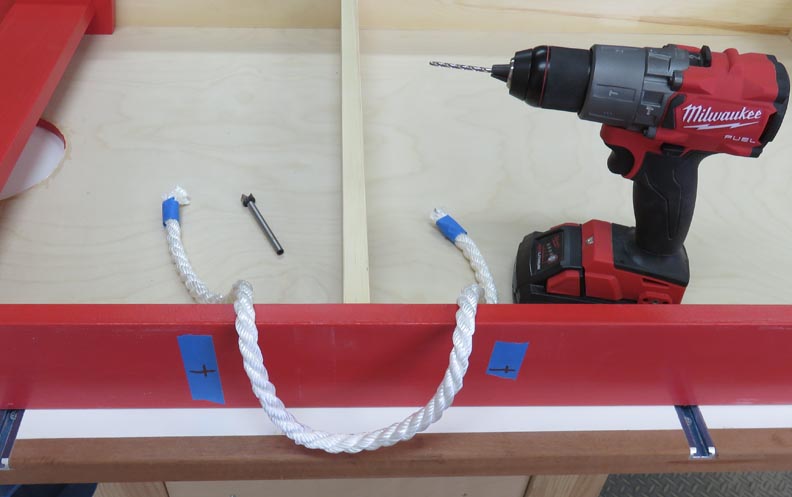
Here I've laid out for my holes and I'm getting ready to drill my 1/8"
hole first. Then I'll switch to the larger drill.
|
|
 |
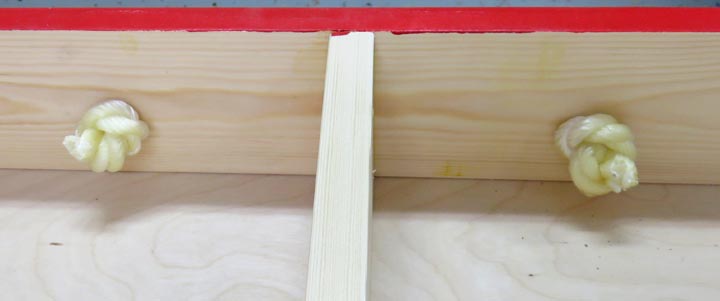
Once I had my rope tied, I smeared on some epoxy to make sure it doesn't
come loose.
|
|
 |
The next day I trimmed the excess off and I'm good to go.
|
|
 |
|
The top surface is getting three coats of polyurethane
and then sanded lightly with 400 grit paper to remove any dirt. This
will give the vinyl wraps a much better surface to stick to in place of
the bare wood.
|

|
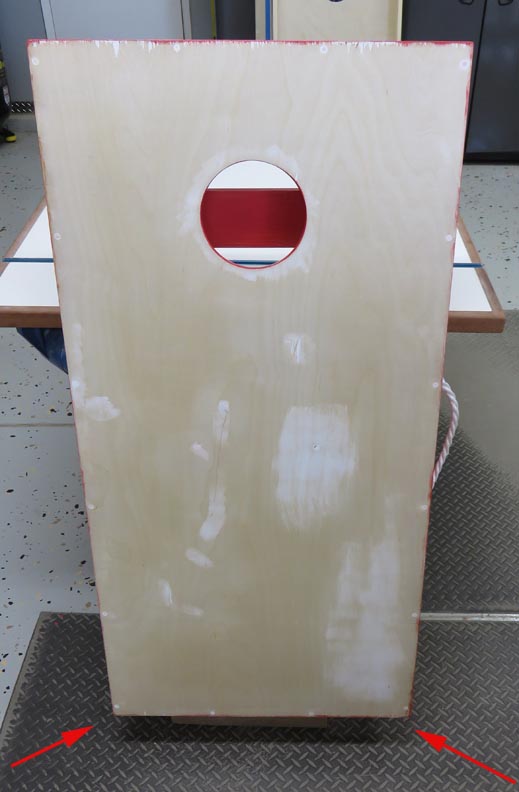
Notice the gap at the bottom of the board (arrows). This will be
important because vinyl wraps are going on next.
|
|
 |
|
1
2
3
4
5
6
7 |