|
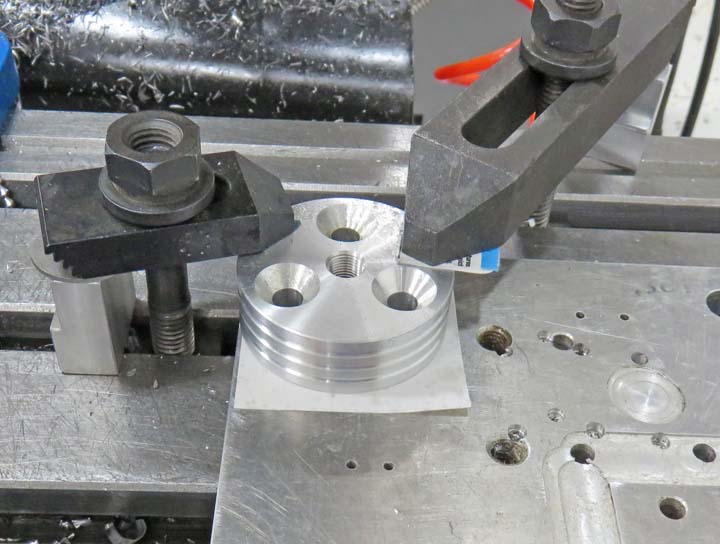
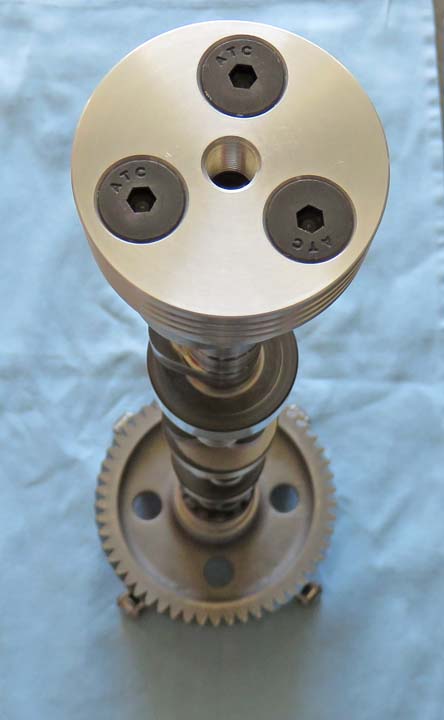
I'll be using the three existing threaded holes on the cam to attach my adapter
to. Here I'm drilling and chamfering for some 3/8" flat head cap screws.
This should work pretty good and it won't add much weight either.
|
|
 |
|
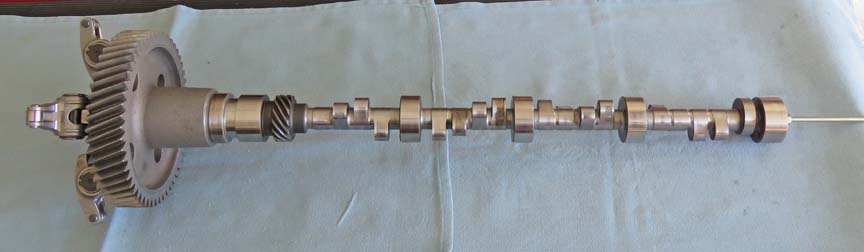
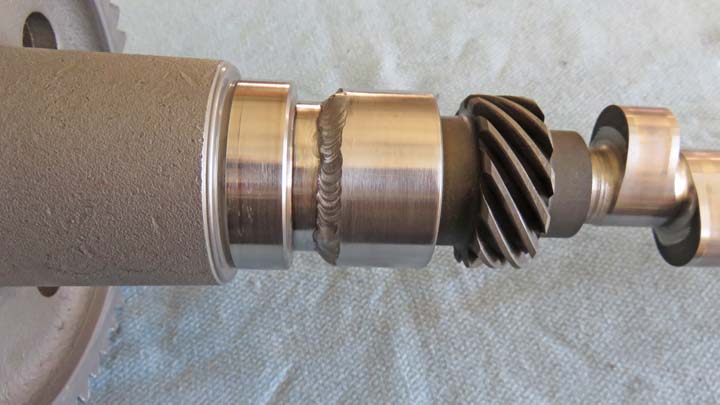
The next thing I'll be doing is attaching the cam to the
base. I had a couple of ideas here but the easiest way was to weld them
together. Before I welded anything, I wanted to make sure the two
surfaces were nice and square. To do that I took a clean-up cut on the
end of the cam so it would be square. I did the cut on my milling
machine using the same tooling that I drilled it with. Here I'm using some 1/4" all-thread that is placed through
both pieces to use as a clamp.
|
|
 |
|
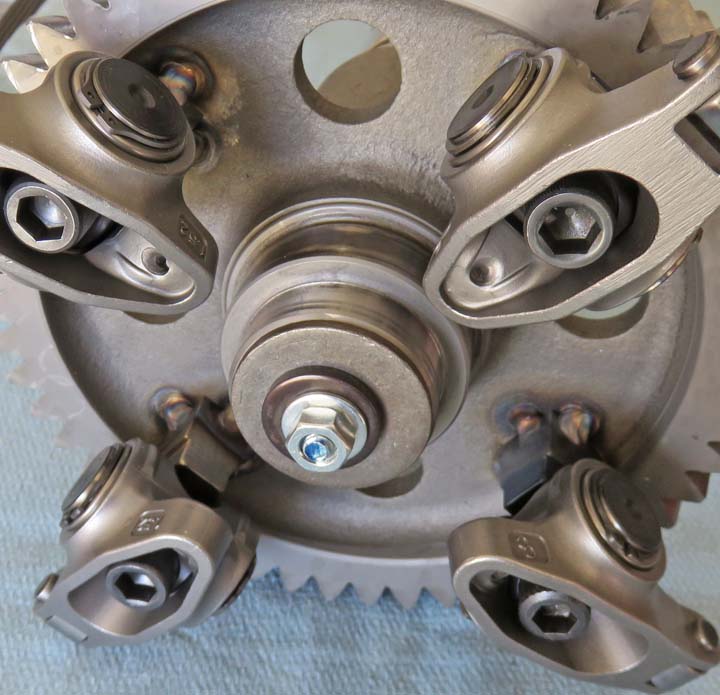
Here is the bottom along with a few different size
washers and finally a 1/4" nut to finish it off with. Once I had
everything clamped in place, I used my calipers to make sure the cam and
base were centered.
|
|
 |
This was an easy process and it didn't take long to weld.
|
|
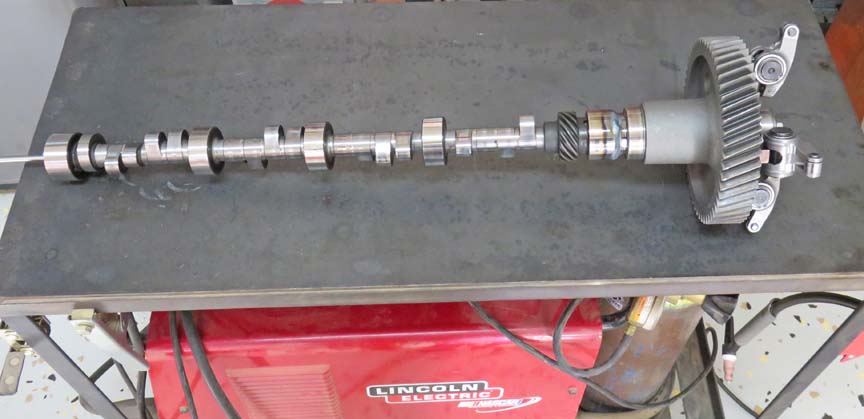 |
I don't think these will ever come apart because I put the heat to it.
So far I'm happy with it and it stayed straight.
|
|
 |
Here you can see the adapter screwed on and now I'm ready for some lamp
hardware.
|
|
 |
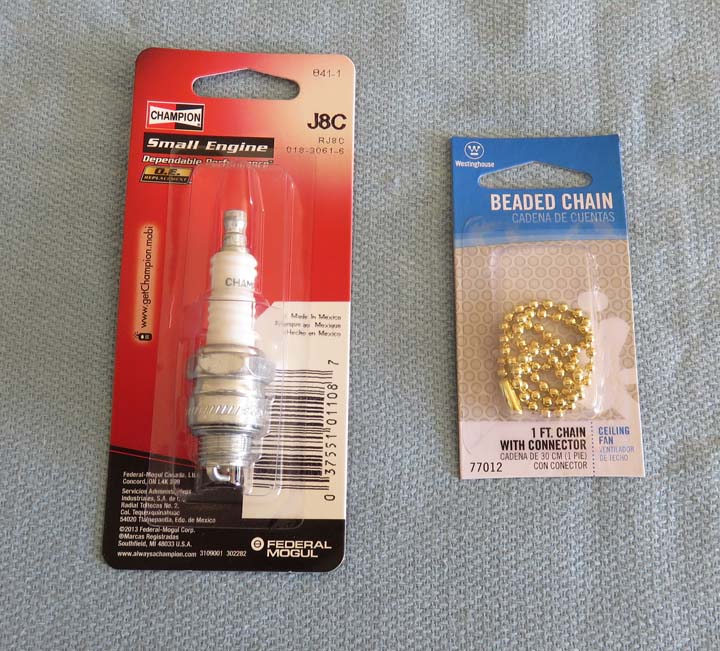
If you're wondering what the sparkplug is for, I'll be using it to hold
on to while turning the light on and off. It will be a fancy pull chain
knob.
|
|
 |
|
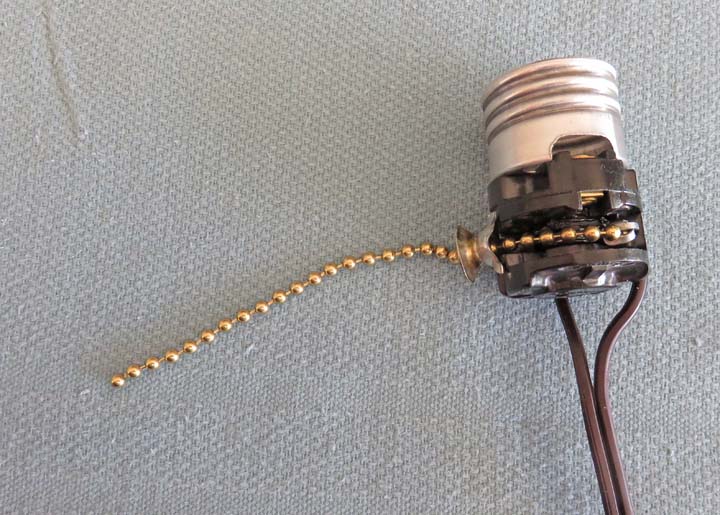
The light socket had a really short pull chain on it which I
didn't like. And I didn't want to have one of those couplers visible
while holding the two chains together so I took the socket apart and
added the one I bought.
|
|
 |
|
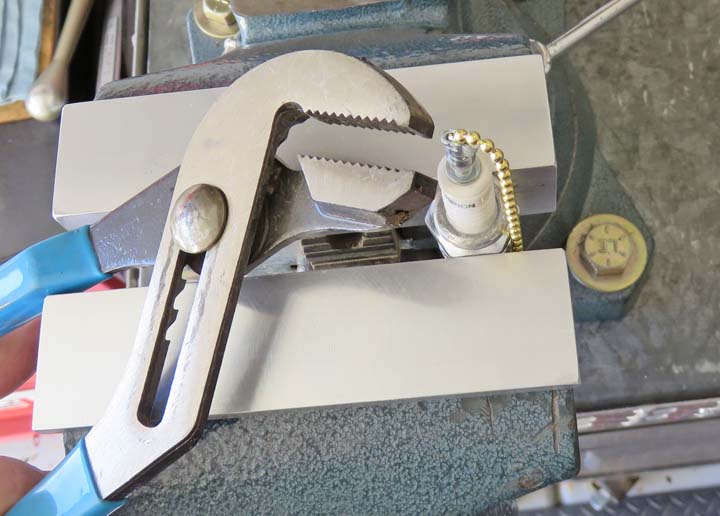
Some sparkplugs have a screw on top so I made sure to
buy one like that. The reason for this is so I could attach the pull
chain to it somehow. After playing with it for a few minutes, I didn't
like how things were going. Time for plan B.
|
|
 |
|
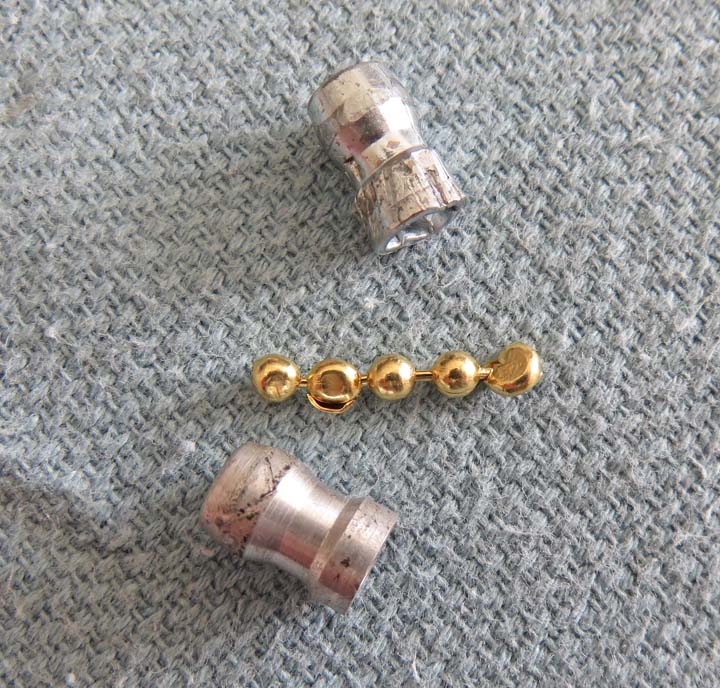
I found another screw on piece that I had laying around
(bottom) and decided to make a small change. While I was crimping the
first one, the material cracked and I wasn't happy with it.
|
|
 |
|
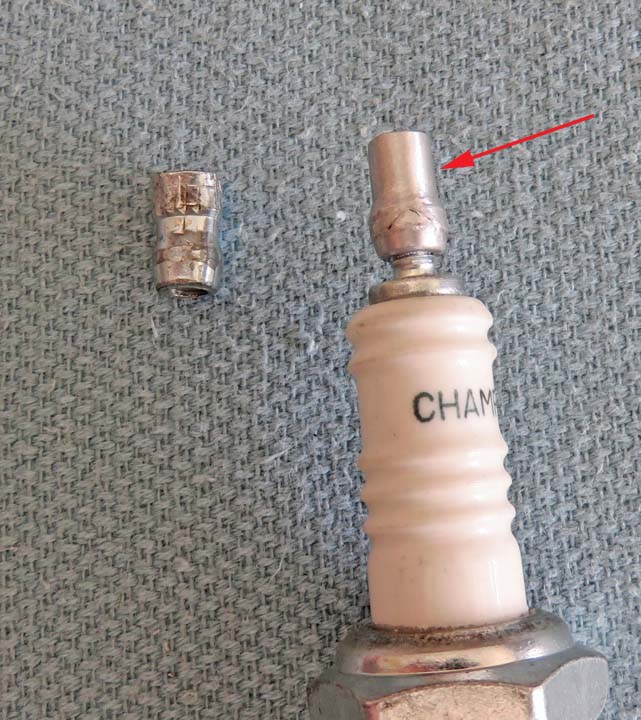
The reason it cracked is because the wall thickness was
too thick so I sanded my other down to make it thinner (arrow). This
should allow me to bend or crimp this area much easier now.
|
 |
|
1
2
3
4
5
6 |