|
Working With Wood Continued
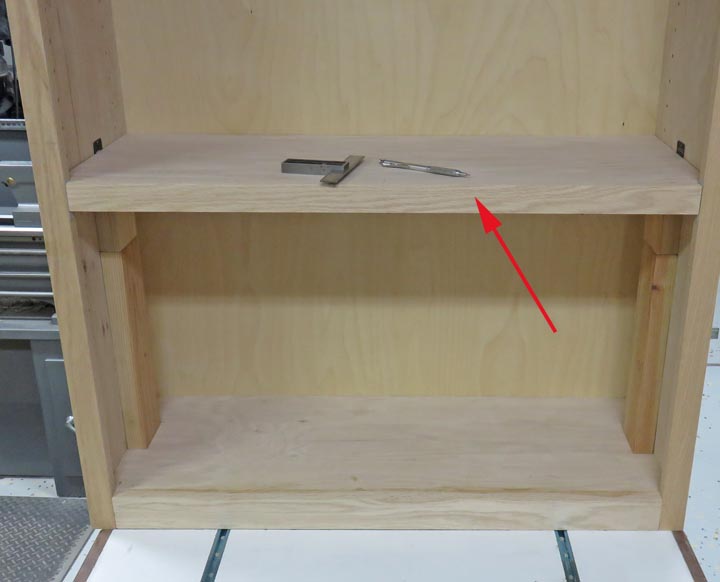
I'm getting ready to add the trim piece to the shelves
(arrow). I clamped the trim piece to the shelf and made sure I could
remove it easily. Once I was good to go, I centered the shelf and trim
piece.
|
|
 |
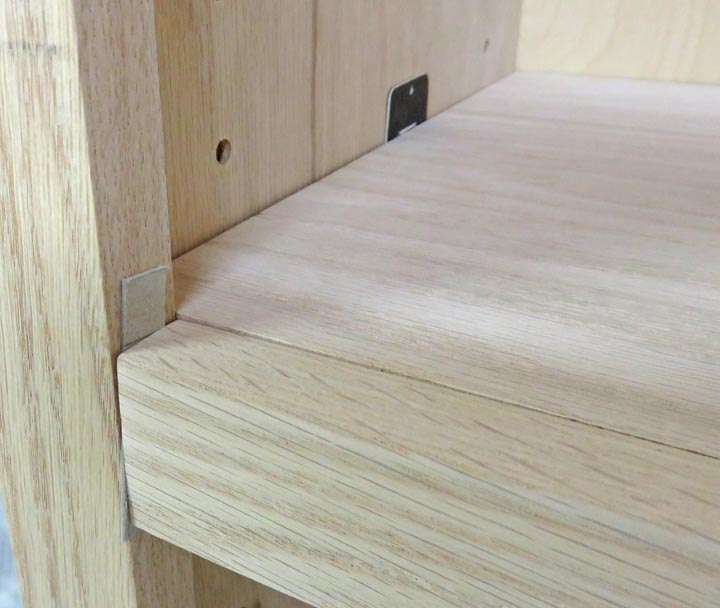
I added cardboard shims to the shelf and
trim piece to center everything.
|
|
 |
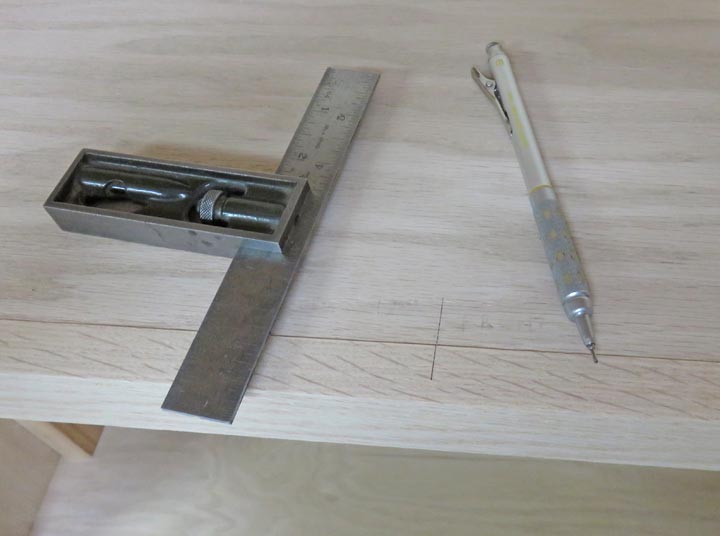
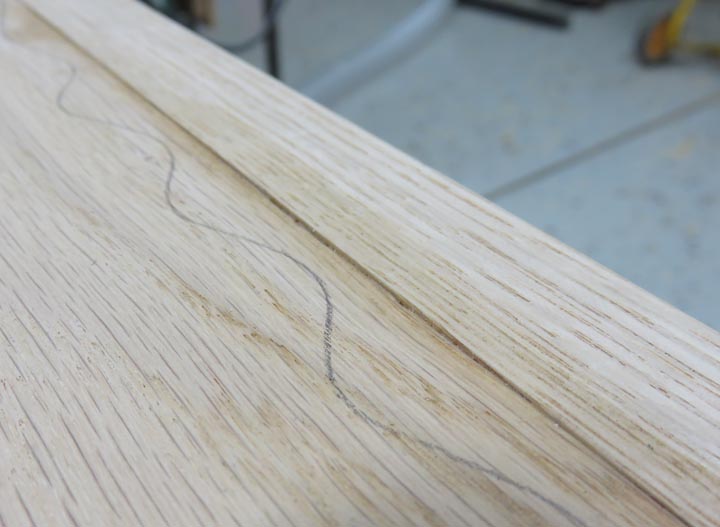
Then I marked a reference line on both pieces to aid me while gluing it
on.
|
|
 |
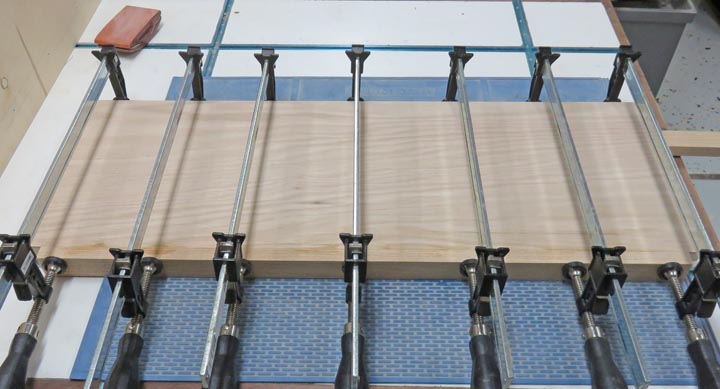
Next I glued the trim piece on and clamped it.
|
|
 |
The next day I sanded the trim piece flush with the shelf.
|
|
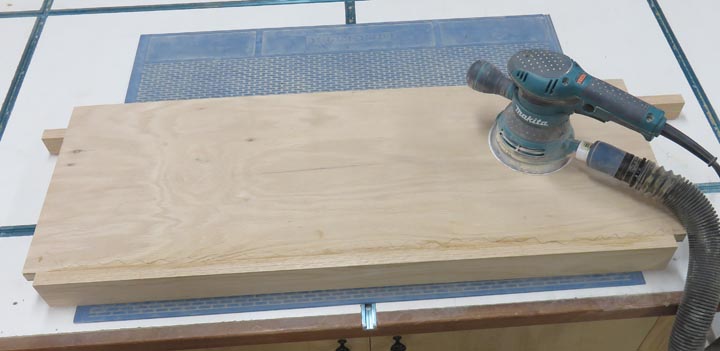 |
The trim piece is slightlly above the shelf to make it easier to sand flush. Once
the pencil lines were removed, both pieces were finished.
|
|
 |
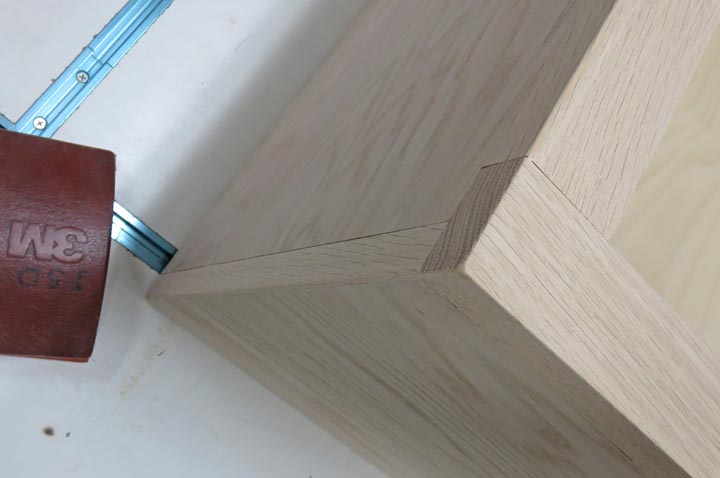
I broke all the outside edges by hand using a sanding block along with some
hand work using 150 grit paper.
|
|
 |
I used a 1/8" roundover bit on all the interior edges to soften them.
This way when you're reaching for a book and bump the edge, it won't
hurt too bad.
|
|
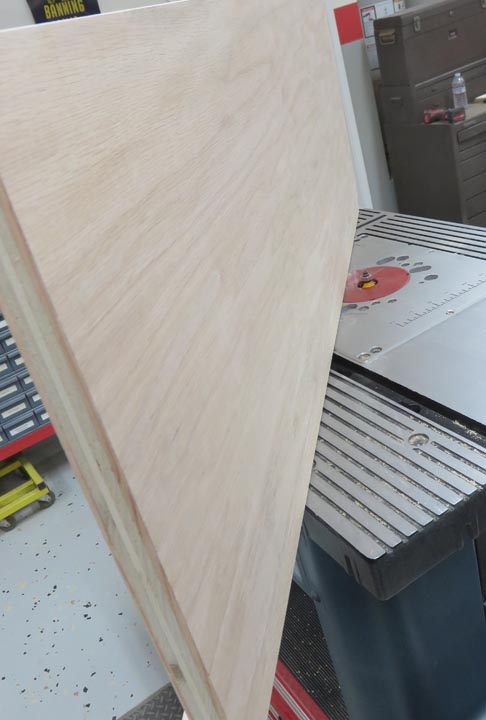 |
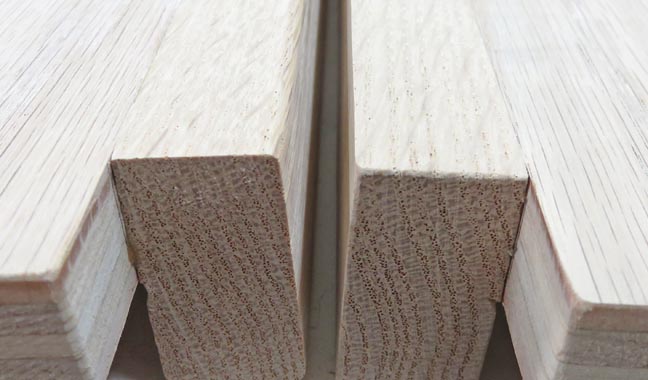
The shelf on the left has the 1/8" radius to show you a before and after
shot. It's not drastic, but it's just enough.
|
|
 |
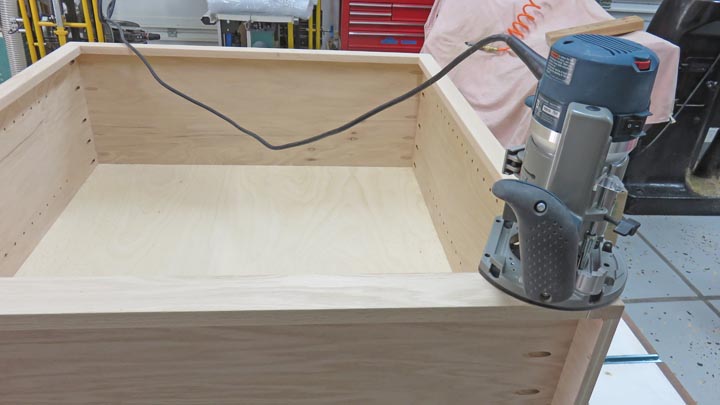
The rest of the interior edges I used my hand router with the same
router bit. This went very
fast and I finished the corners by hand sanding.
|
|
 |
|
1
2
3
4
5
6 |