|
My daughter Angela saw some hand made clip boards back in June and thought
they looked pretty cool so she asked me if I'd be able to make one
for her? She also told me that she saw some smaller ones that really
caught her eye and that she'd like one of those as well. After I had a
few details about them I told her yes.
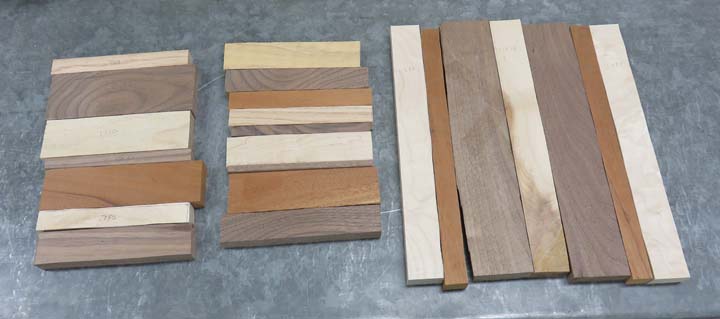
The next day I went out and looked at my wood supply to see what I
could come up with and it turns out I had enough small scrap pieces to
make a few. When my wife asked me what I was working on she
mentioned that our other daughter, Stefanie, might like one for a
birthday present. Well
after digging deeper in my scrap bin I found enough to make six clip
boards. And I'll be making two different sizes of them for this project.
The ones for Stef and Angela were originally to be birthday presents,
even though Angela gave me the idea. But things changed once Angela came
over and inquired about hers about a month before her birthday. And here
I thought she forgot all about them as the months went by. I guess it
worked out because I was having trouble deciding which ones I was going
to give her.
After Angela looked at them all that evening, she picked hers out. Looks like I'll
only have one real birthday present after all.
|
|
 |
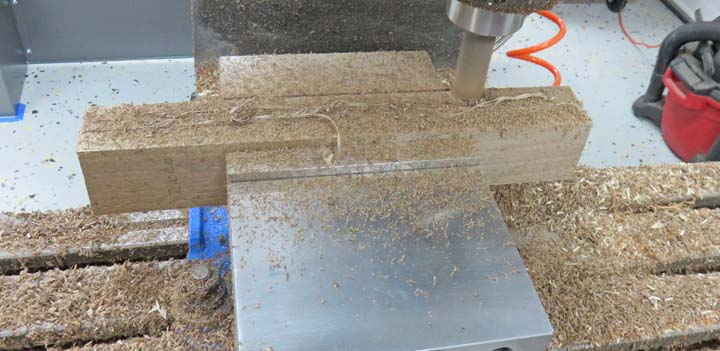
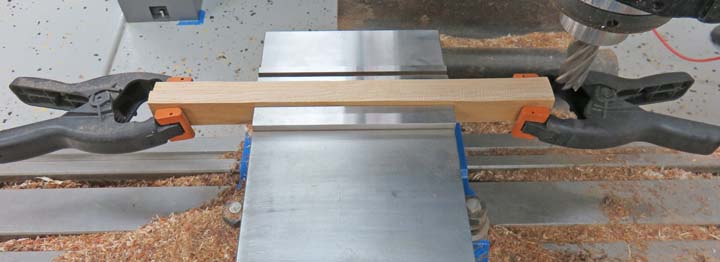
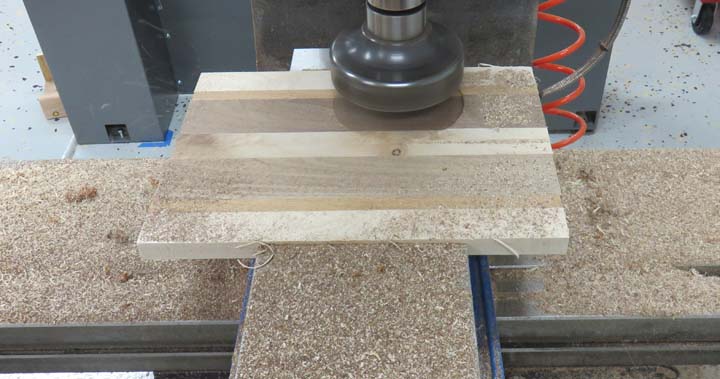
After sorting out most of the wood and figuring out the
sizes of each piece, it was time to do some milling. I'll need to
machine all the surfaces that will need to be glued. Below I'm machining
two pieces of black walnut which are 12 1/2" long.
|
|
 |
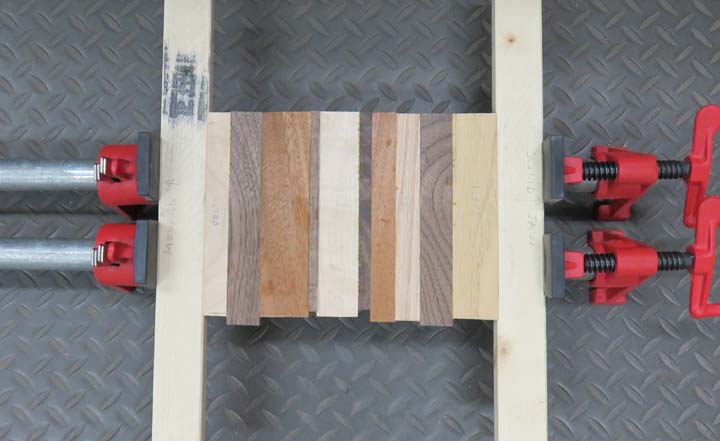
This is one of the smaller ones getting glued, which will be 9" X 6"
when finished. The two long outer pieces are not part of the project and
are used as clamp blocks. I keep these with my pipe clamps and use them
for gluing only.
|
|
 |
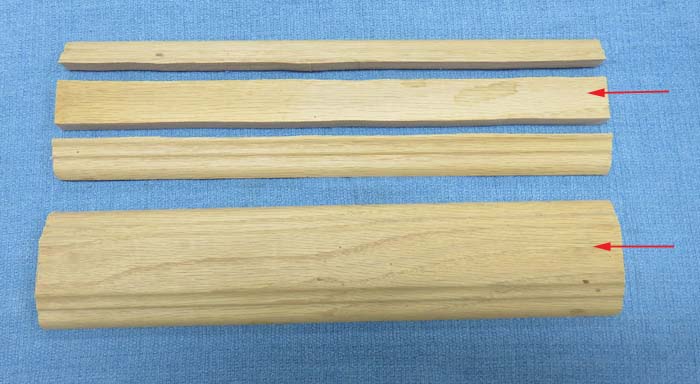
I had some leftover oak molding and thought I'd use some for
this project. I cut the center out with my bandsaw and used them for one
of the longer ones. The thickness is about 3/8 of an inch, which is
perfect.
|
|
 |
|
Here I'm machining the oak pieces in preparation for
the glue process. The clamps at the outer edges are to keep them from
vibrating while machining.
|
|
 |
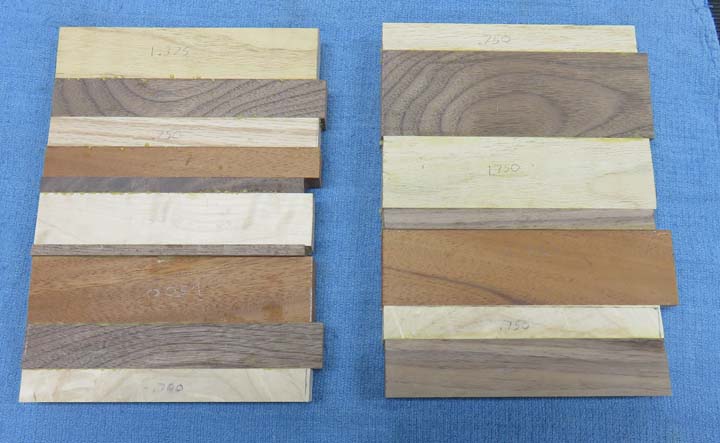
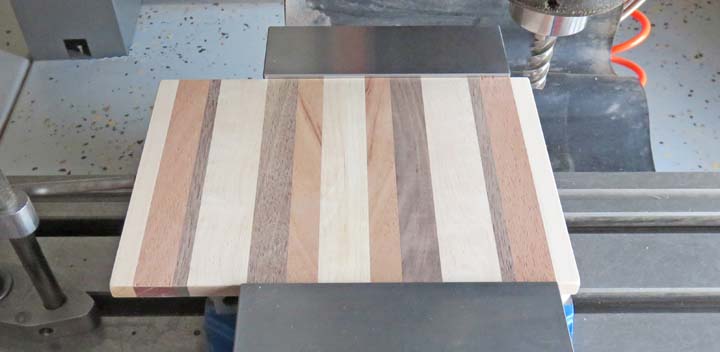
Here are two of the smaller clip boards that have been glued together.
As you can see I've used many spices of wood which are: curly maple,
black walnut, oak, mahogany and hard maple. And if you look close you'll
see the size of each one in pencil.
|
|
 |
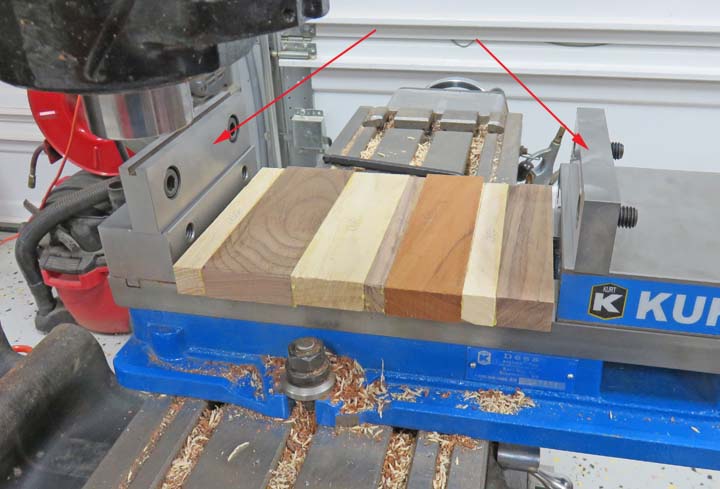
By removing the vise jaws (arrows), I was able to hold these smaller
ones in my vise to cut the top surface. Doing it this way is so much easier than
clamping them to my mill table and working around clamps.
|
|
 |
|
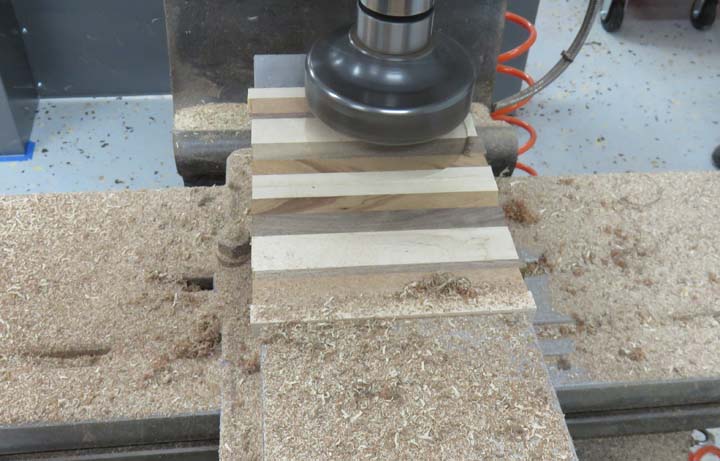
Here you can see the top surface being cut on the
smaller ones which worked out great. All of the clipboards started at
3/4" thick but I machined them all to 3/8" thickness. The reason for
this size is because when I asked Angela for details about this
dimension, she told me somewhere between 1/4" and 1/2". So I shot for
the middle which is 3/8".
|
|
 |
|
This is one of the larger boards also being held in my vise.
|
|
 |
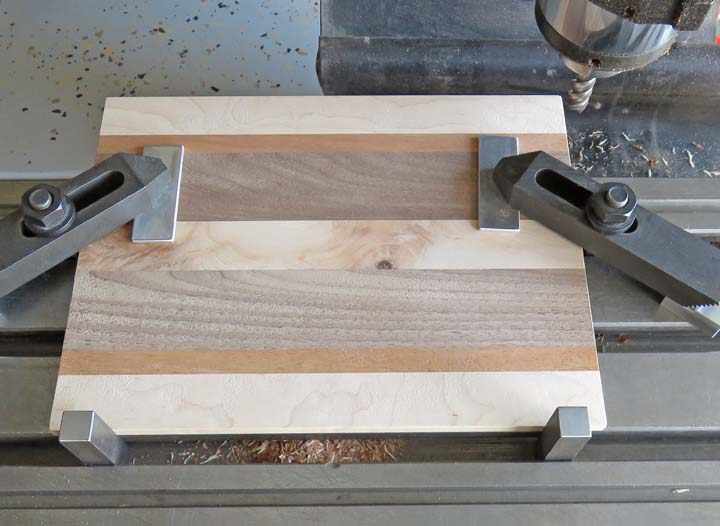
Now that the top surface is cleaned up, it's time to cut the ends to
length. Note the clipboard is banking against my work stop on the left
side. This makes it easy to machine each piece to the same length.
|
|
 |
I removed my vise to machine the long side of the larger clipboards
because it was too large. For
my work stop I'm using some square blocks that are placed into the slots
of my mill table.
|
|
|
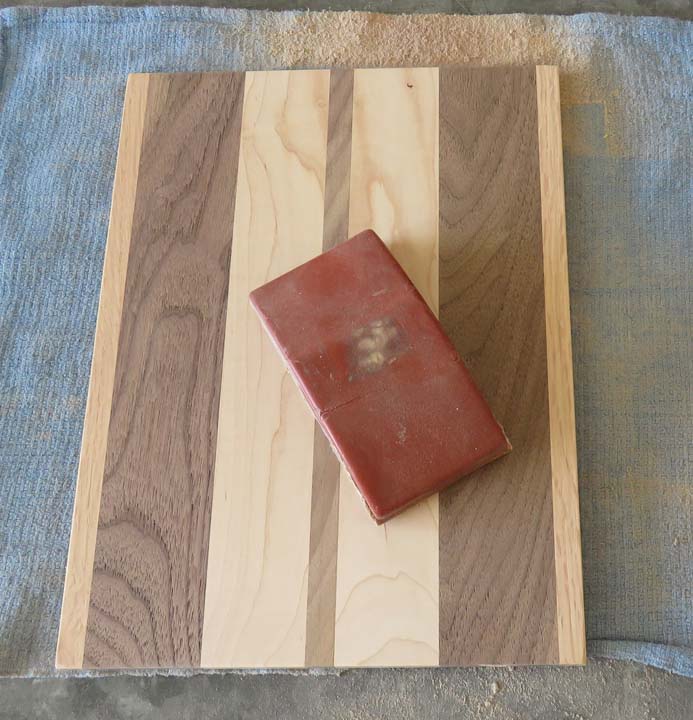
I gave each piece a good sanding with 120 and 180 grit,
which went nice and quick.
Side note: I used this sanding block on my Camaro that I
built in 1977 and finally had to retire it during this project as it was
falling apart. I threw it away after buying a new one and then pulled it
out of the trash the following day because of all the memories it holds.
I don't know if I'll use it much more but it sits with my sanding stuff
now.
|
 |
|
1
2
3 |