|
Working With Wood
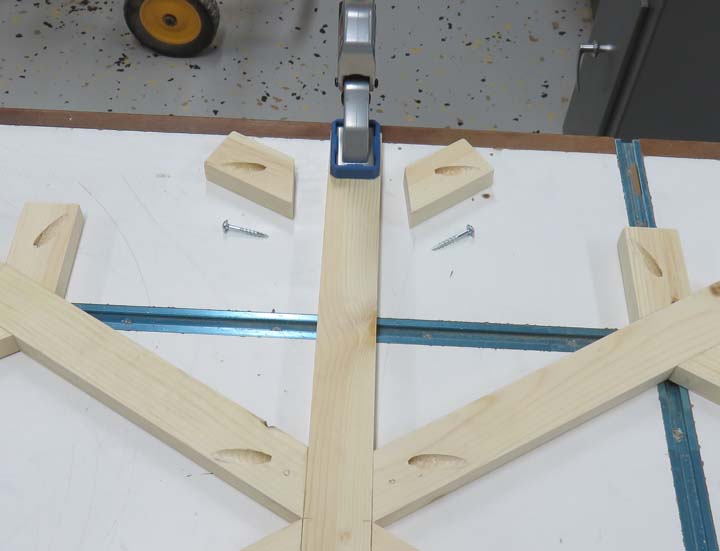
Now it's time to fasten the smaller pieces to the longer ones. I
clamped the main board down and then screwed the larger of the small ones to it,
which go at the end.
|
|
 |
|
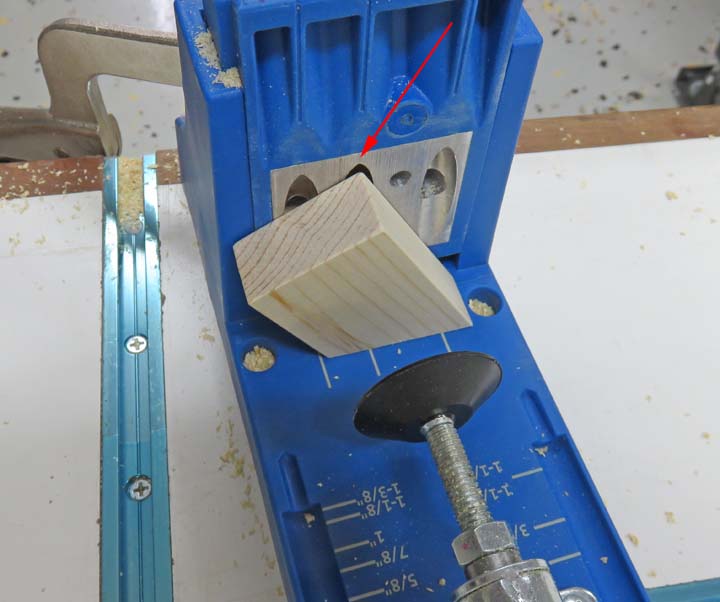
The shortest ones go next but I ran into a problem. See
the opening on the drill jig (arrow)? Well, you shouldn't see that
because if I drill it like this, you would see the a notch at the top of
my work piece and I don't want that.
|
|
 |
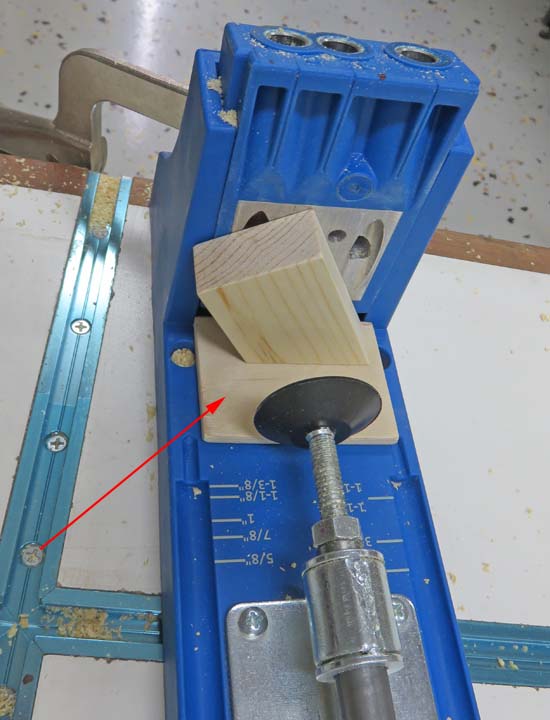
To remedy the problem, I placed a 1/4" scrap piece under my work piece
(arrow), which
raised it just above the opening in the drill jig. This worked out great
and didn't slow me down much either.
|
|
 |
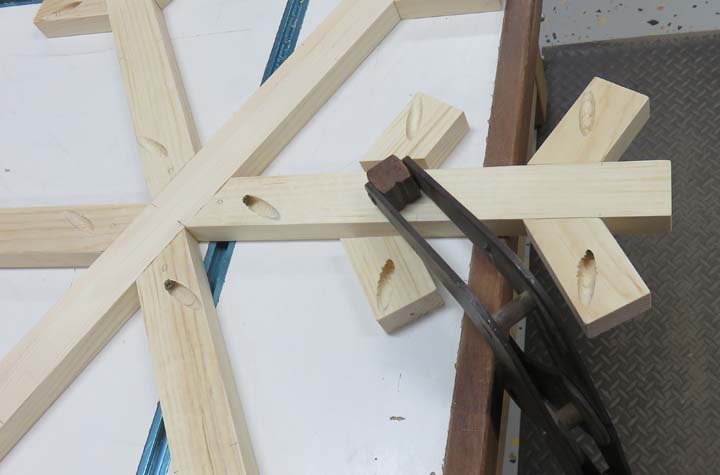
After all the holes were in the smaller pieces, I screwed them to the
main beams.
|
|
 |
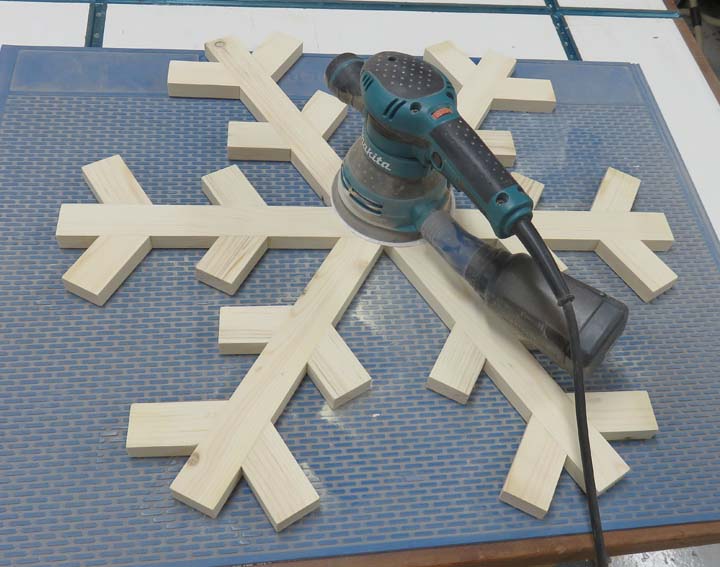
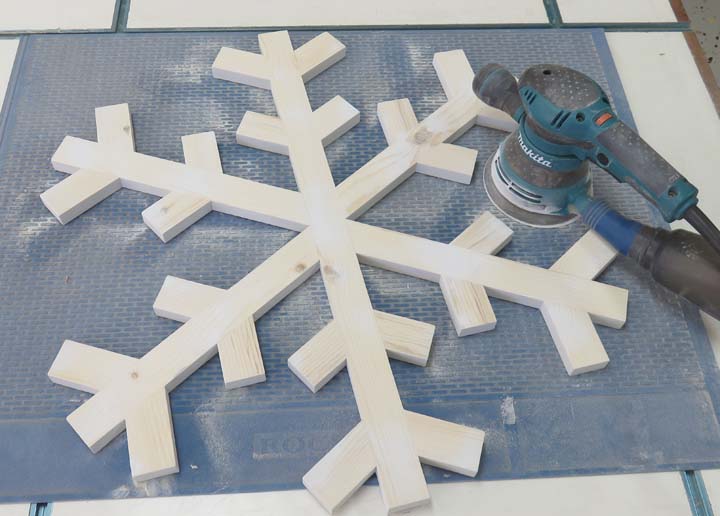
I sanded everything with my DA sander using 80 grit and then 150 grit.
|
|
 |
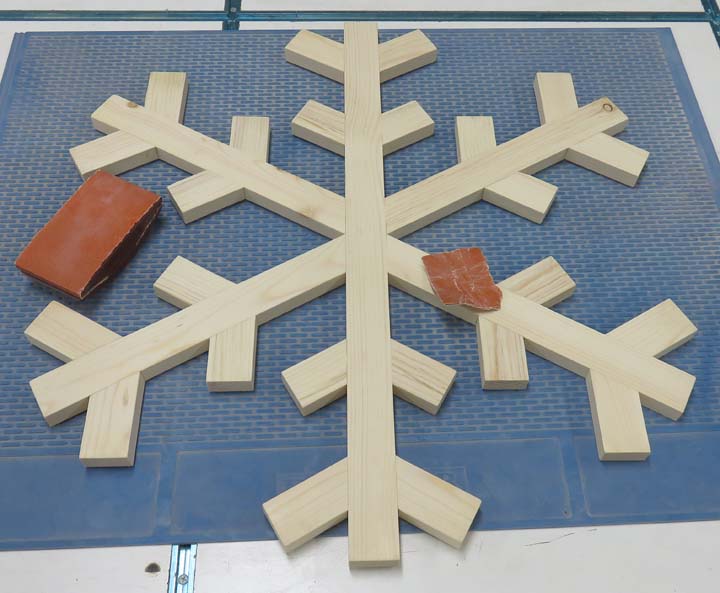
I also had to hand sand every edge using 150 grit. This took awhile
because there is a lot of surface area.
|
|
 |
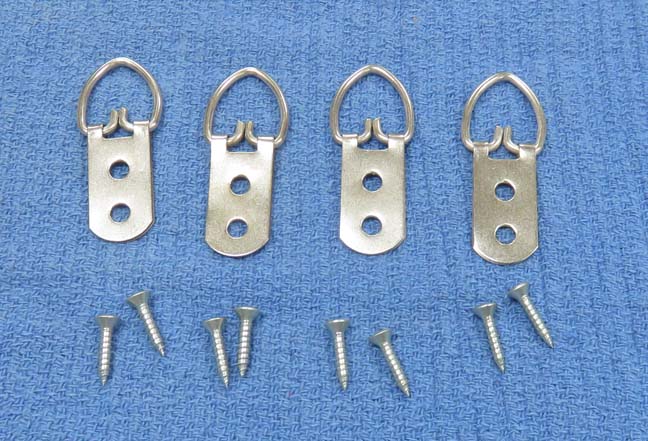
I'll be using this stainless steel hardware to hang them with. I bought
these for another project a few years ago and had some leftover. These
should work great for this project.
|
|
 |
|
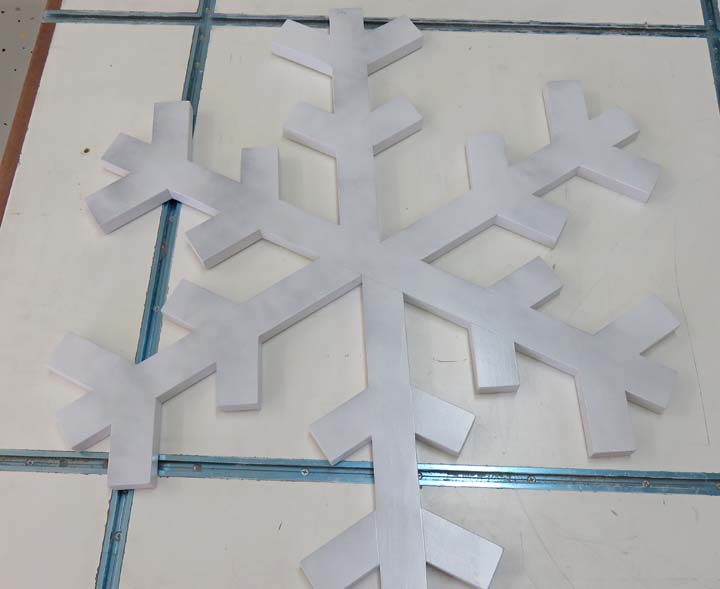
Snow flakes are white so this was an obvious color,
along with some clear. The silver metallic will be used before I put
clear on but just here and there. The effect I'm going for is a small
amount of sparkle in a few places because I'll be fogging this on. In my
mind this should look nice.
|
|
 |
|
Shaking My Head From Side To Side
Well, as you can see this doesn't look good at all. Now in my defense
it was a windy day which made this very hard to fog on. However, I hate
it so now it's time to fix it.
|
|
 |
|
I broke out my sander once again and started with 80
grit, but that only lasted a few seconds before the paper was clogged
with the spray clear. This meant a trip to the hardware store to buy
some 40 grit, which lasted a little longer. In the end, I used over 25
sanding discs of 40 grit to get down to bare wood again. Then I switched
to 80 grit and finished with 150. And if that wasn't enough, I had to hand
sand with 150 grit on all those edges one more time. This took hours to
do and all I can say is...live and learn.
|
|
 |
|
1
2
3 |