|
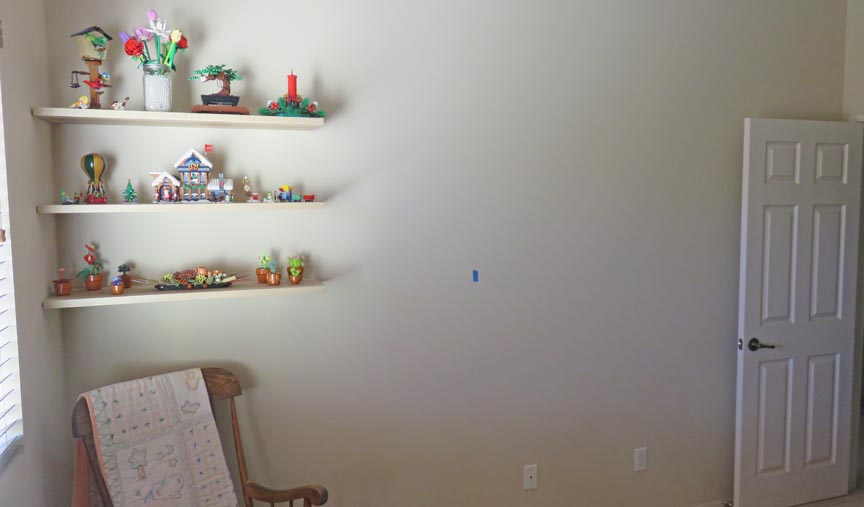
I'm going to make another set of shelves to hold more
Lego's because as you can see, the first ones are getting full. The
shelves that you
see below are three feet long but the new ones will be slightly longer
at 3' 4" long. Also, I'll be leaving a gap between the new and old ones
to hang a Lego project on the wall.
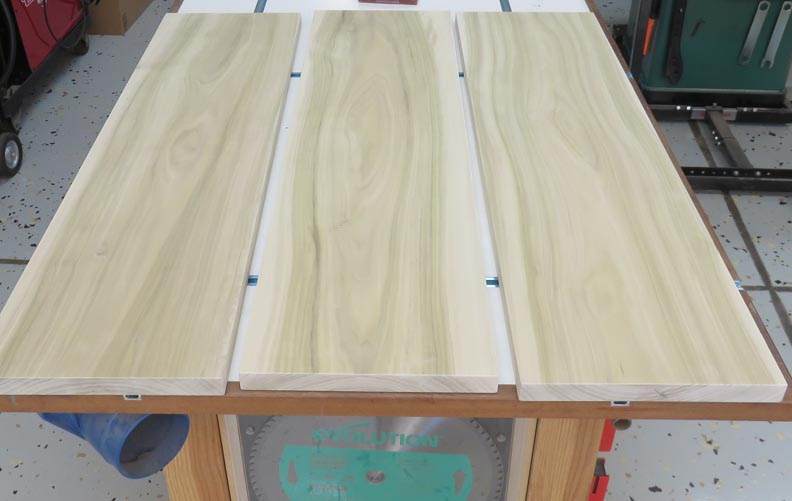
I'll be using the same species of wood, which is poplar
so they all match. The blue tape on the wall represents the end of the
new shelves. This gives me about 27" between the shelves. With that
being said, let's get started.
|
|
 |
| Working With Wood
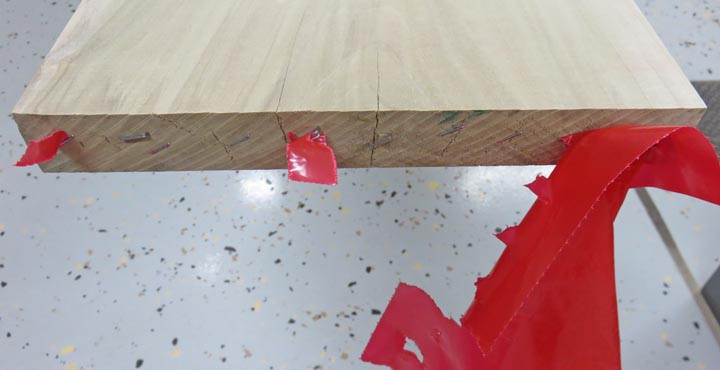
Here is the piece I'll be using, which is over 11 feet long and is 1
1/4" thick. If you're wondering about that red flag barely attached,
this is what it looked like once I arrived home.
|
|
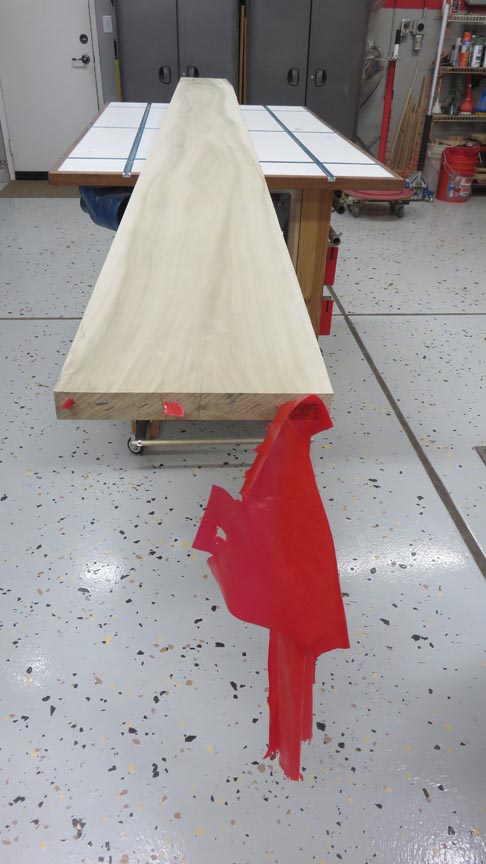 |
I attached this flag with about 12 staples thinking it would stay
fastened. Well, I guess technically it did but not by much.
|
|
 |
Here I'm rough cutting my shelves oversize by about 1/4".
|
|
 |
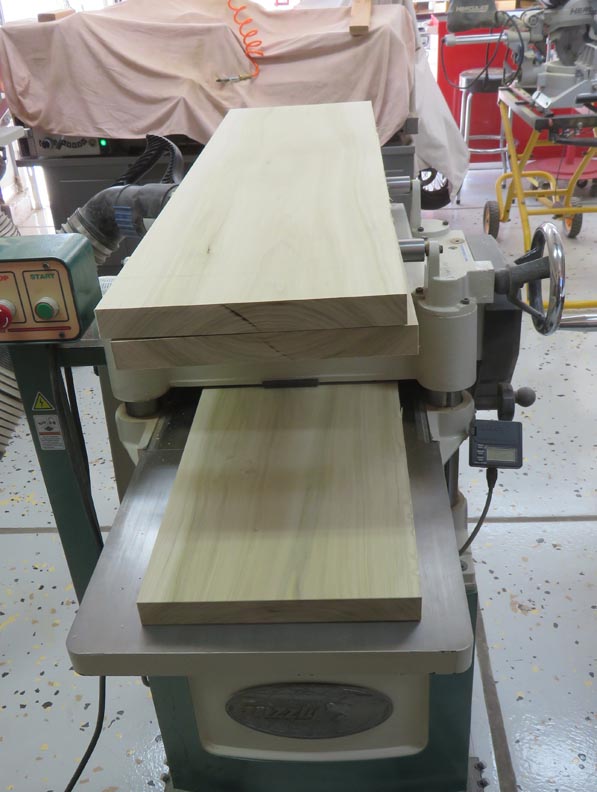
Next I sent my three work pieces through my thickness planer. It's a
shame that I removed 1/4" of material that ended up going into my dust
collection system. But that's what it took to match the other ones.
|
|
 |
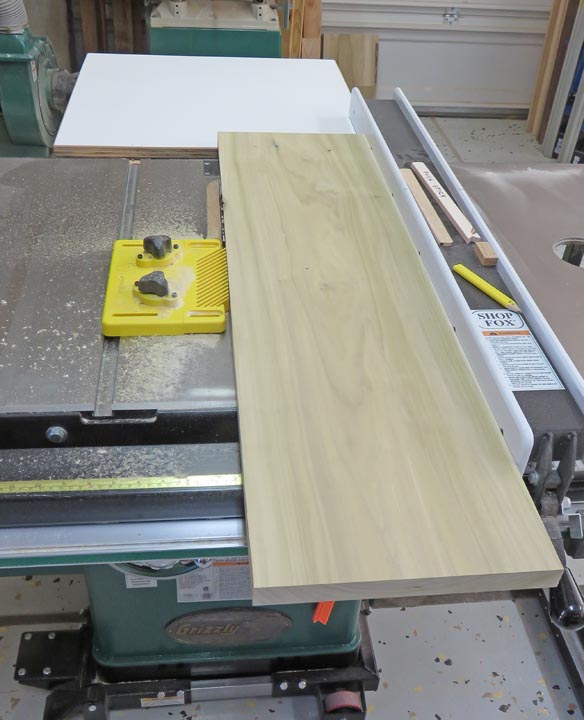
Here I'm jointing the sides, but with just a clean-up cut. They ended up
at 11 1/4" wide.
|
|
 |
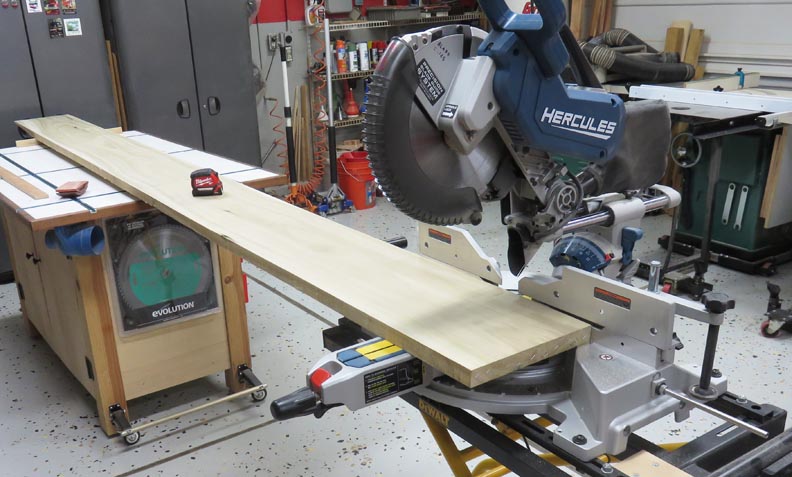
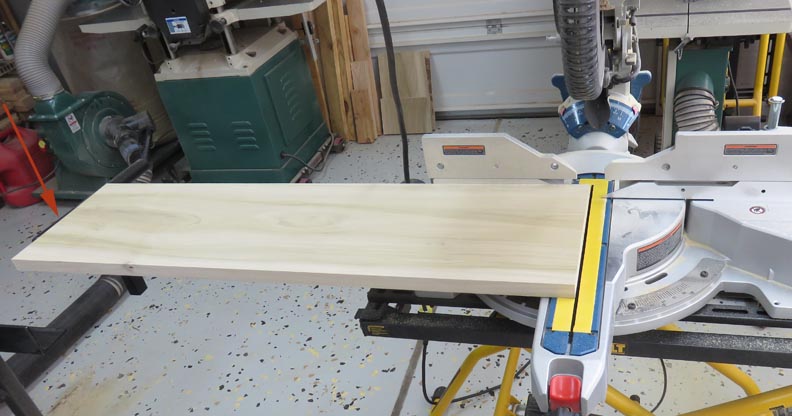
Here I'm cutting them all to size. To make sure they were all exactly
the same length, I'm using my support arm as my work stop (arrow).
|
|
 |
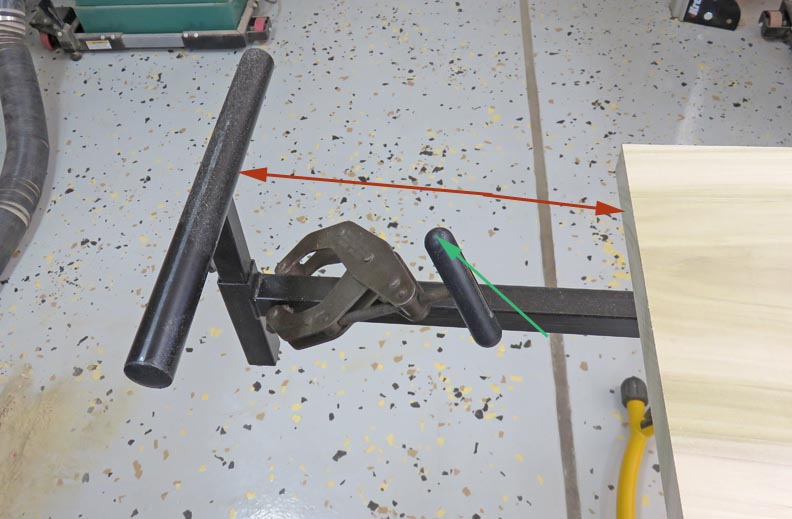
Here you see what I was talking about much better. The end of my work
piece banked against the adjustable support arm (red arrows) and my work
piece was being supported by a clamp so it didn't fall (green arrow).
|
|
 |
All three surfaces are to size at this point. But before I drill the
holes for the mounting hardware, I'll need to attach the brackets to the
wall.
|
|
 |
|
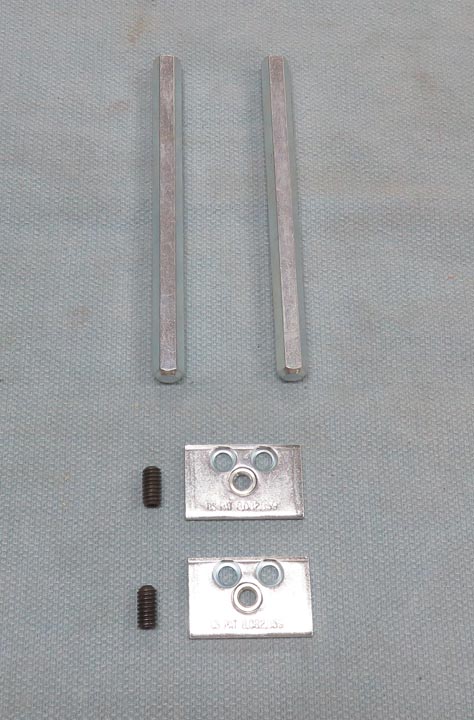
What you see here is the hardware for the floating shelves.
It's a simple process: first you mount the rectangle brackets to some
studs. Then you screw in the 3/4" long setscrews until they bottom out
against the wall and then thread on the 6" long posts. Once everything
is on the wall, you have to drill some 7/16" diameter holes into your
shelves that match what is on the wall.
|
|
 |
|
1
2
3
4 |