|
Working With Wood Continued
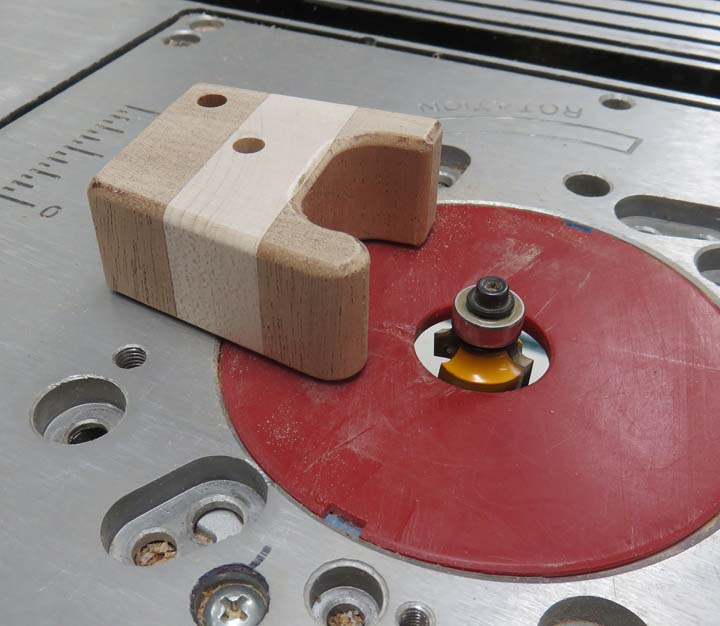
I used a 3/16 roundover bit to soften most of the edges.
|
|
 |
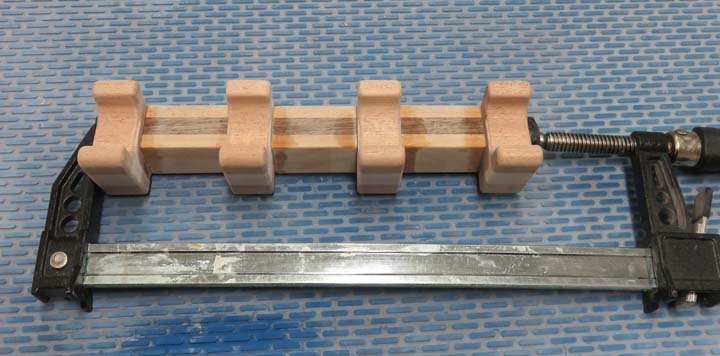
Now it's time to glue and clamp all the
pieces together.
|
|
 |
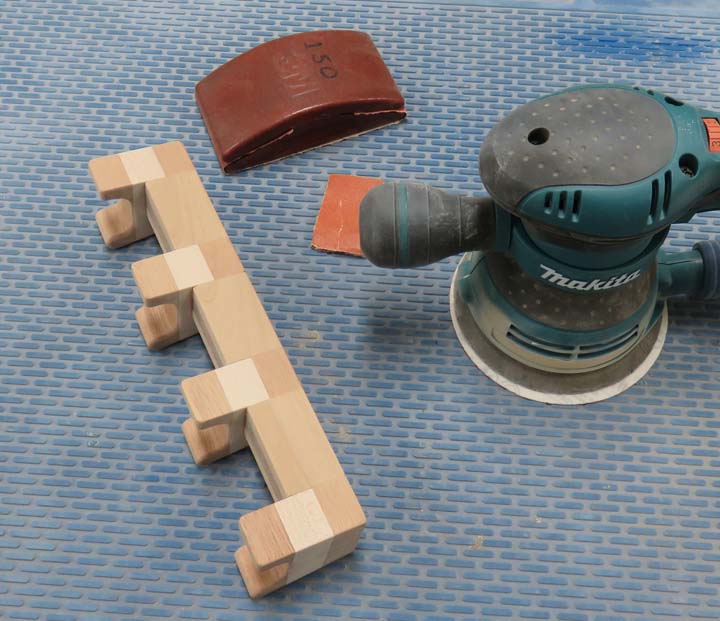
The next day I sanded the back and bottom with my DA sander. But the
rest of the edges were done by hand.
|
|
 |
|
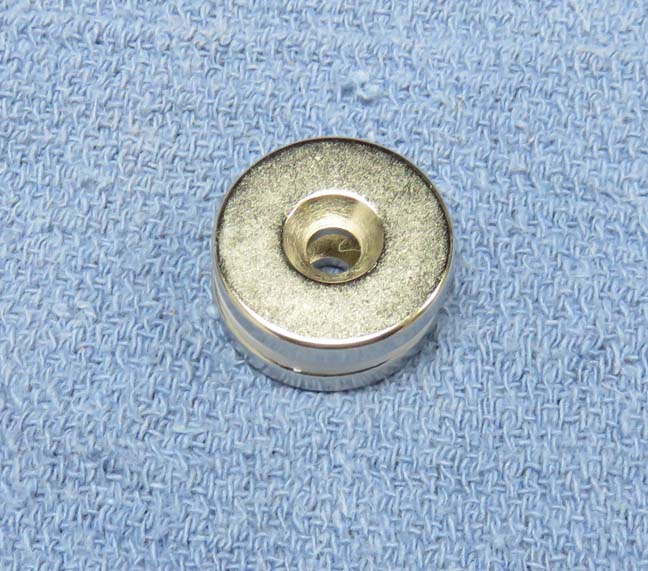
I bought some neodymium magnets from
K&J Magnets, to hold the
rack to a steel surface. The size of the magnets are 1" diameter by
3/16" thick and I'll be using two of them. The white plastic piece
between the magnets is how they were shipped, which makes it easier to separate them.
|
|
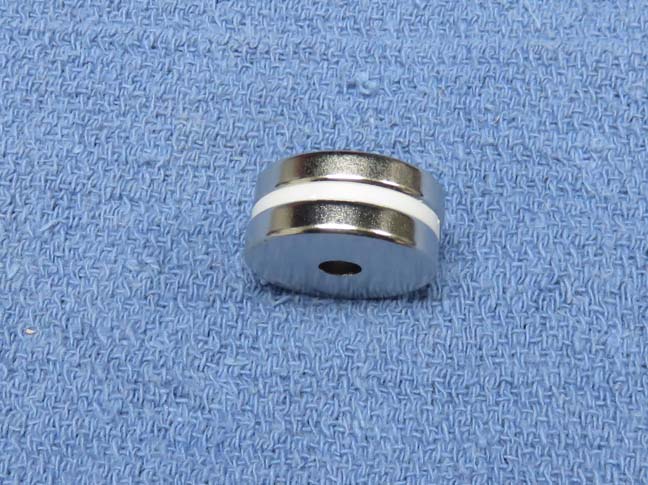 |
These magnets also have a countersunk hole so you can use a #8 screw to
fasten them with. I've used this style of magnet many times before and
they work great.
|
|
 |
|
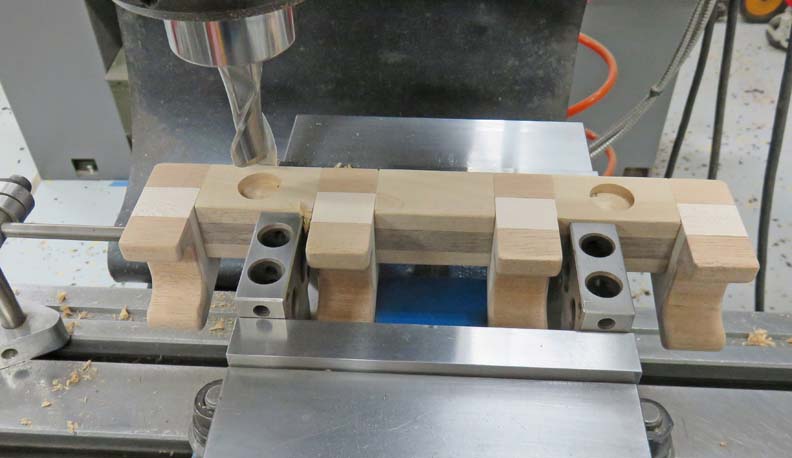
Here I'm using a 3/4" end mill to rough the pocket with.
Then I switched over to use my boring head to bring the pocket to size.
The reason I didn't use an end mill for this is because I didn't have
one
that size.
|
|
 |
|
Once the pocket was finished, I drilled some pilot holes
for my screws. If you're wondering what those odd looking things inside
the pockets are, they are the dowel pins that I put in earlier. But this
won't affect anything because everything has been glued.
|
|
 |
|
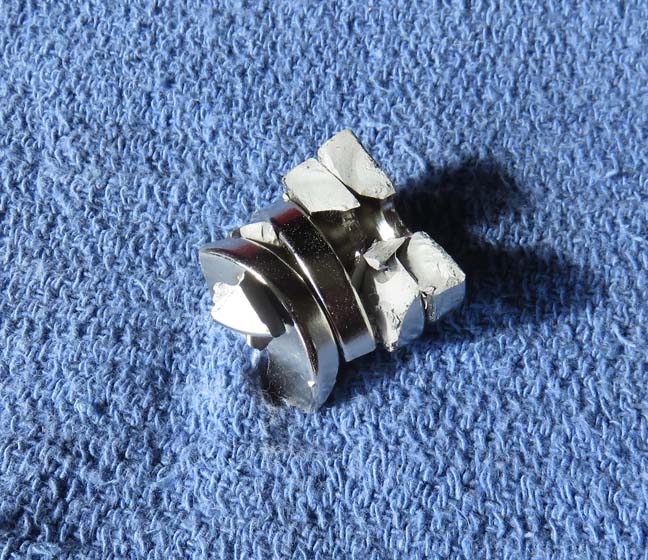
As I was removing the white plastic shim between the
magnets, one of them got away from me and found its way back to the
other one. The force created by the two magnets coming together was
enough to break them both into many pieces.
|
|
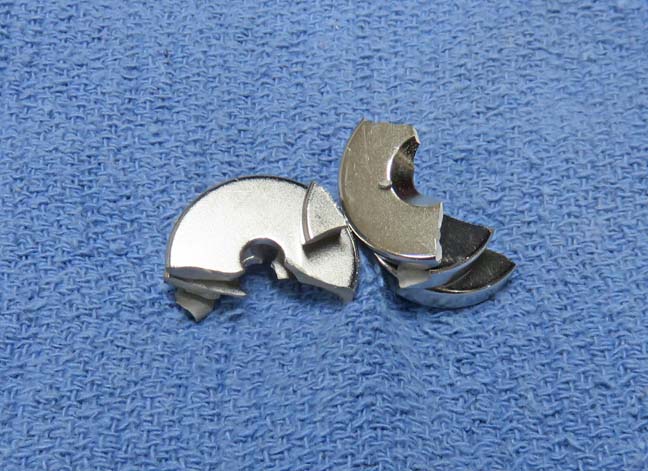 |
This all happened in a blink of an eye and there was nothing I could do
at that point. All I can say is, it's a good thing I bought four magnets.
|
|
 |
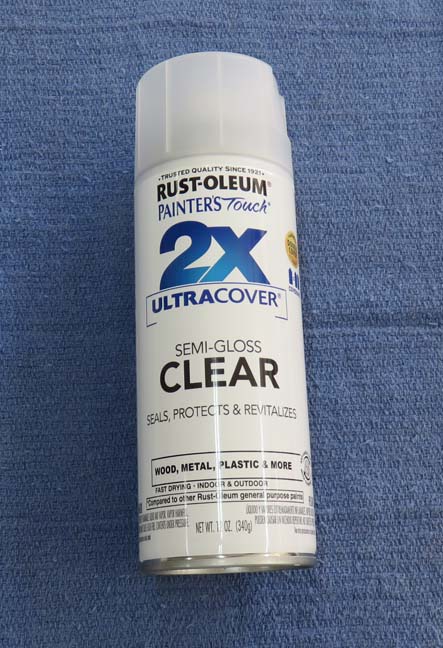
I'll be using some semi gloss clear on this project.
|
|
 |
|
1
2
3 |