|
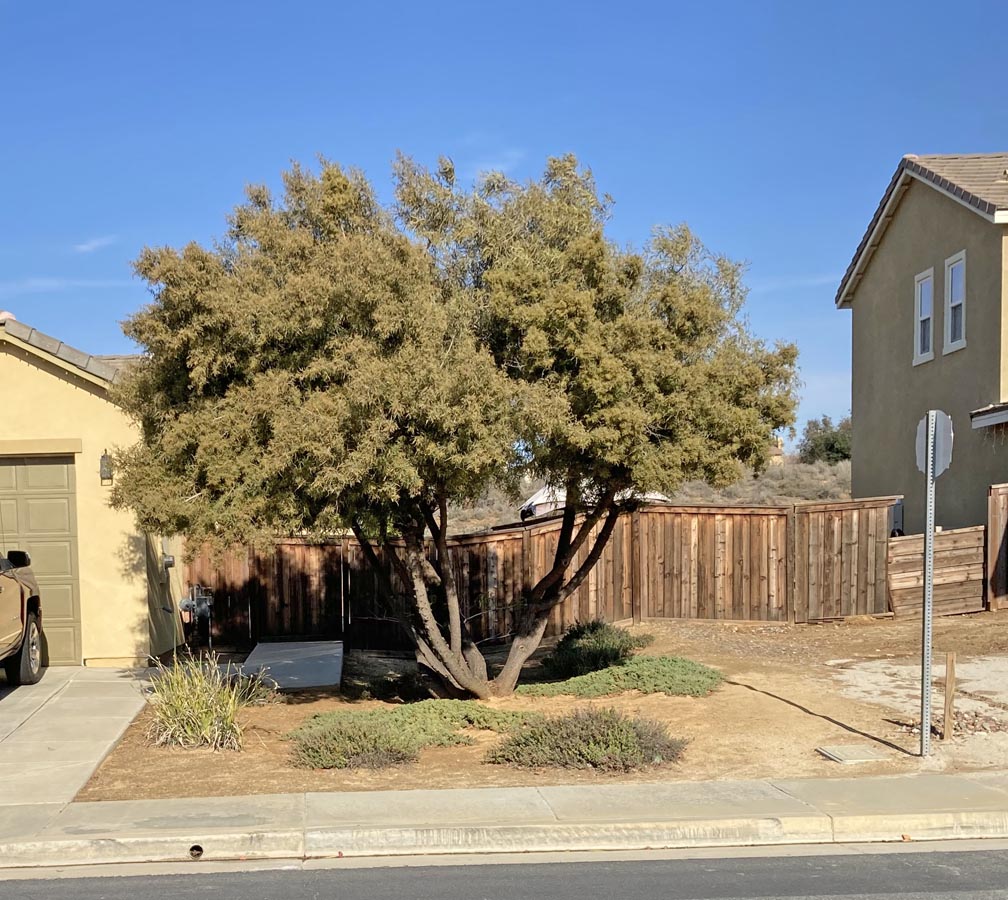
We're getting ready to make some changes to our front
yard and we decided to start on this side first. All of these plants and
tree were here when we moved in, which was fine for awhile but now we're
tired of it all. That tree is real problem because: it drops all kinds
of junk, it attracts tons of bees in the spring, and the root system is
really getting out of hand.
|
|
 |
|
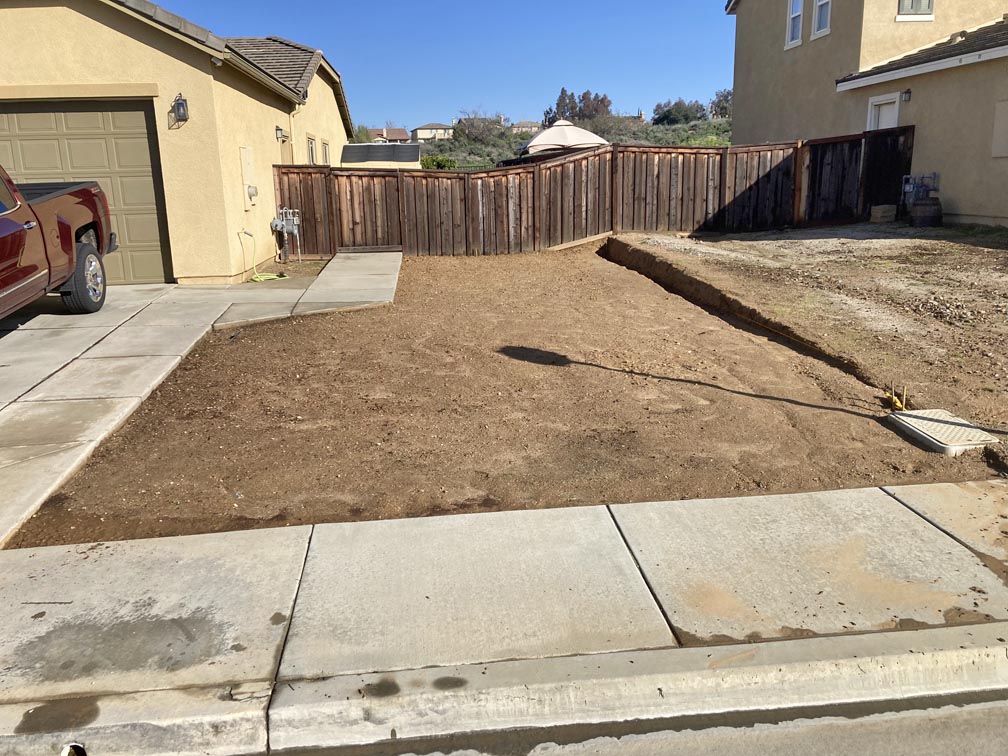
Fast forward a few months, and we now have a blank slate
to work with. My plan is to put in a small retaining wall on the right
side, install a weed barrier, plant about a dozen small plants, cover
the surrounding area with rock and place a few boulders here and there.
|
|
 |
Here is where the wall will go. It will be less than two feet tall and
will be easy to install because it won't require any mortar.
|
|
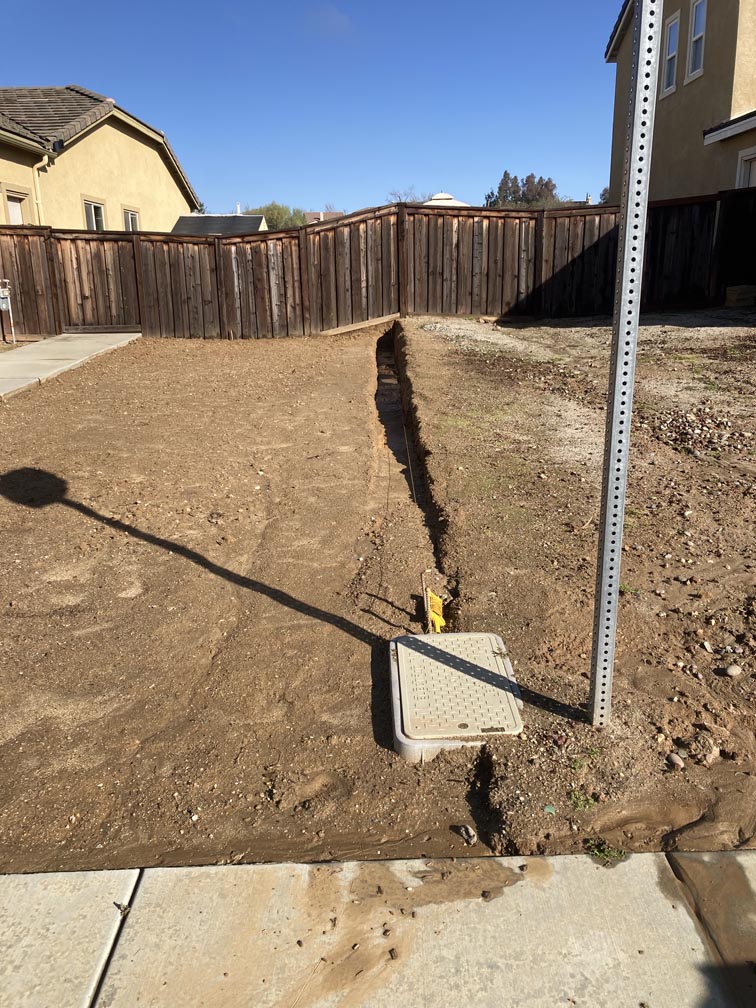 |
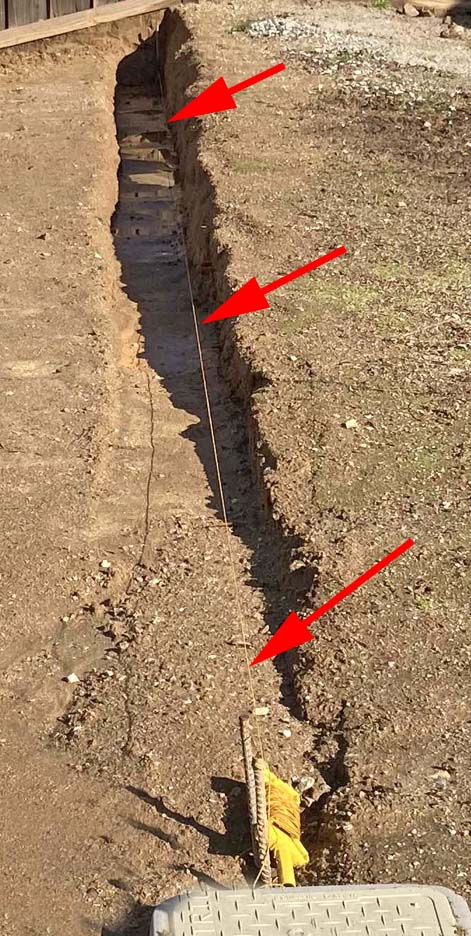
The string is level and will be used to aid me in building my wall.
|
|
 |
|
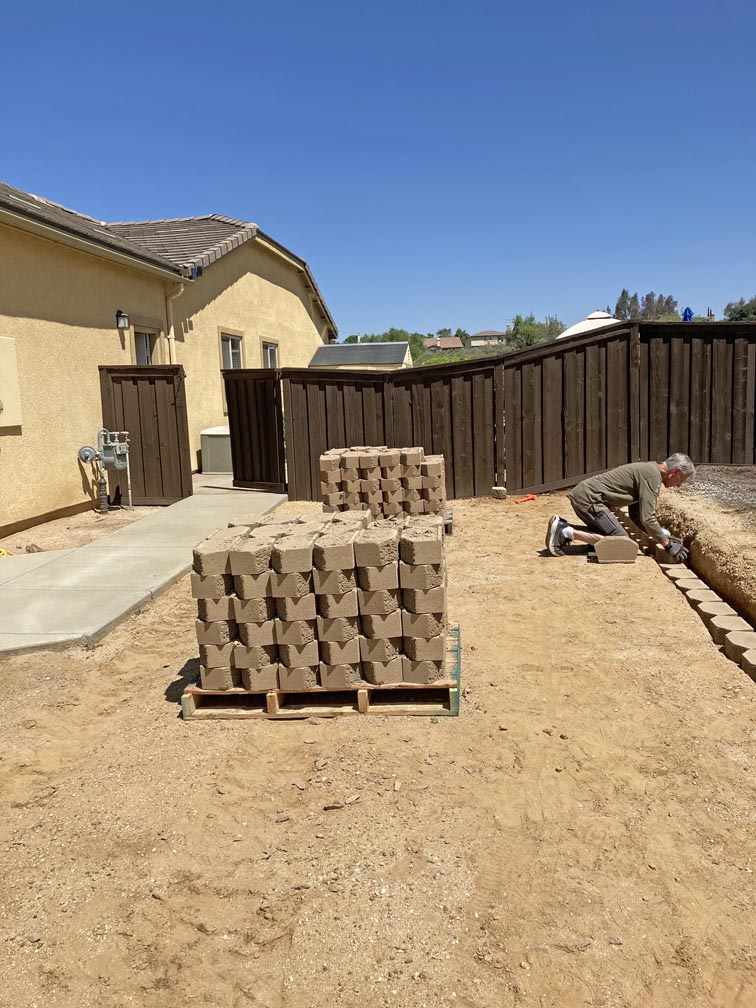
I had all the blocks delivered and now the work begins.
Each block weighs over 22 pounds and they get heavier as the day goes
on. But the hardiest part is laying the first row because it has to be
level front-to-back and side-to-side. I used about one to two inches of
sand under the blocks to make it easier to level each one. Also,
something else has changed. Can you see it?
|
|
 |
|
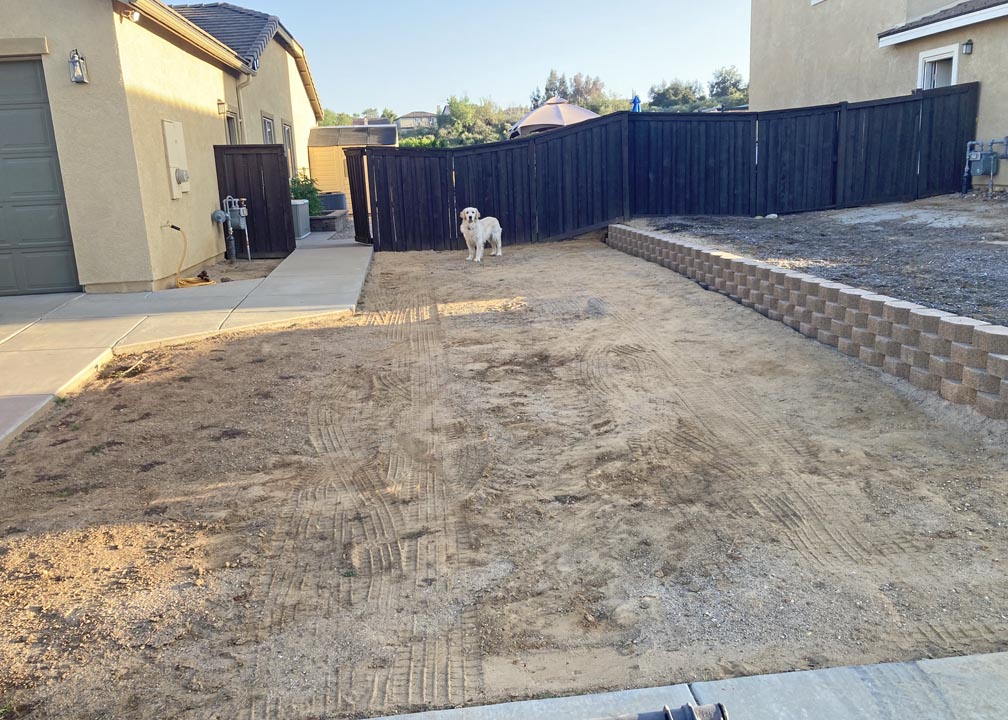
Two days later I had my wall finished. However, I
planned on having it taller than what you see here and ended up with a
bunch of blocks left over. After building the taller
wall my wife and I didn't really didn't like it that much. So we pulled
off one first, then two rows, which is what you see
here. After looking at it for a day or so, we returned the remainder of
the blocks. But if we ever get the bright idea that we'd like to have it
higher, we can add to this very fast. Our dog Theo really liked helping
me and loved biting at my gloves while I worked.
|
|
 |
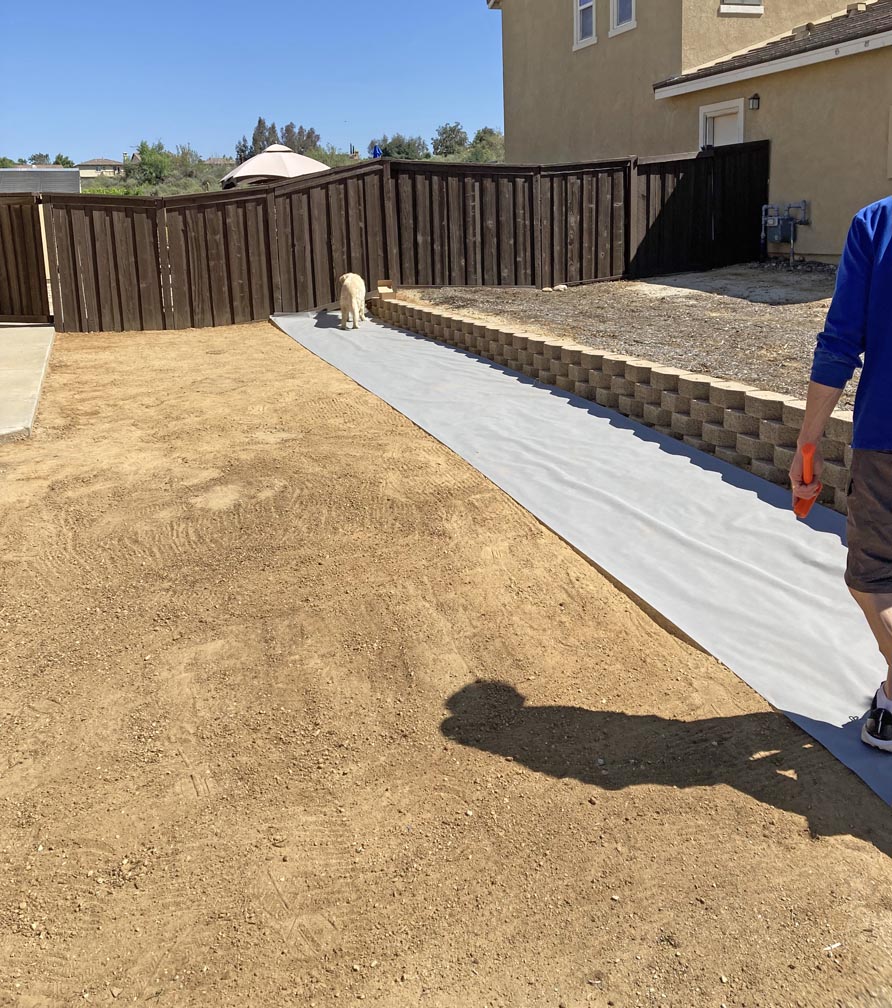
Here I'm laying down some heavy duty weed barrier. I used U shaped garden
stakes to keep the barrier from moving.
|
|
 |
|
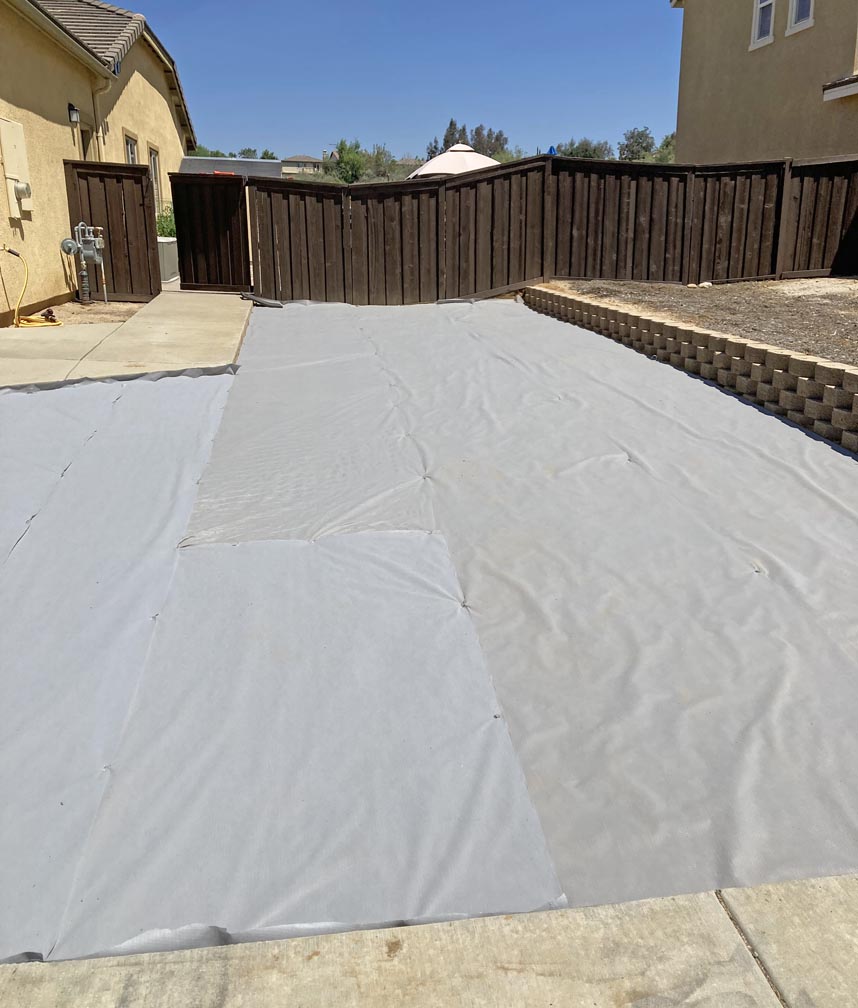
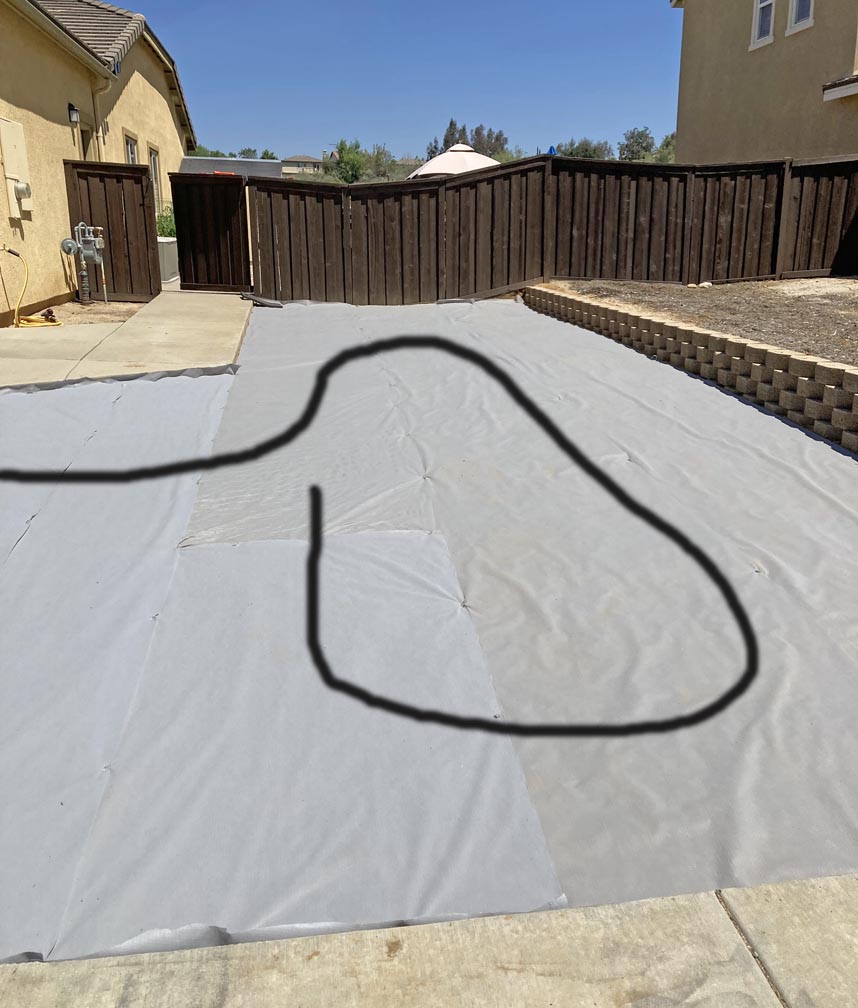
And here is what it looks like when we were finished with the barrier.
|
|
 |
However, I forgot to take pictures of the drip irrigation system and the
holes for all the plants. So I used Photoshop to show you where the main drip line was
placed to accommodate all of the plants. And yes, the drip line was
placed on top of the weed barrier.
|
|
|
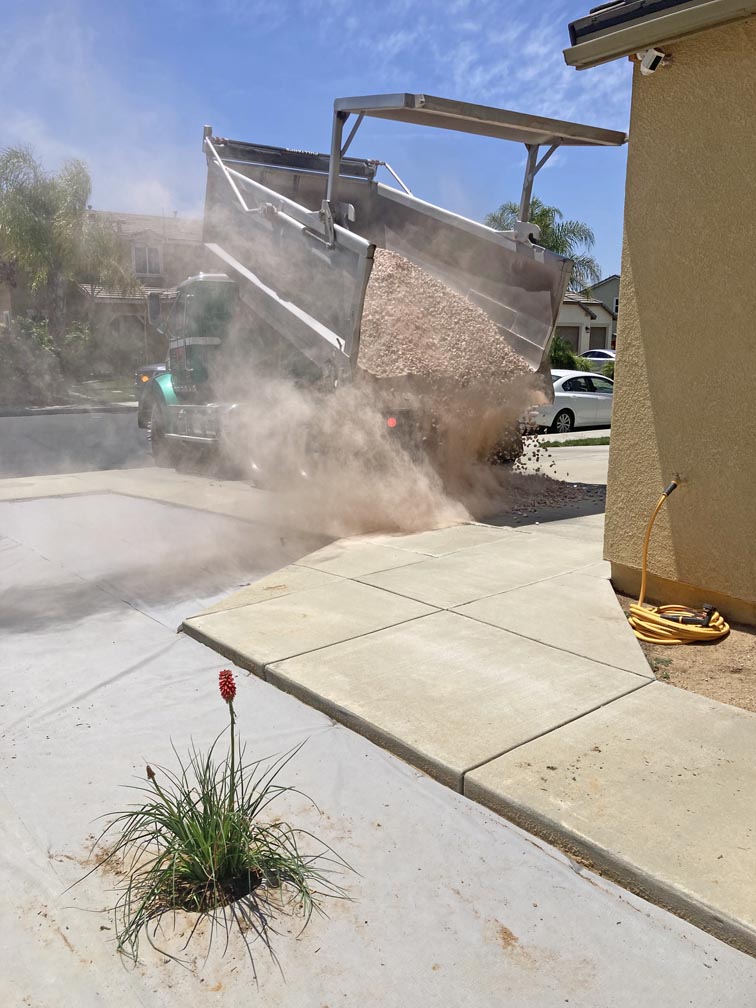
What you see here is the three yards of 1" rock being delivered onto
the driveway. Once I took this picture, I ran into the back yard to get
away from the dust cloud. You can also see one of the many plants in
the foreground that I mentioned earlier.
|
|
 |
|
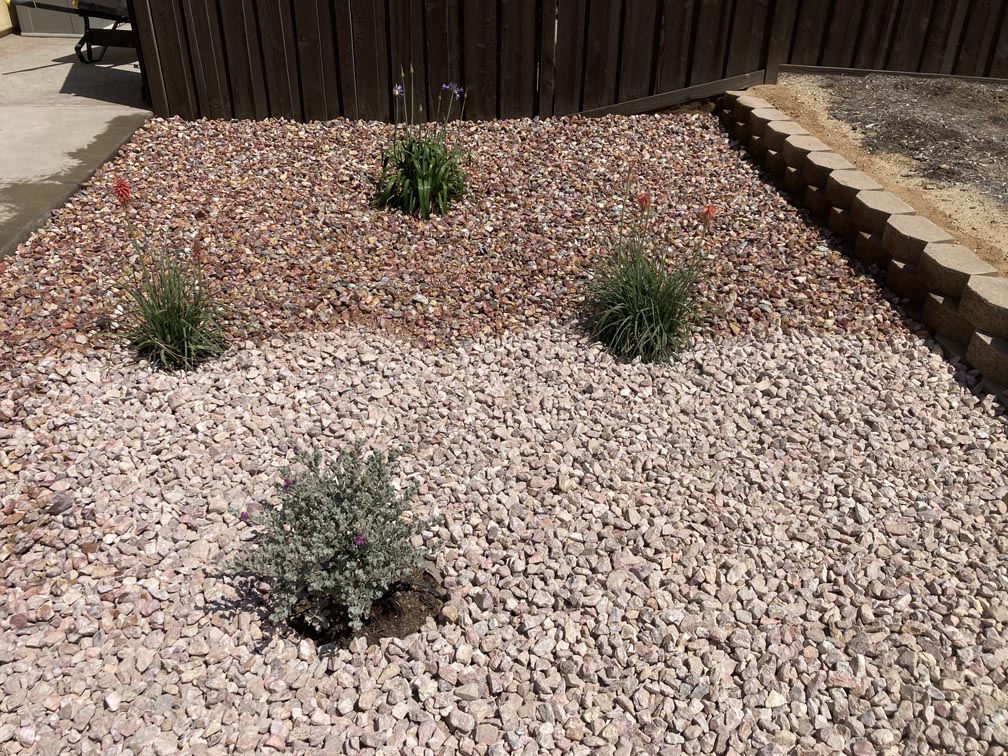
Shoveling all that rock isn't easy for an old guy like
myself but after two days I got it finished. The name of the rock is
called "Apache Gold" that I got from
Cherry Valley Nursery. I sprayed water on part of
it to show you what it really looks like with all the dust off of it. What a
difference!
|
|
 |
|
1
2 |