|
Working With Wood Continued
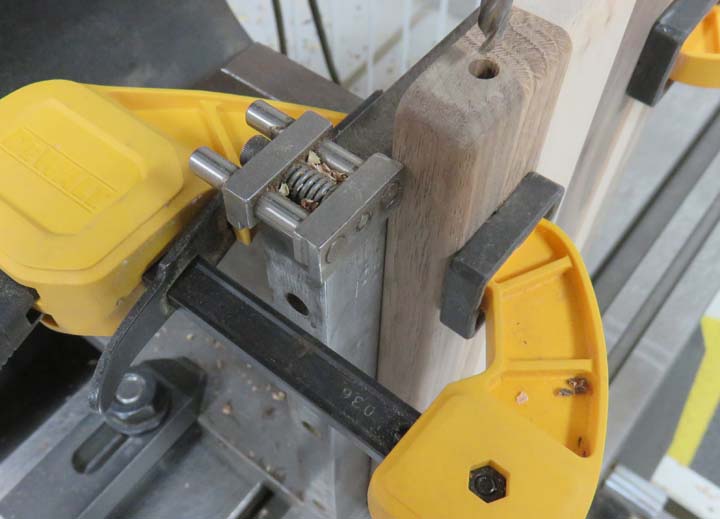
I'm also using a vise work stop clamped to my angle plate so I'd have
repeatability between each work piece.
|
|
 |
|
With the holes all finished, now it's time to cut a
clearance slot for the slicing wire. Here I'm using my crosscut sled on
my table saw along with a work stop on the right side making it easy to
have my cuts in the same place. The center of the slot is
3" from the end.
|
|
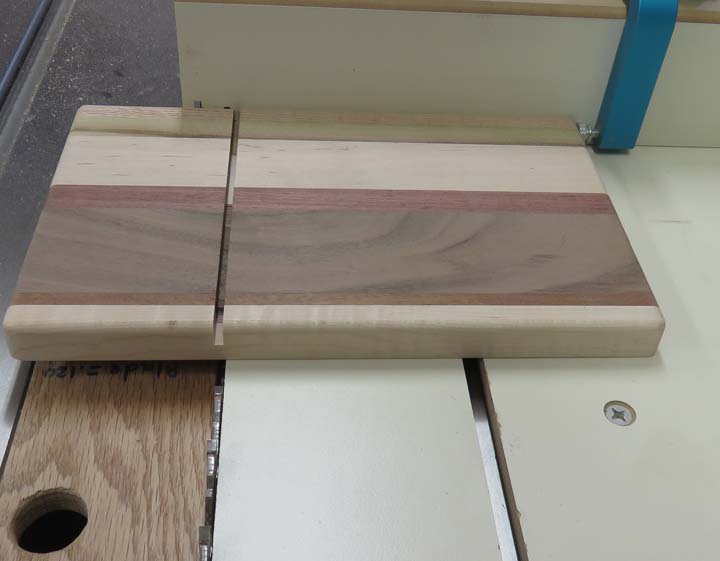 |
The right edge of my sled acts like a zero clearance chip breaker, which
I've used a few times before. Doing this works really well so I don't
end up with tear-out on my work piece.
|
|
 |
|
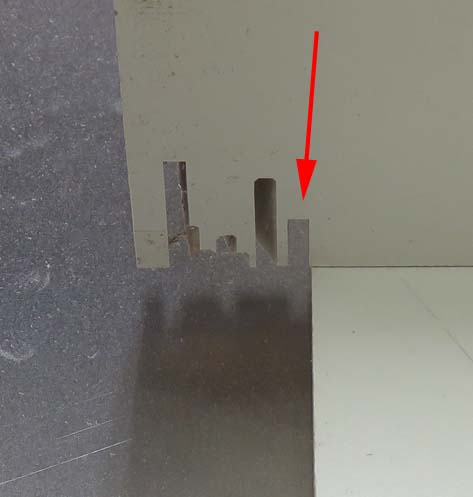
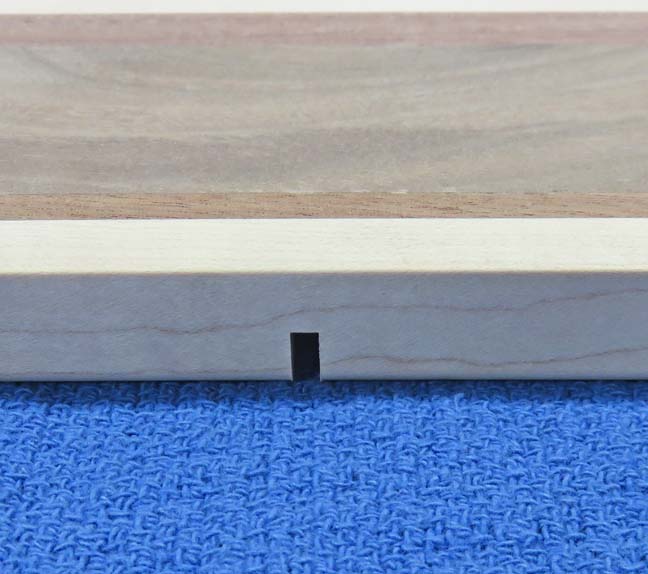
Here is the exit side of the clearance slot and there is next to nothing
for tear-out. This operation went really fast compared to my first ones
that I made years ago. The reason is because I used an 1/8" end mill
back then, which is a very slow process.
|
|
 |
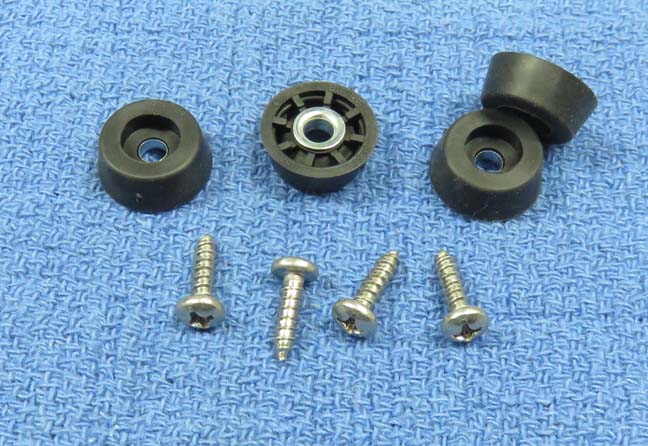
I'm going to use these small rubber feet on the bottom so they doesn't
slide while there being used. The screw size is #6.
|
|
 |
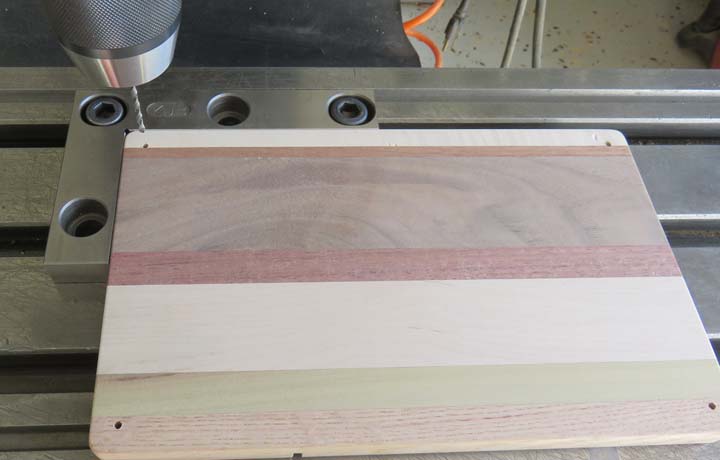
Here I'm drilling pilot holes for the screws. Notice I'm using a "Nest"
as a work stop. This way I can turn my work piece 90 degrees and then
drill the next hole. And there is no need for clamps dong it this way.
|
|
 |
|
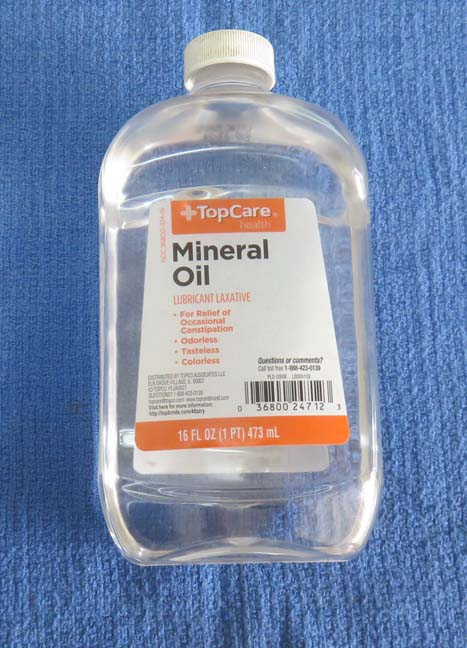
I'll be using mineral oil for this project. I could have
used cutting board wax but this is much easier to apply plus I've had
very good results with this in the past. And if someone wants or needs
to put more oil on their cheese slicer, this is easy to find. You could
also use olive oil or vegetable oil as well.
|
|
 |
|
1
2
3 |