|
Our granddaughter is going to turn one years old in
August and I wanted to make her a bank (think piggy bank here). Now I've
made many of these types of banks for grandkids over the years and thought
this would be fun for her to have.
Working With Wood
Our granddaughters name is Isabella, so I like to use the
first letter in their name for these banks, and in this case it will be
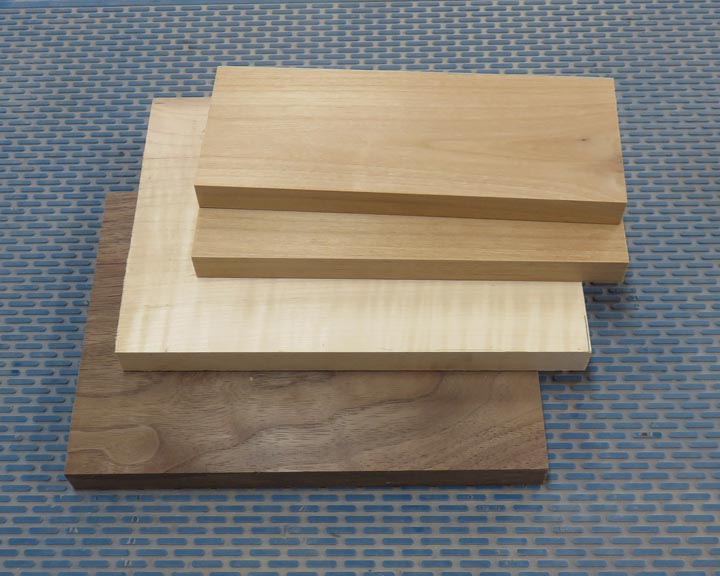
the letter I. The wood I'll be using for this project is alder, maple
and black walnut which should look nice together. The size of this bank
will be 8" tall X 6" wide X 2.300" deep. And I'll be
using some clear plastic on the front so you can see the coins inside.
|
|
 |
|
I'm gluing some alder together to make the required
width. As for the maple and black walnut, I had some pieces that were
wide enough. The next day I sanded both sides and now i'm ready for all
the pieces to be joined together.
|
|
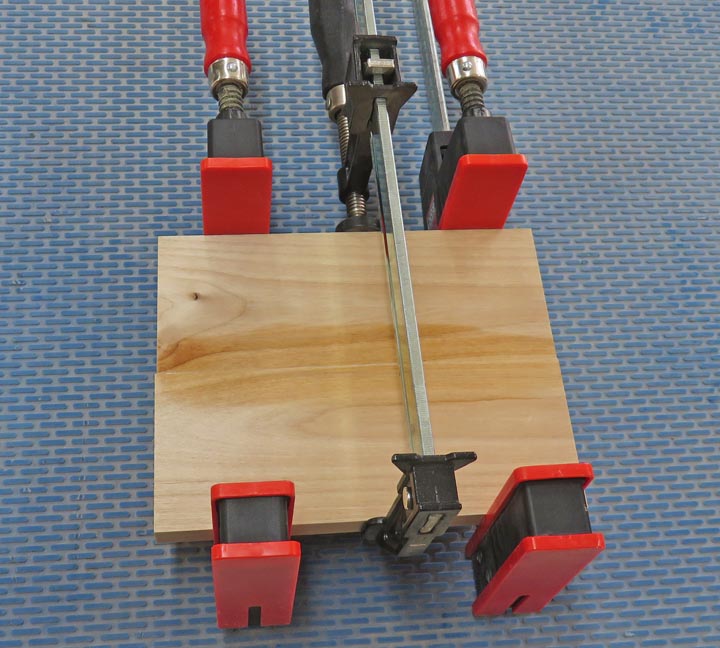 |
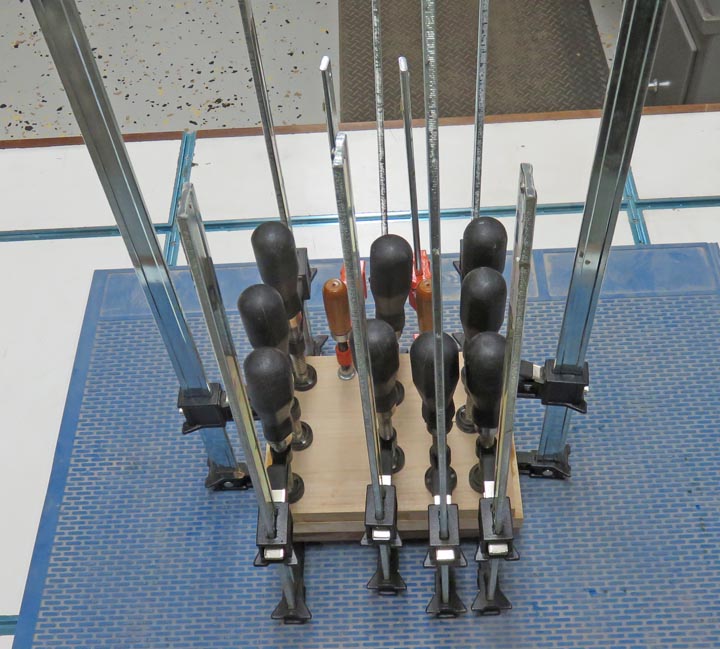
Here I'm gluing all three pieces using a bunch of clamps.
|
|
 |
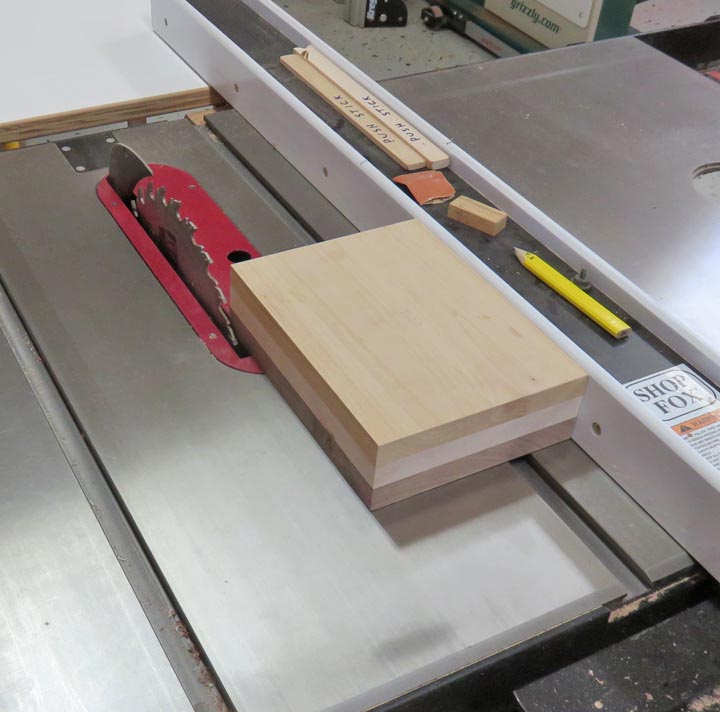
The next day I used my table saw to cut my work piece to size; 8.0" X
6.0".
|
|
 |
|
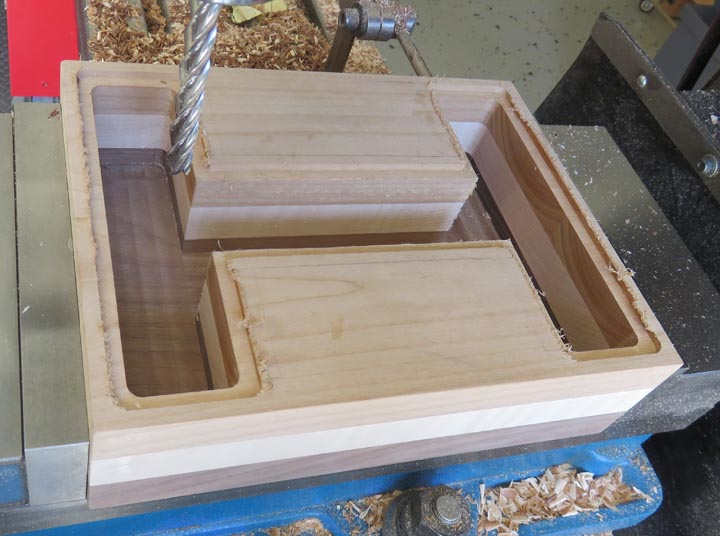
Once my work piece was to size, it was time to cut out
the inside area where the coins will end up. By cutting out the top and
bottom areas first, this way I'm not fighting the end grain of the wood
which can cause some areas to split and tear.
|
|
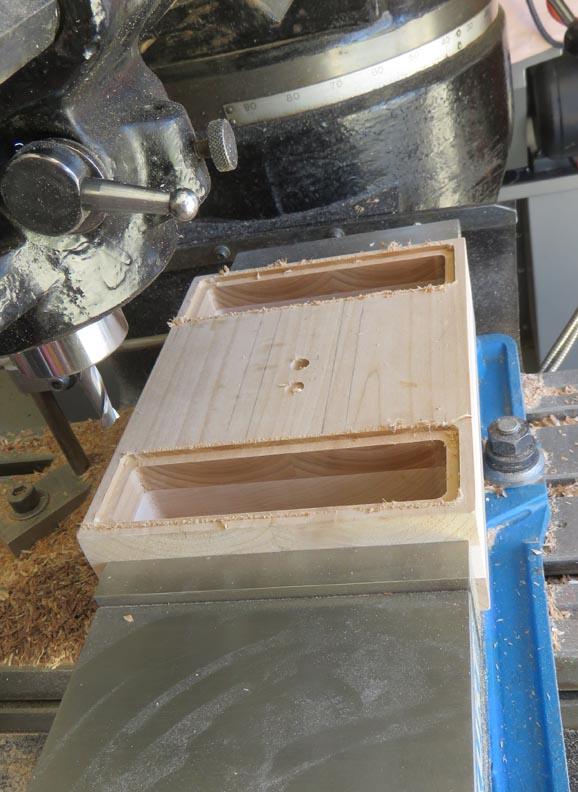 |
I'm also cutting in the relief area for the clear plastic as well.
|
|
 |
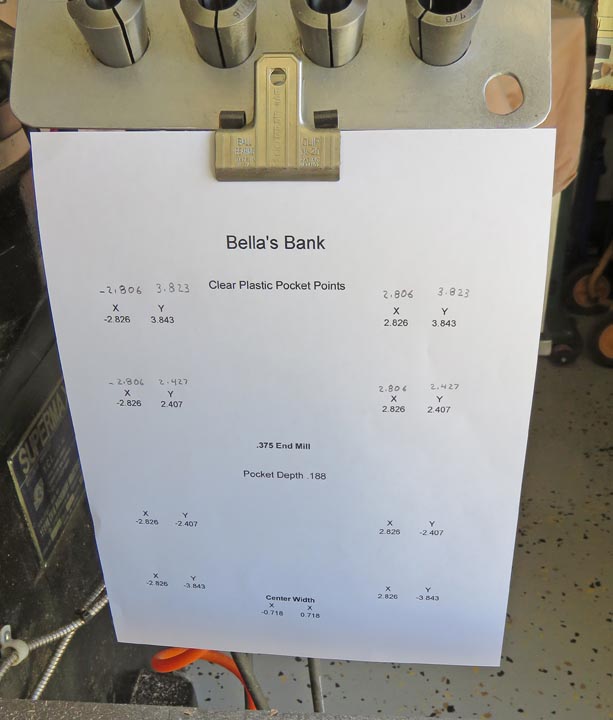
Here is my cheat-sheet for all the tangent points for this bank.
|
|
 |
Now that the ends are done, it's time to remove the waste from the
center area. And I cut in the recess for the plastic as well.
|
|
 |
|
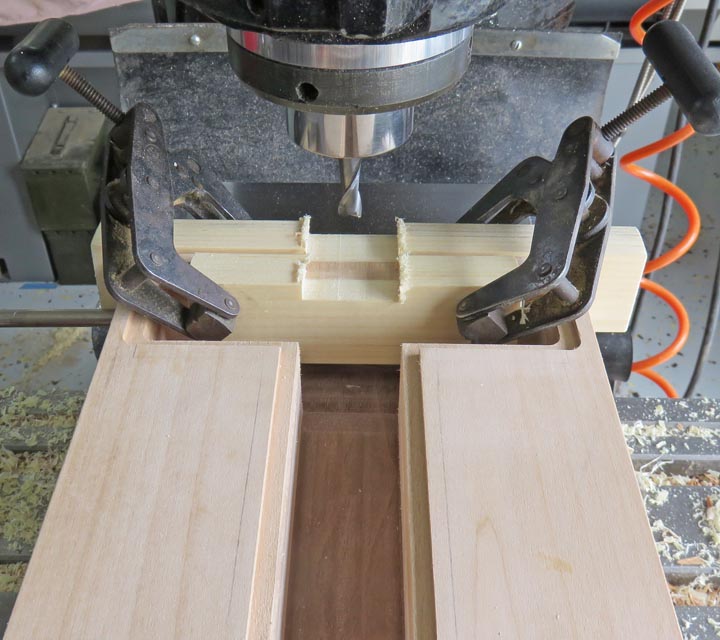
Tooling
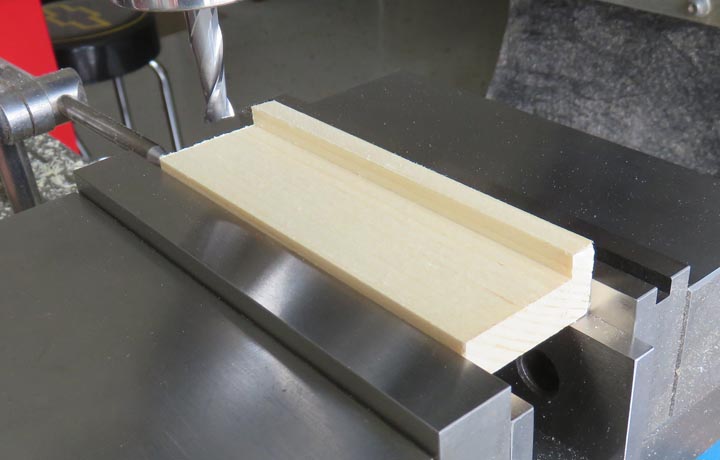
I mentioned how end grain can split while machining it
earlier. Well, the next step is to put in the coin slot which means I'll
be cutting across the grain. But with the help of this piece of pine, it
will be clamped in place as back-up and help with any splitting issues.
|
|
 |
|
Working With Wood Continued
Here I have my tooling clamped in place and I've machined in my coin
slot. This worked out well and I didn't have any problems.
|
|
 |
|
1
2
3
4 |