|
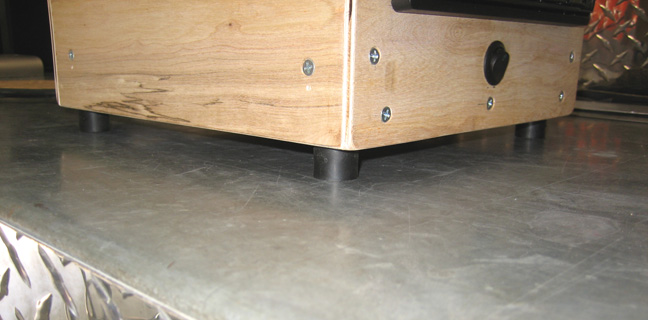
Here are the legs attached to the bottom. All I did was drill some holes
that were about the same size as the threads sticking out of them and
then screwed them in.
|
|
 |
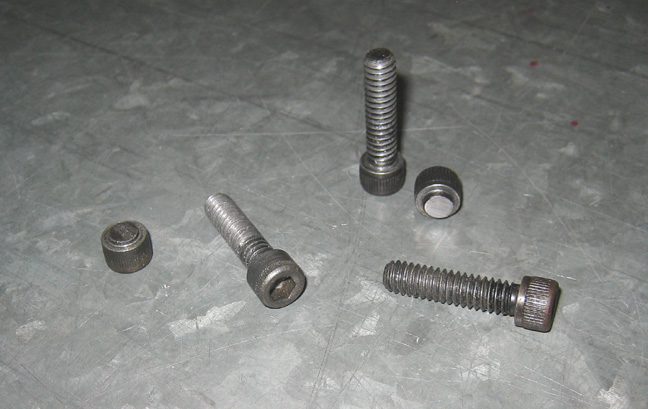
I'm going to add some detail to the front of the blower
housing by using some socket head cap screws. These screws are 1/4-20" X
1" long and I'll be using 10 of them but only three will actually be
holding the front piece on.
|
|
 |
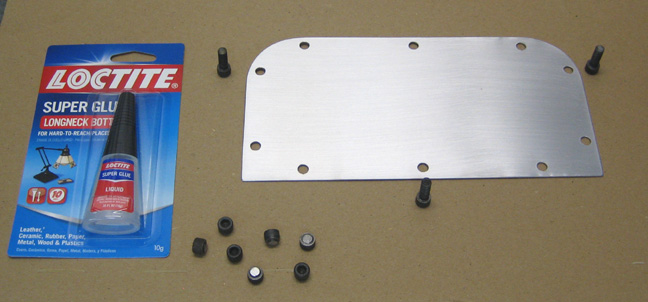
Here is what I mean, the three longer ones will be holding the front
panel in place and the others will just be for show. What I did was cut
off the heads of some screws and I'll glue the rest of them in place.
|
|
 |
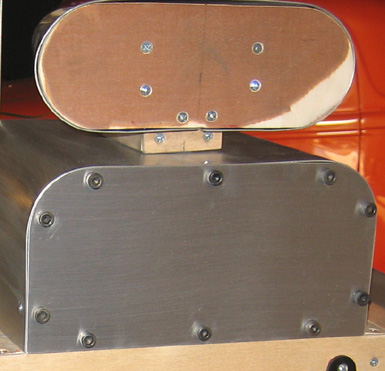
Here is what it looks like with the front panel installed. I thought it
would look a little better this way by adding a little detail. Now let's
see....which ones are the real ones again?
|
|
 |
|
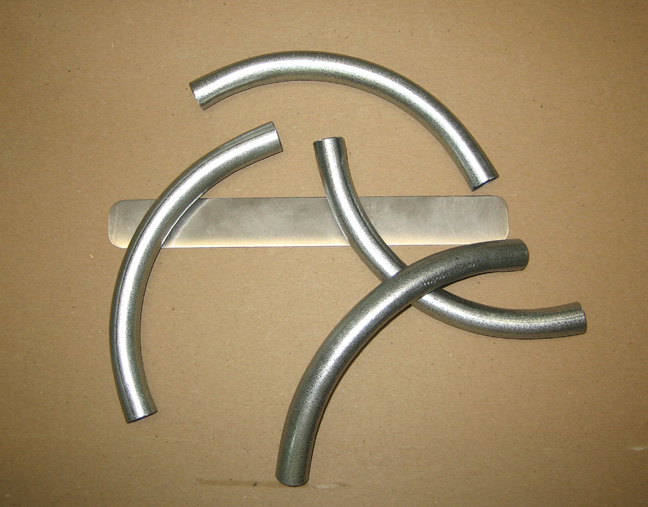
What you see below are some zoomies that need to be
welded together. This is made from 1/2" EMT which is used for running
electrical wire through. All I did was bend some tubing to a 90 degree
angle and then cut off the excess so they were equal length from the
center.
|
|
 |
|
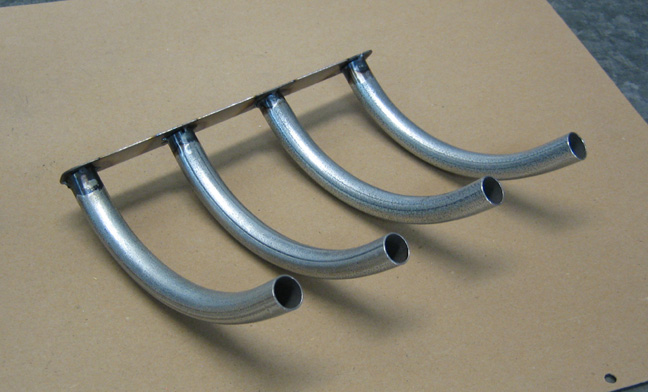
Here is the right side all welded and ready to be bolted on. Doesn't
every garage radio need a pair of these?
|
|
 |
|
1
2
3
4
5
6
7
8
9
10
11
12 |