|
I've made a few of these wine bottle lamps now and thought you'd like to
see what goes into them. They're easy to make and takes less than an
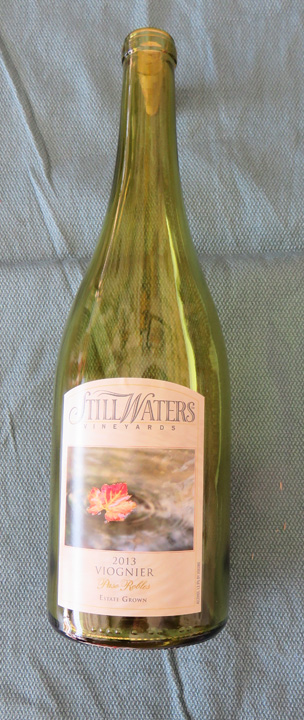
hour. The first thing you do is find a bottle to work with. What I mean
is, something that has a nice label on it. I don't pick any of these
bottles personally, that's left up to my wife and then she gives them to
me to make for someone. Now that we have a bottle to work with, it's time to put a hole in
it.
|
|
 |
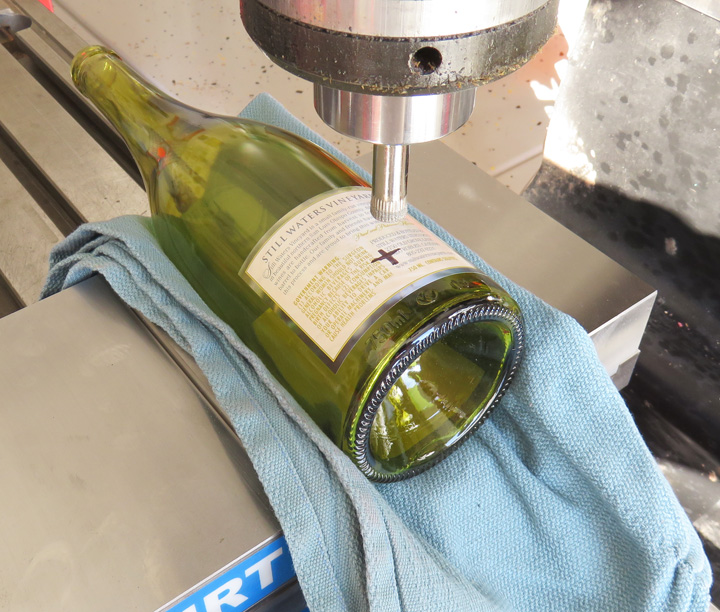
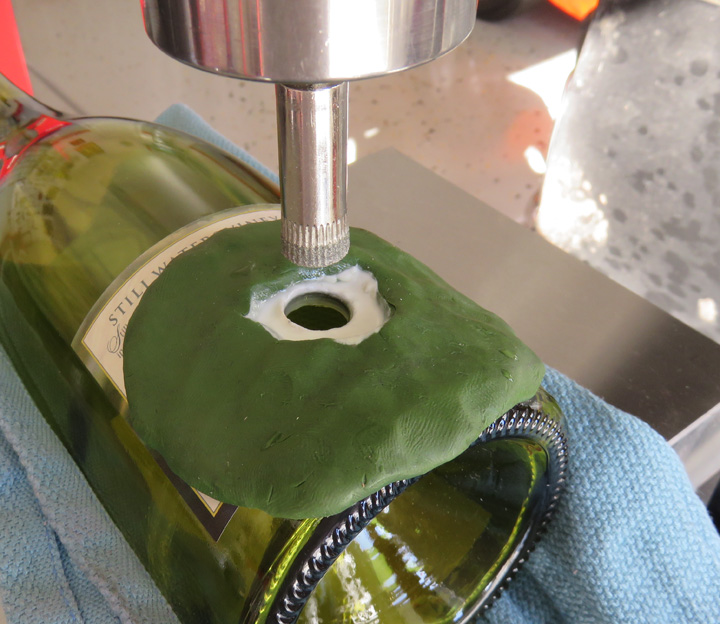
| I like to use my milling machine for this operation along
with a vise to hold it. As you can see I use a folded rag underneath the
bottle and I don't tighten the vise all the way either. I let the bottle float just
a small amount within the jaws and use my left hand to stabilize it.
The cutter that I'm using is a 1/2" diameter diamond hole-saw. This
cutter works pretty good as long as you don't force it. I placed a
center mark on the back of the bottle near the bottom, which will be for
the lights to pass through later on.
|
|
 |
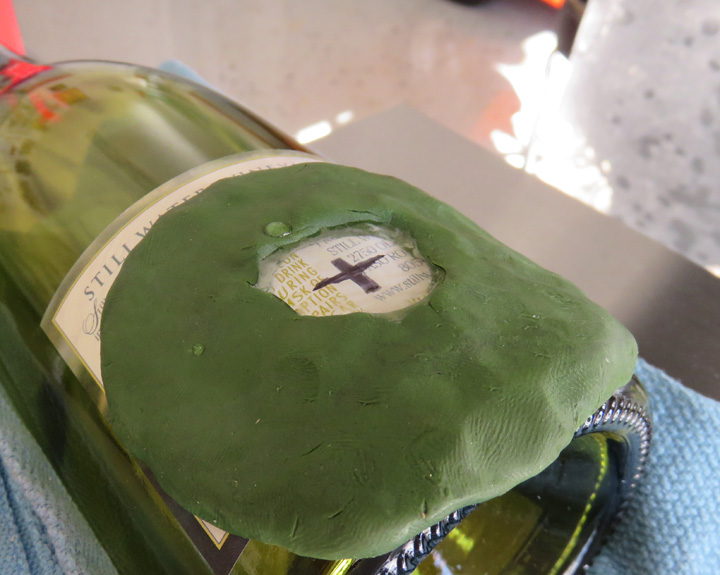
I use water to keep the hole-saw cool and clean. And to make sure the
water stays where I want it, I use clay to keep it there. The clay acts
like a gasket or a dam and if you look close you can see water
covering the center mark.
|
|
 |
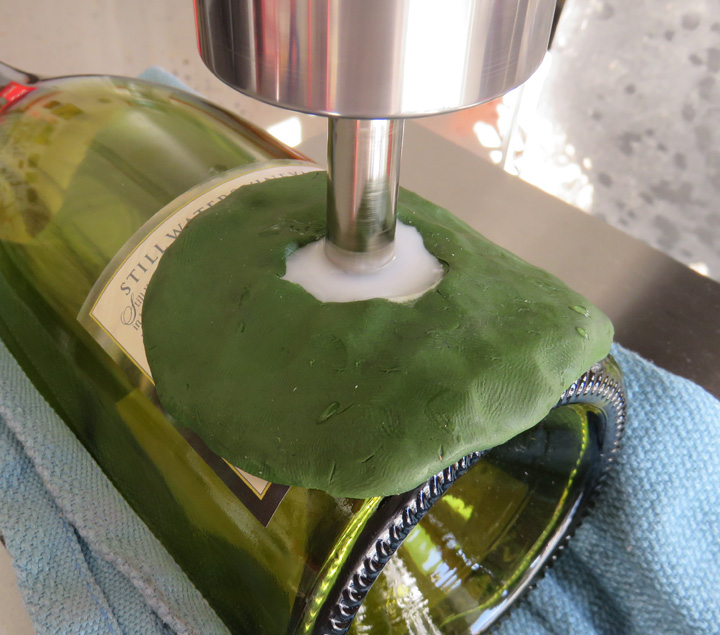
When the hole-saw starts cutting the water turns milky which tells me
everything is working right. The time it takes to drill your hole
depends on how thick the glass is. This particular bottle happened to be
thick and it took me about four or five minutes to work my way though it.
|
|
 |
|
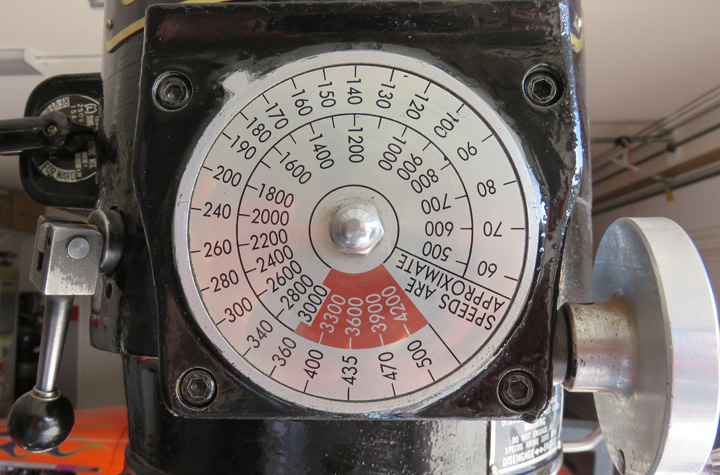
I'm using the outer numbers here which means I'm
running this hole-saw at 175 RPM. Remember, slow and steady is the key
here and don't force it.
|
|
 |
|
As you start to break through you'll want to work very slowly otherwise
you'll chip or break the backside. I've done this before and had to
throw away a nice bottle because I had a heavy hand. 'Finesse' is the
key here, along with taking your time. Once the hole is drilled, I
wash it out with water to make sure the glass isn't broken. After
everything checks out it's time to deburr the top and
bottom edges. I like to use my Dremel for this with a small diameter
cotton impregnated mounted wheel. You can find these mounted wheels at
the hardware store and they work great. The one I like using is about
3/8" to 5/16" diameter which makes it easier to work the inside edges.
If you can't find one that small, use something to turn it down and make
it smaller. I
hold the Dremel at a slight angle while I'm working and only deburr a
small section at a time.
|
|
 |
|
I've bought many different strings of LED lights for these bottle lamp
projects
and have found that between 25 and 35 lights work good for a wine
bottle. If you don't have enough it looks dim and to many looks too
bright...at least for me it does.
During the experimenting stages while working with these lights, I
didn't know how many would be the right amount so I bought a few strings
with 15, 25 and 50 LED's on them. The company I bought them from is
called
All American Christmas Company
and they have a nice selection. Some of their lights are designed to go
into a bottle and have the right amount of lights on them to start with.
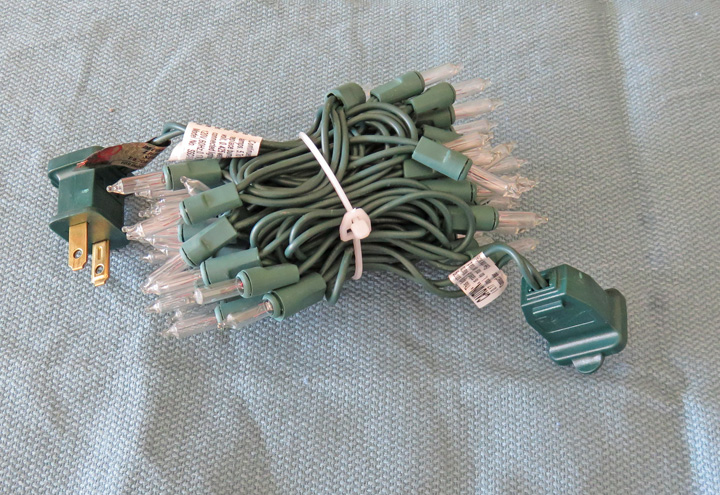
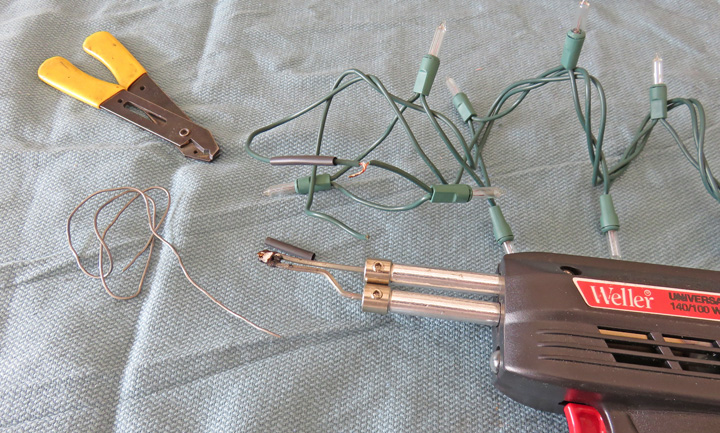
On the other hand the string you see below isn't a good choice for this
and has a few things wrong with it.
The first problem is the two end plugs: I don't need any other stings
plugging into the other end. The second thing wrong is this string has
50 lights. And the third thing is this type of string is meant to have
multiple stings attached. So why am I using this string if it has so
many things wrong? Because I didn't know all this when I first ordered
it. I bought six or more different string types and then learned what
worked and what didn't. And this happened to be my last string when I was
asked at the last minute to make one-more-bottle-lamp for a Christmas
present. I can save it but it just takes a little more time.
NOTE: I use LED lights because they don't get that hot. If you do
use something other than LED's you might want to leave the cork out of
the bottle to let it breath so it stays cooler.
|
|
 |
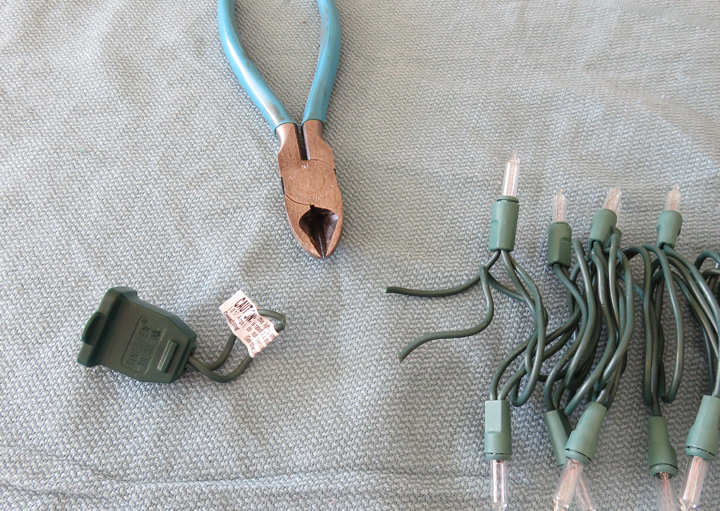
The first thing that needs to go is the reciprocal end (female) and once
that was removed I needed to make sure it still worked. After testing
it in I was good to go so now it was time to do fix number two. I
proceeded to cut off 15 lights to end up with a total of 35.
|
|
 |
If you look close you'll notice there are 'three' wires on this string
now. After cutting off the extra lights I had to reattach two of them so
the string would work. I placed some shrink tubing over the wire,
soldered it and then heated the shrink tubing. This might be overkill
but it's safer.
|
|
 |
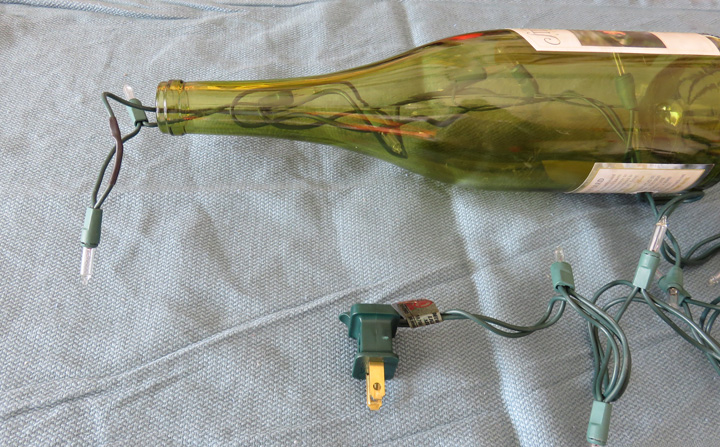
I started feeding the lights in through the hole I cut at the bottom
one-by-one. Once I had about 10 or more inside the bottle, I reached in through the top
and brought the string through the top. I left it there while I fed the
rest of the lights into the bottle and then stuffed the top ones back in.
I've found this helps distribute the lights a little more evenly. Note:
if you look close you can see the wires sticking out of the top has
the shrink tubing on it. This is where I had to join them back together.
|
|
 |
|
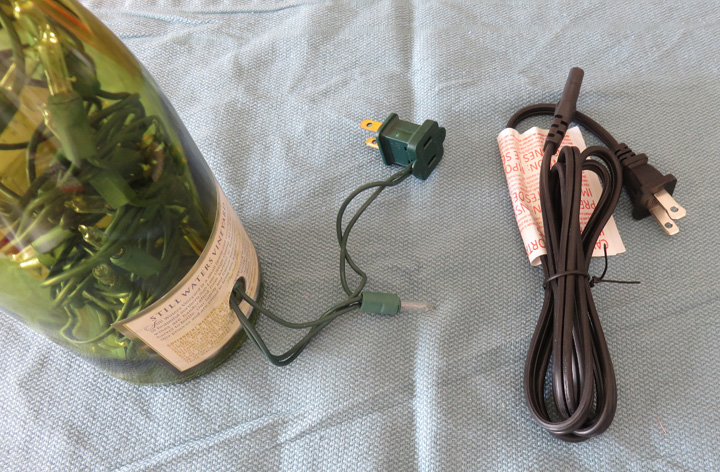
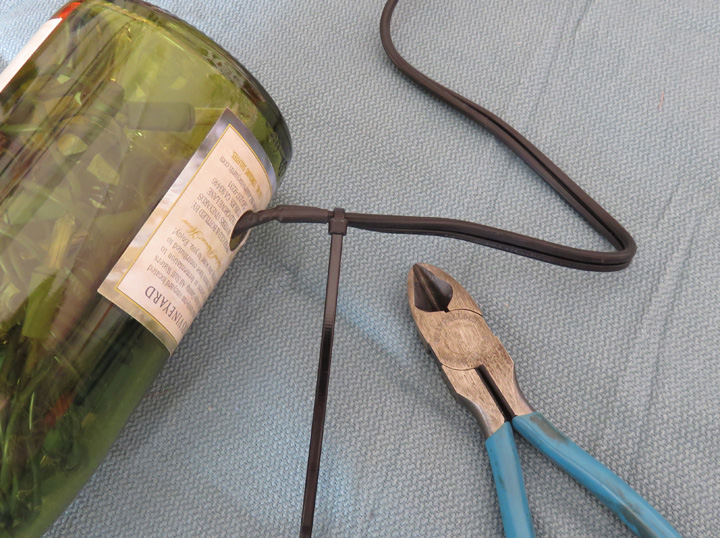
Here is the third problem, the end of this string is
made to have more than one set of lights joined together which is why
the short distance between the plug and first light. I'll need to cut
this plug off and put on a normal length cord that is about six feet long.
|
|
|
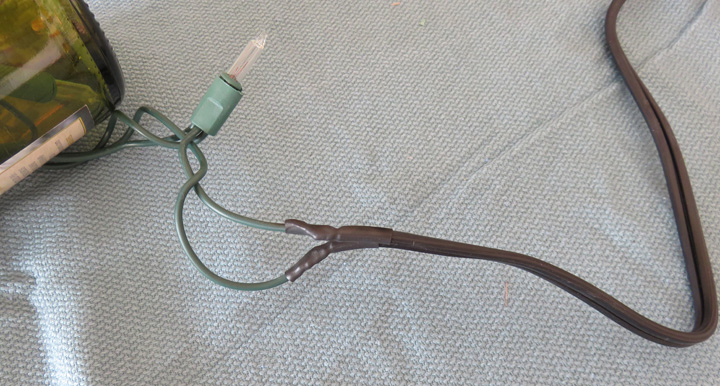
Same thing here, cut, splice, solder and shrink tubing.
This makes for a nice long cord so you don't have a bunch of lights
running up to the plug.
|
|
|
To make sure the cord doesn't pull out accidentally, I
used a 'Zip-Tie' near the splice and then cut off the excess. Then I
stuffed the cut Zip-Tie through the hole so the wire splice won't become
exposed.
|
|
|
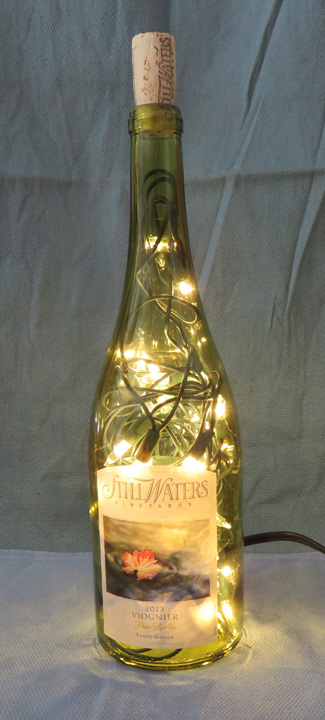
Here it is all lit up and just about ready to wrap up for Christmas.
My wife tied some ribbon and bow around the neck which looked pretty
good before we gave it away. Or you could glue on some bling if you
wanted. This was a quick and easy project which looks as good as it works. You
can use different color lights or different bottles if you want, whatever you dream up. I did a larger one for my daughter (a growler
beer bottle) that took 50 lights and the bottle was dark brown. She
loved it and wants me to make a second one for her. If you get time try
it yourself and see how easy it really is.
|
 |