|
I've had one piece of Myrtle wood lying around for years and have been
saving it for a project but didn't know what to make....till now that
is. A little history about this type of wood: Myrtle wood grows in
Southeastern Oregon and Northwestern California, mostly near the coastal
regions. The wood is very dense and fine grained, which makes it perfect
for cutting boards, trays, bowls and in my case salad forks.
This piece of wood was given to me by a coworker back in the early
2000's and measures roughly 4" X 4" X 10" in size. To work with it I
needed to saw off a small piece (about one inch) but my bandsaw was too
small to handle it so I used my circular saw and cut it from both sides.
That worked great but always leaves a step where the saw blade doesn't
seem to meet. No big deal because I can square the block in my milling
machine. Now I could have machined away this piece altogether but you
never know what it could be used for in the future. All this so I can
place it in my small bandsaw later.
|
|
 |
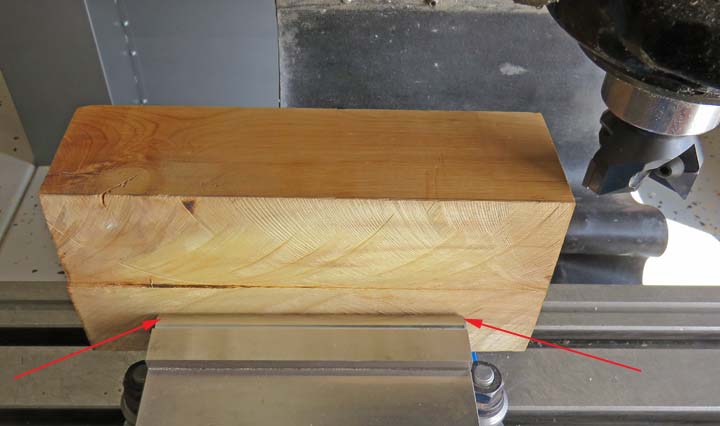
| Here you can see the lines left by the circular saw. Now
I'll need to square the block in order to work with it easier. I'm using
a 'roll' to aid in squaring my work piece (arrows).
What is a roll you ask? It's a round piece of metal (normally steel) used to put pressure in
one small spot which is placed against the movable jaw. This forces the
opposite side of your work piece against the solid jaw using
it's entire surface. Once you take your first cut you then rotate the
block 90 degrees and place this newly cut surface against the solid jaw
and repeat this process three times. Once you have three sides
square you can then remove the roll and use the vise jaws only for the
forth and final side.
Anyways, this is how you square your work piece in the industry. And
being that I don't own any wood working machines (that would help in
this area), this is how I work with my wood projects, I treat them like
a piece of metal.
|
|
 |
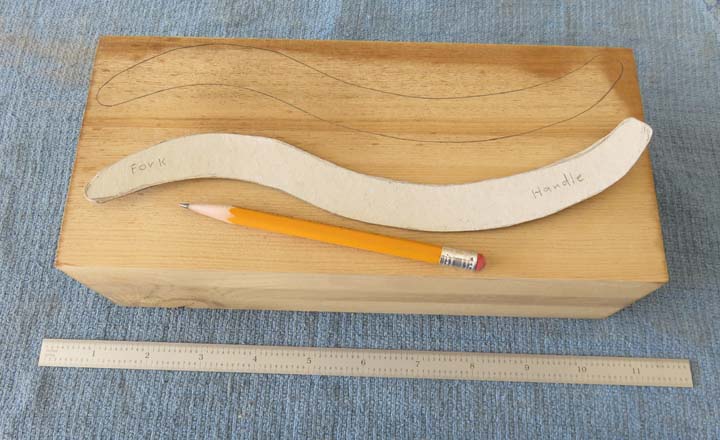
Now that my work piece is square, I'm getting ready to cutout the forks.
In order to do that I made a pattern out of cardboard and traced around
it with my pencil. I'll be cutting out three sets of salad forks, at
least that's the plan. BTW, my piece of wood is about one inch smaller
now and is roughly 4" X 3" X 10" now.
|
|
 |
My small bandsaw worked pretty good for this but maxed it out for the
height adjustment. I went slow and cut right to the line. Now it's time
to make one more cut, which will be right where you see the pencil line.
|
|
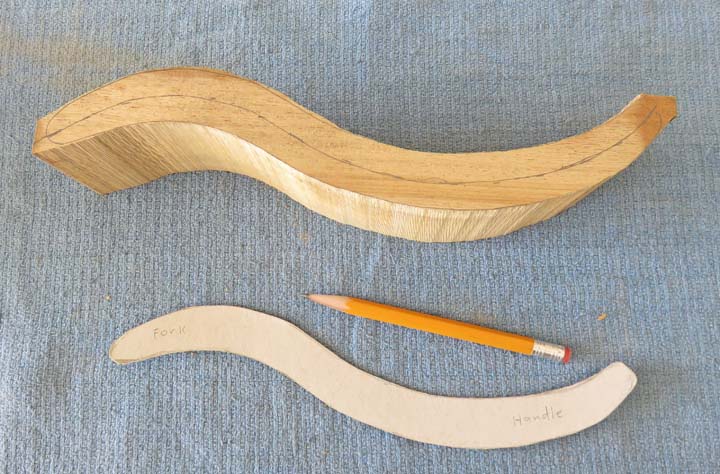 |
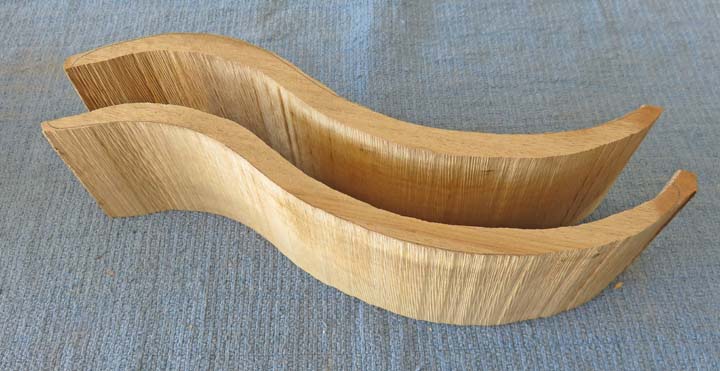
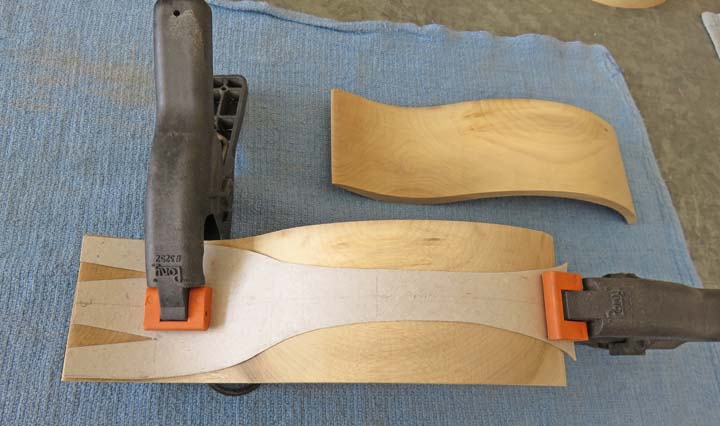
This cut produced one pair of salad forks and I did this three time
giving me three sets. This operation went pretty fast and so far
everything is coming out good.
|
|
 |
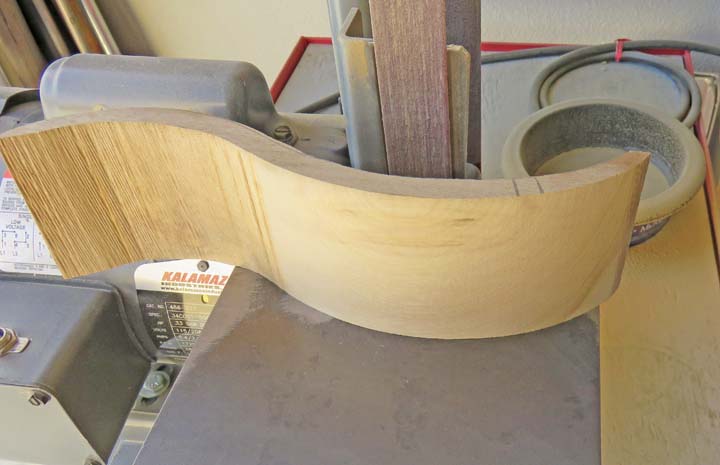
Now the sanding begins, lots of sanding. To do all the convex radius' I
used my belt sander with a 120 grit belt. In case you were wondering
about the picture below, I sanded my work piece and then turned it
around to face the camera to show you the results. The two pencil lines
on the top right side are to keep me from mixing up all the other
pieces. I used one line, two lines and three lines depending on which
set I was working on so I didn't mix them. Whatever works you know.
|
|
 |
|
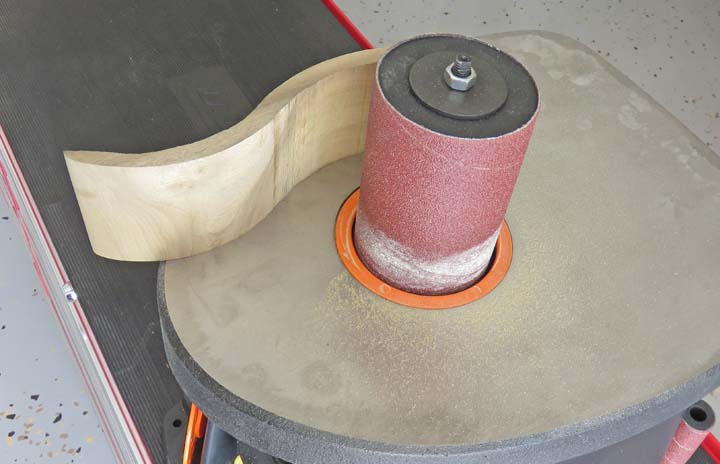
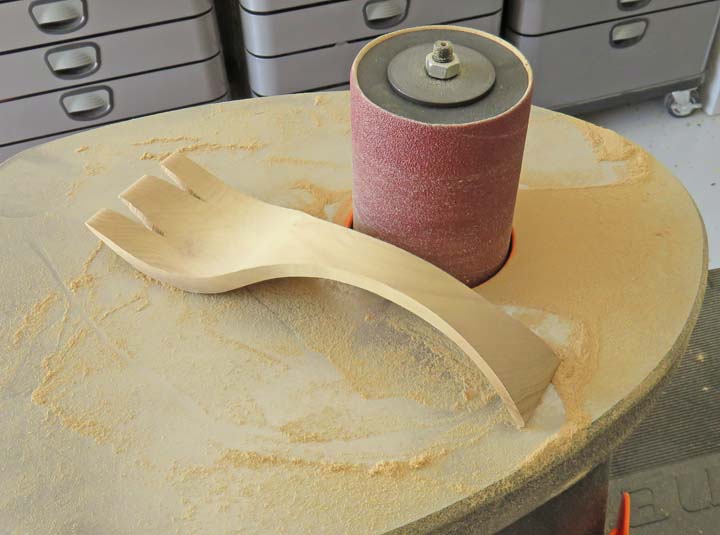
For the concave radius I used my oscillating drum sander with the
largest drum I had. This oscillating drum sander works great for a job
like this and made short work of them too. And with my work surface (as
small as it is) being held against the machine, the sanded surface will
be square to the sides. This is another reason I squared the block, it
makes it easier to work with later. Quick tip: If you get confused
remembering the difference between 'convex' and 'concave', this should
make it easier for you. Concave goes in, like walking into cave. And
Convex is the opposite, it goes out.
|
|
 |
|
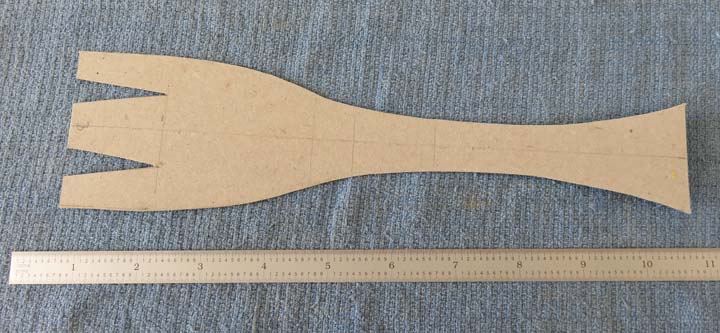
I made a pattern out of cardboard for the profile of
the fork. It's nothing fancy but it should work just fine.
|
|
 |
|
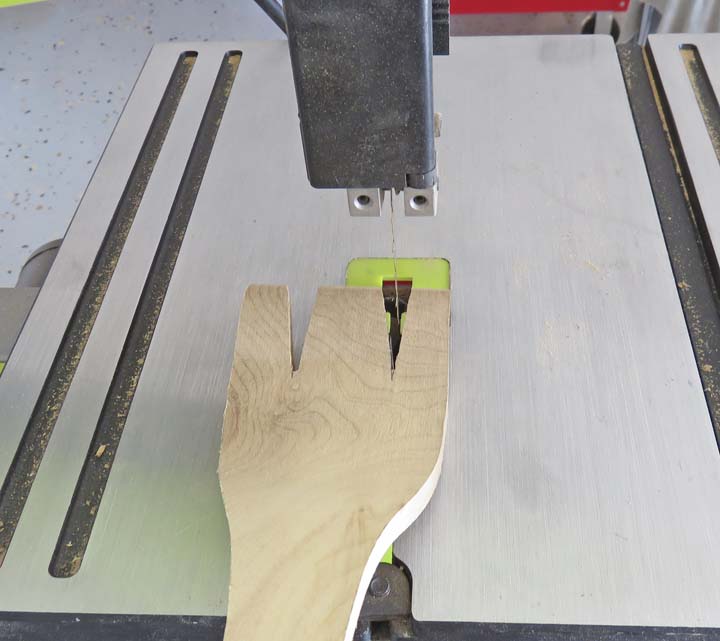
I clamped the pattern in place and traced around it with my
pencil. Once I had some layout lines, I cut it out on my bandsaw.
|
|
 |
|
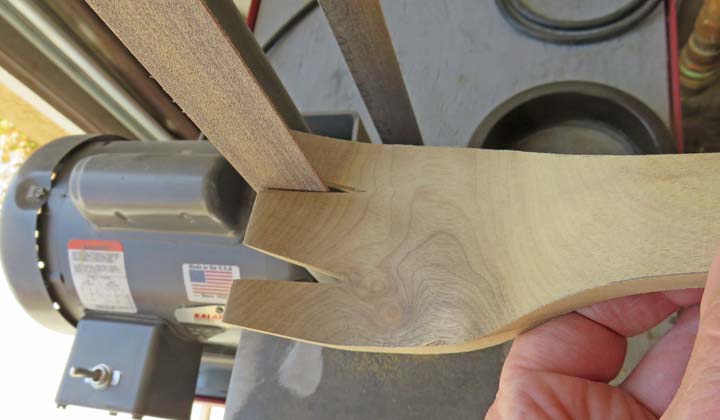
To clean up the saw cut sides I used my drum sander
once again. This worked great for this and it was very fast.
|
|
 |
Using my bandsaw for the fork cutouts was again quick and easy.
|
|
I used my belt sander to smooth out the V shaped areas, which made this
operation go quickly. After the belt sander I hand sanded all the edges
and larger areas with 180 sandpaper.
|
|
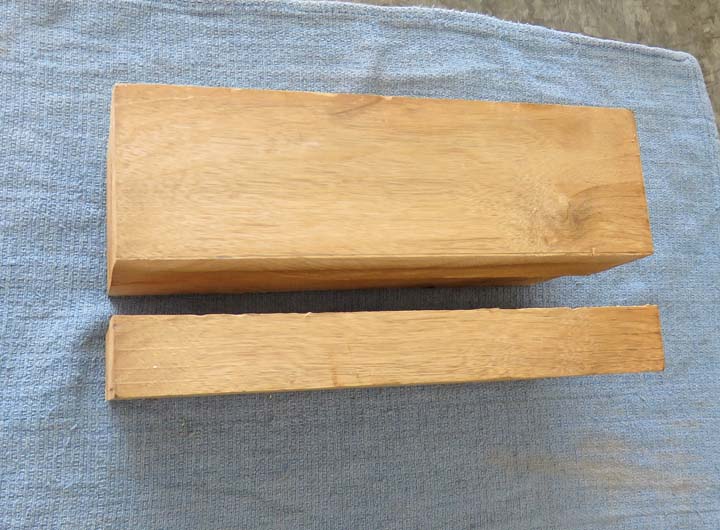
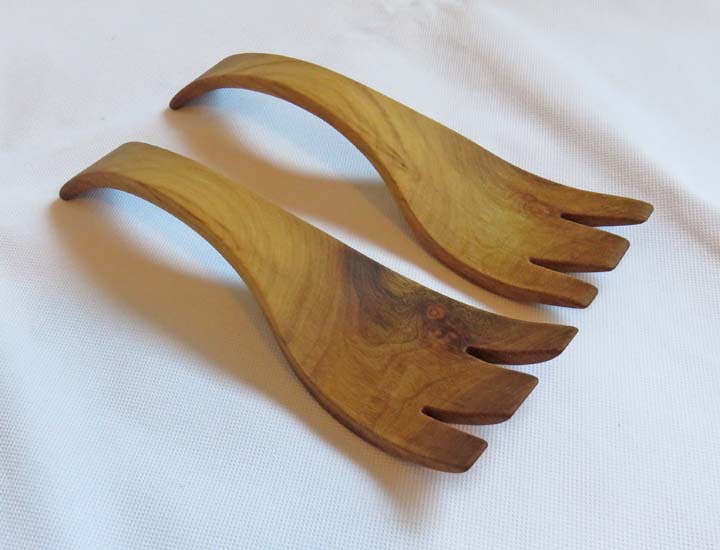
Here is one set of the finished salad forks. I used vegetable oil on
them all, which really brought out the grain and it protected them too.
|
|
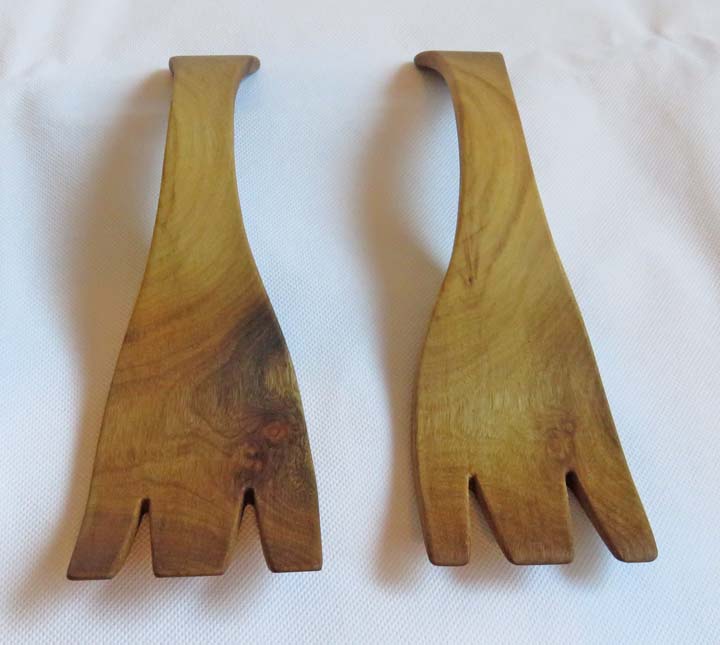
This set has some wild looking grain to it.
|
|
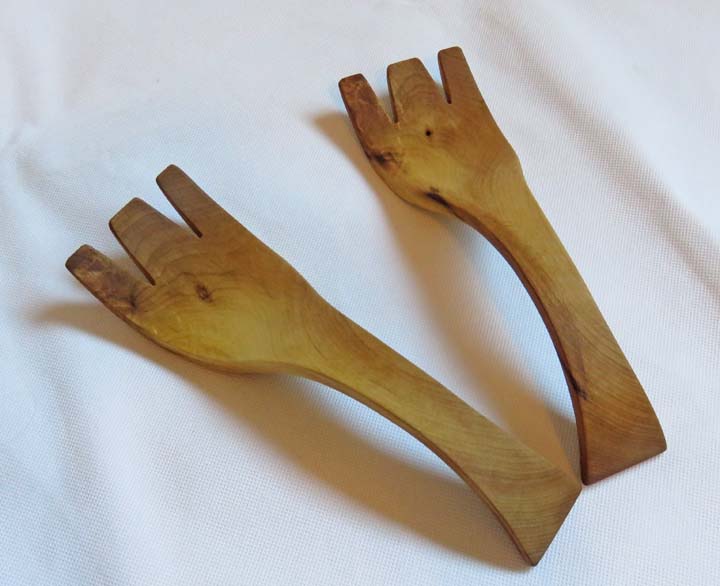
Here is a different set that has some nice looking grain as well.
|
|
|
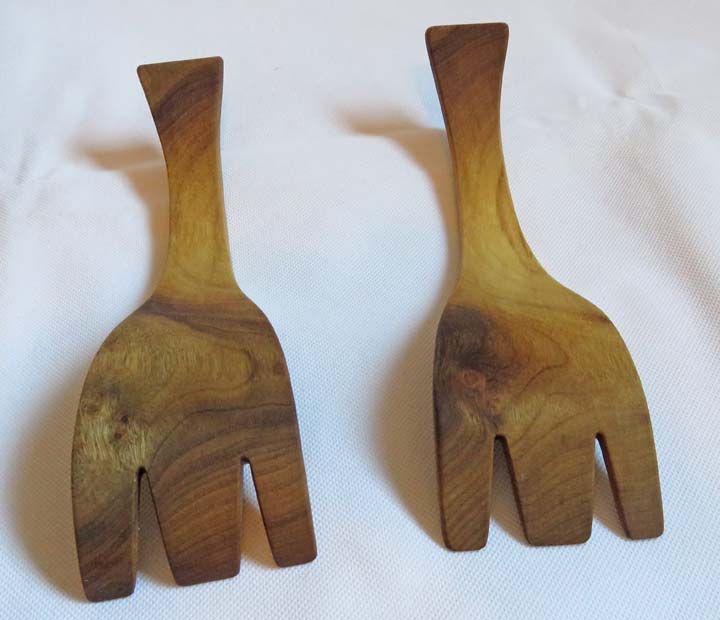
This is the bottom of the first set. I'll be giving
these away as Christmas gifts to my kids Stef and Tracey. The third set
(not pictured) was given to Angela because she is the one that
originally wanted them. I had fun making these and it only took one day.
|
 |
|
|