|
Here I'm drilling and tapping some
6-32 threads into one half and making a clearance hole in the other
half. After I drilled the clearance hole, I turned it over and counter
bored for the screw head.
|
|
 |
|
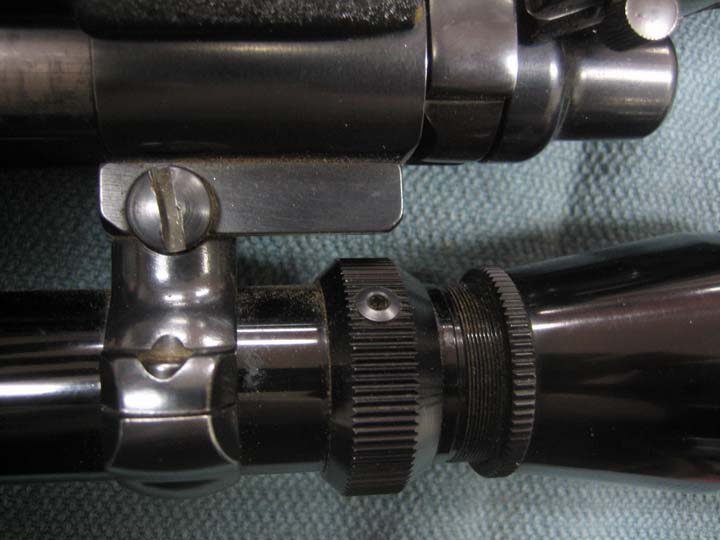
Notice the small screw in the power ring. I'll need to make
some clearance in the bottom half of the power lever for this.
|
|
 |
|
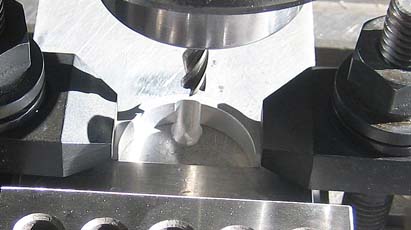
Using a 3/8" diameter end mill, I machined a small
notch in the center of the bottom piece to clear the screw in the power
ring.
|
|
 |
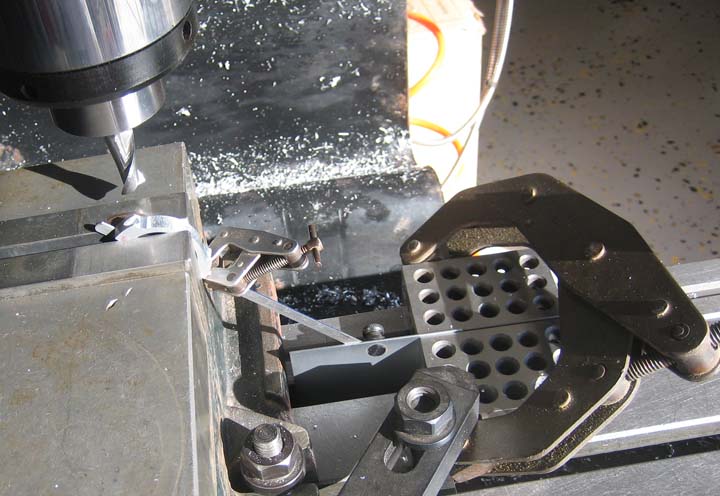
I making more clearance here because after trying it on my scope for a
first time, the sides next to the screws hit the scope mounts. Here I'm
giving the counter bore area (where the screw enters) a 45 degree angle
for some added clearance.
|
|
 |
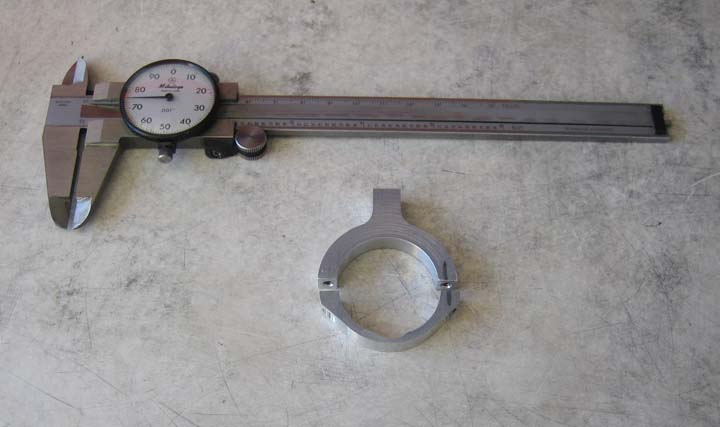
Now that they all fit and clear everything, it's time to cut down the
lever portion so I have three different lengths. Note the mark on the
two halves, this is so I didn't mix up anything along the way as I gave
each one a different color. One pair is black, one is blue and one is
red.
|
|
 |
Here I'm rounding over the ends so it's easier to handle. The two long
ones received a full radius like you see here. The short one wasn't long
enough for this process so I used a small radius on that one.
|
|
 |
After some a bunch of hand work here are the power levers all finished.
If you look close you can see the screw heads have been turned down and
shortened a small amount. I did this because I needed all the clearance
I could get and in retrospect, I should have used smaller screws, say
4-40's in place of 6-32. The short and medium ones have their screws
installed.
|
|
 |
|
The power levers work great and it's much easier to
change magnification now.
|
|
 |
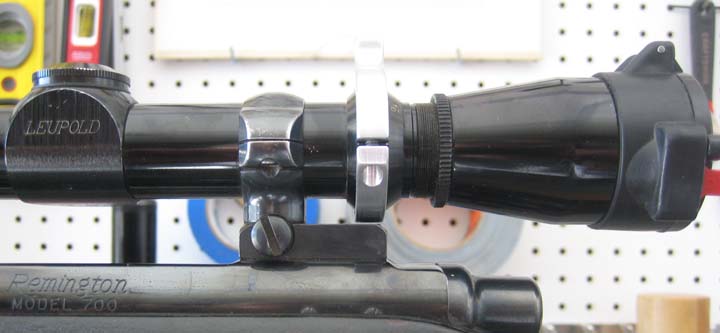
In this shot you can see the power lever has very little clearance
between it and the scope mount, but this small amount is more than
enough. This should make life much easier the next time I want to change
the power of my scope and should last a long time as well. I had fun
making these and look forward to easing the soul back in next hunting
season.
|
|
 |
|
1
2 |