|
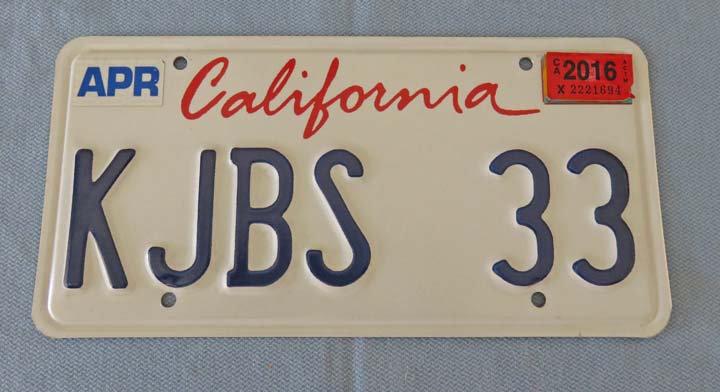
This is the license plate from my 33 Ford Coupe that I removed when I
sold it. I asked the guy that bought the car if I could keep it because
the car was headed to Nebraska and the plate wouldn't work for him
anyways. I had plans to make a plaque for it when I was thinking about selling the car months ago. And I had the perfect place to hang it which I'll
show you later.
|
|
 |
|
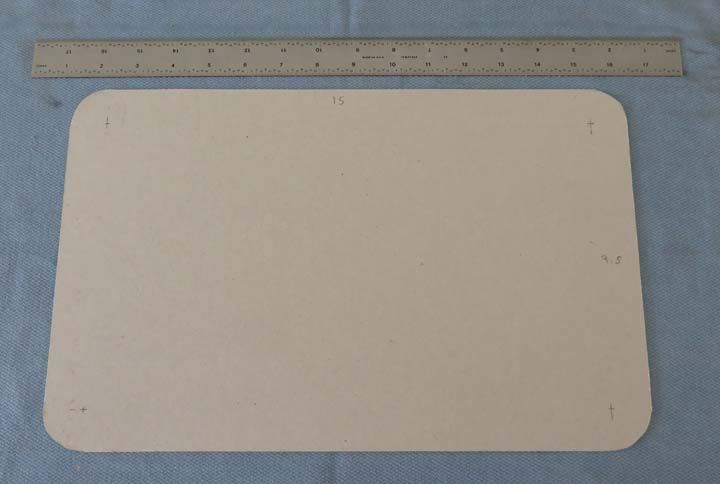
I cut out some cardboard the size I thought might look
good which is 15" X 9.5". I also thought a radius would look nice
and after trying different sizes, what you see below is what I'll be
going with.
|
|
 |
|
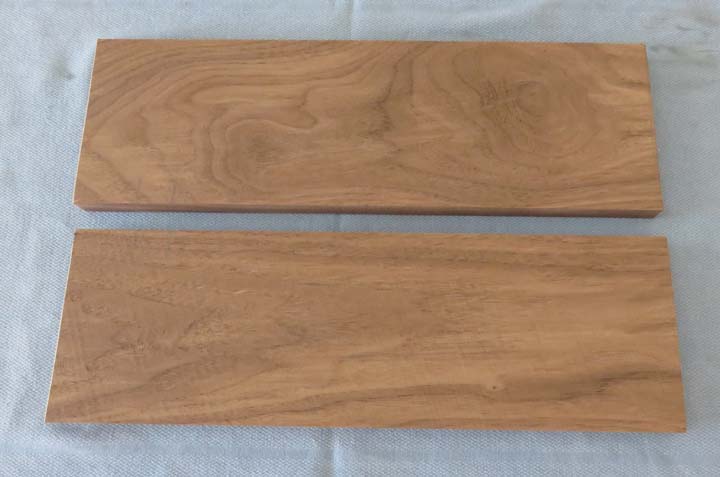
I'll be using black walnut for this project so it
matches my other plaque.
|
|
 |
|
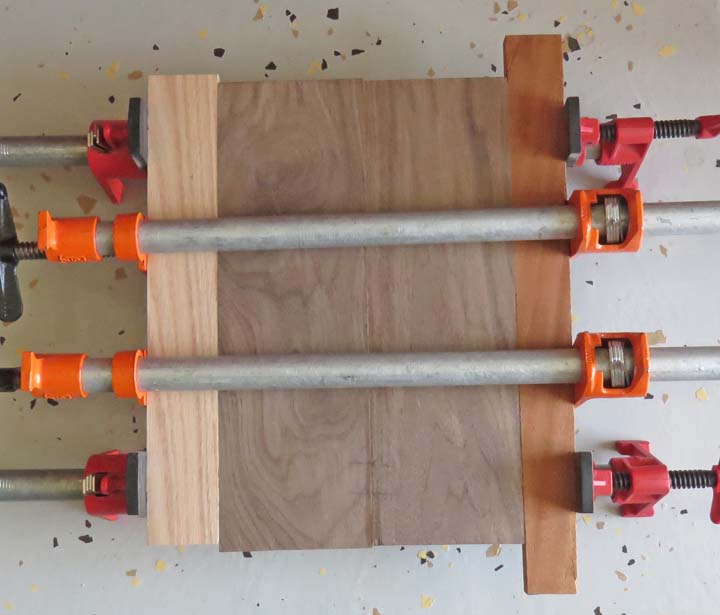
Gluing the two pieces together here with some clamp
boards at each end.
|
|
 |
|
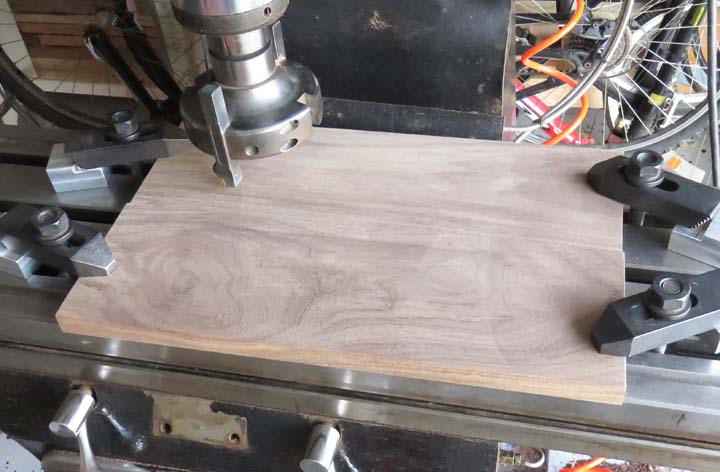
After gluing I milled all six surfaces. The top and
bottom were milled with the cutter you see below but I used a
3/4" end mill for the periphery.
|
|
 |
|
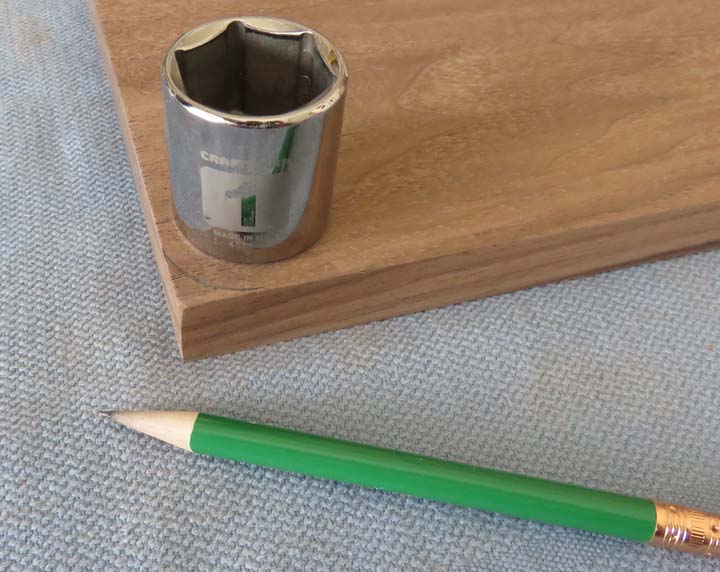
Very high tech way of laying out a radius here.
|
|
 |
|
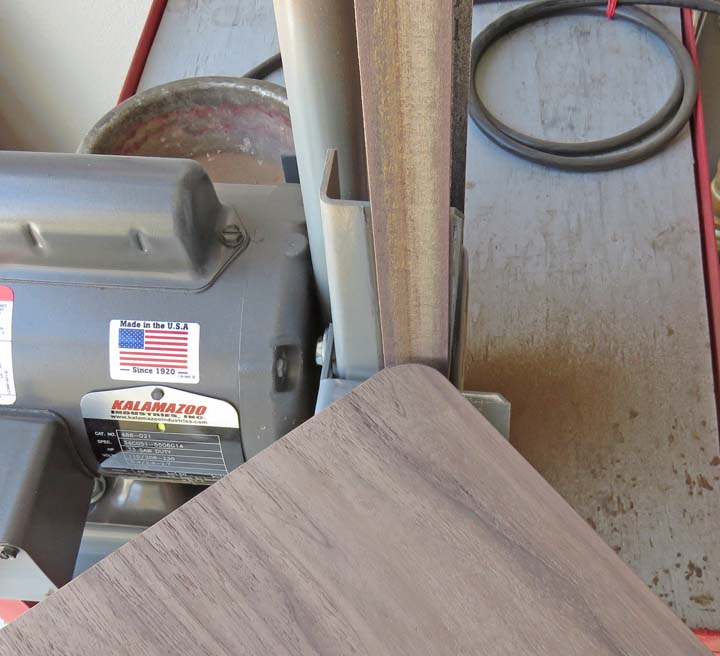
Then I used my belt sander and sanded to the line.
|
|
 |
|
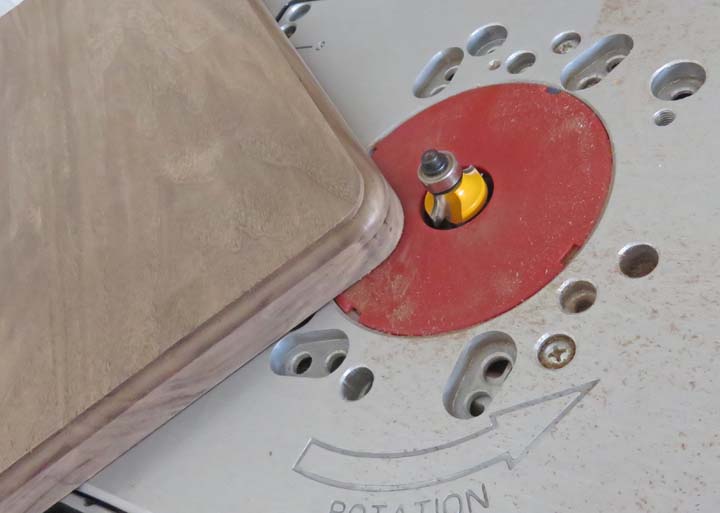
I used my router table to match what I had on my other
plaque.
|
|
 |
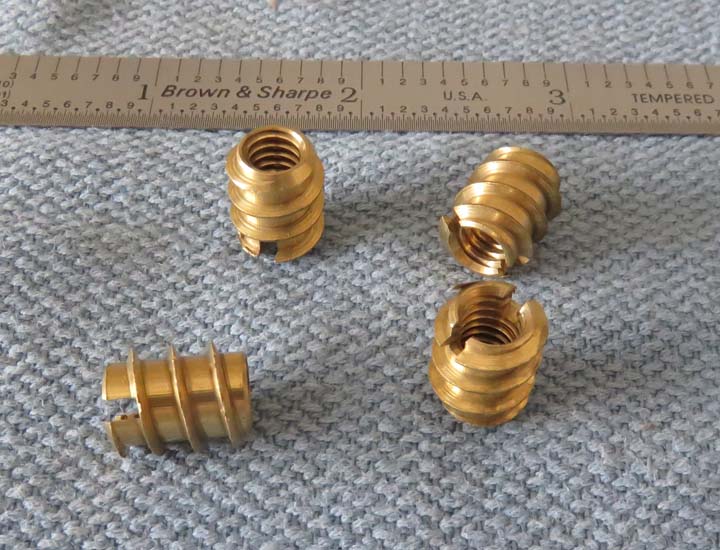
I planned on using machine screws to fasten the license plate with so
I'll be using these brass thread inserts that have 10-32 threads on the
inside. The hardest part about these inserts is finding the right size
drill for the outside threads to fit into. I used my calipers and measured the minor
diameter first. Then I added a small amount to that size and drilled a test
hole in some scrap wood. The reason for this is because I've found that
when using a hard wood, these can crack the wood if the hole is to
small. If you were using some softer wood then you might get away with
more thread engagement, like the minor diameter size.
|
|
 |
|
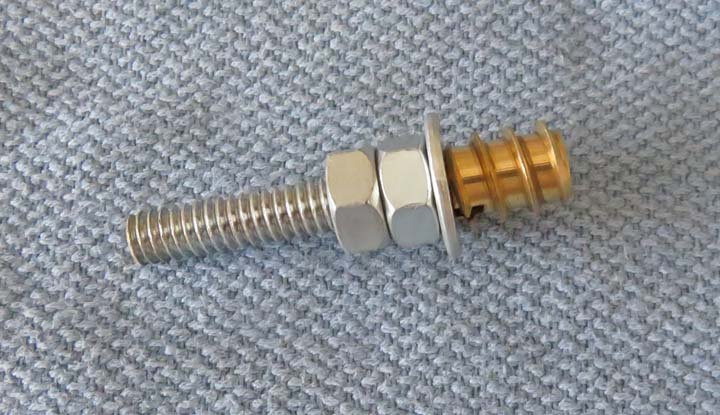
I used a 10-32 screw that I cut the head off of to use
as a guide. Using double-nuts helps keep the thread insert stay where
it's needed. And the washer is so the top of the insert doesn't get
damaged.
|
|
 |
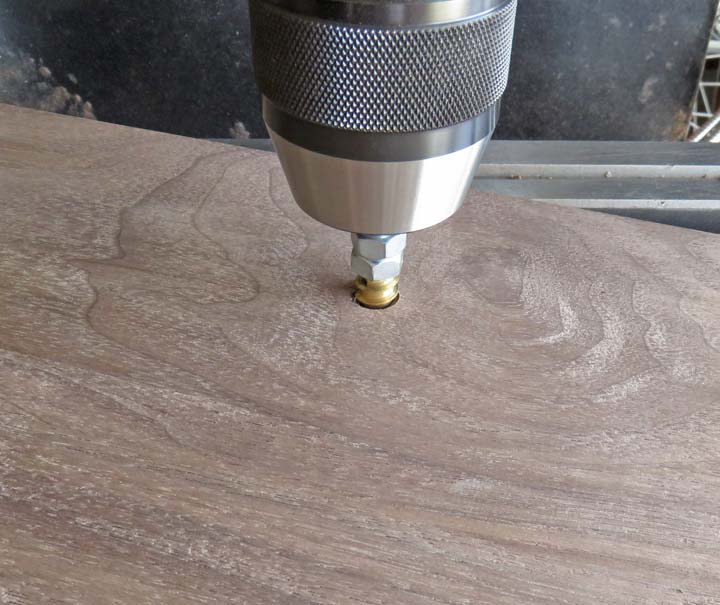
I used my drill chuck to help keep things nice and straight but I turned
it by hand. I've used this method a few times now and it works great.
|
|
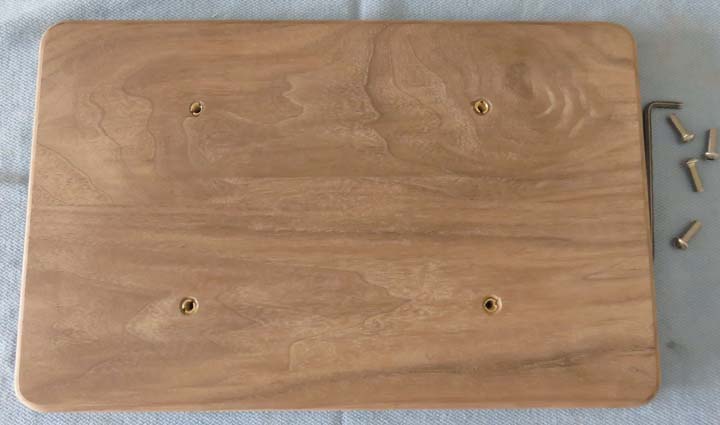
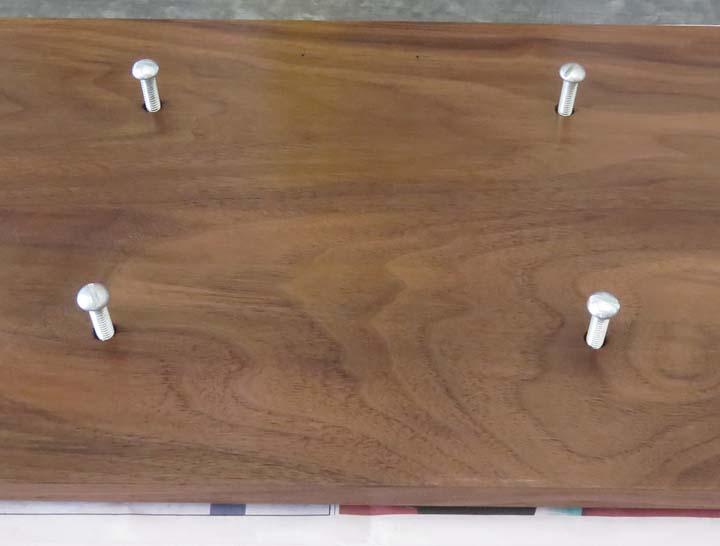
Here are the all thread inserts in place and the four stainless button
head screws to the right that will hold the plate on.
|
|
|
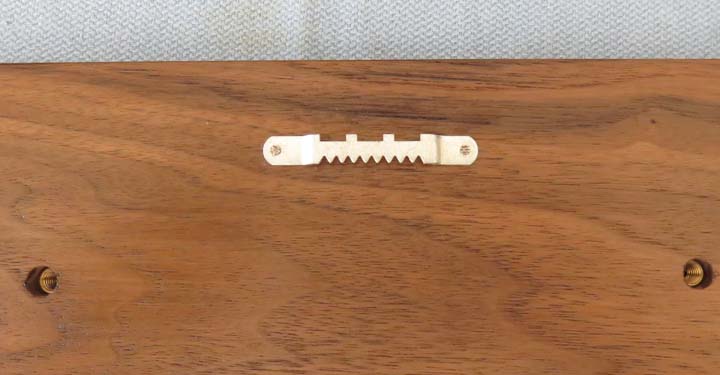
After test fitting the license plate it's time to put a
polyurethane finish on it. You're looking at the back here. What I did
first was give this side a coat of polyurethane, used some screws that
were 1 1/2 " long, turned the plaque over to rest on these screws and
then coated all of the other surfaces. The next day I gave all the
surfaces a light sanding with 400 grit paper and then repeated the
coating procedure one more time.
|
|
I used picture hanging hardware and two small nails to hang it with.
|
|
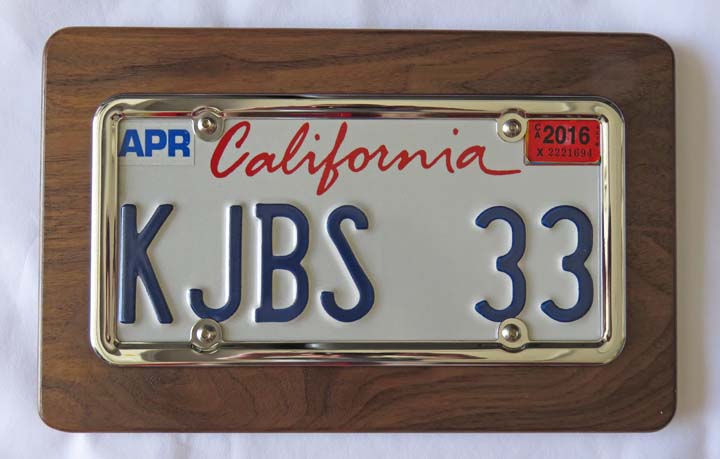
Here it is all finished. The chrome plated trim piece is not from my car
but I thought it would look nice. The one on the car was made out of
polished aluminum and had a light in it.
|
|
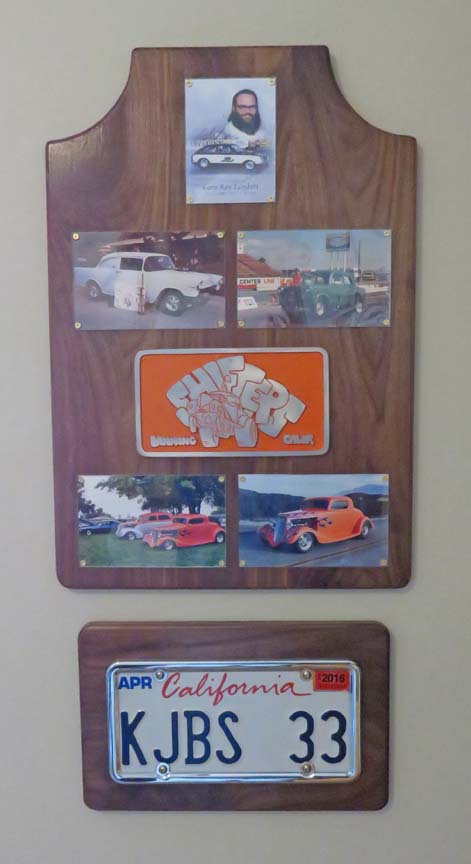
This will be a nice reminder of the good times I had in the car and it
seemed fitting to hang it with my Shifters plaque. It was a fun little
project to do but it had a lot of meaning behind it as well.
|
 |