|
This is a collection of tools that I made out of necessity or
conveyance over the years.
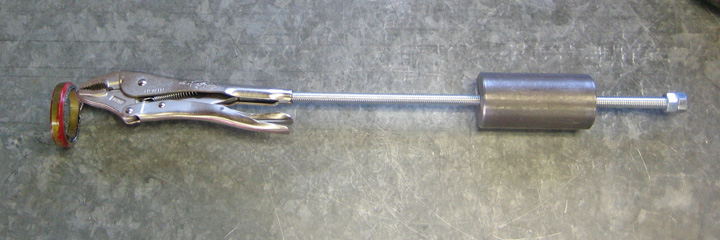
I made this slide hammer over 20 years ago and use it for various
things. Some of jobs have been pulling dowel pins from an engine block,
removing stakes pounded into hard soil to the one you see here which is
the crank seal that goes into small block Chevy timing cover.
I used 7/16 all-thread that is screwed into a pair of Vise Grips
along with a round piece of steel that is 4" long which is capped off
with double nuts.
|
|
 |
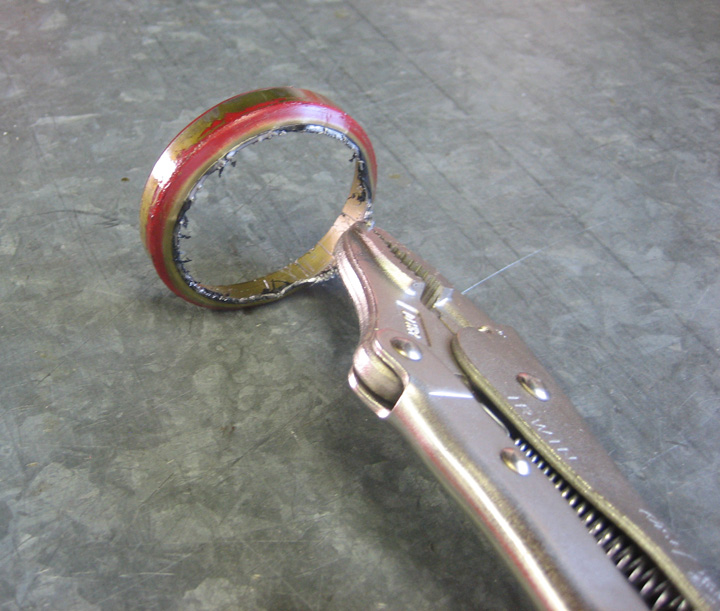
The reason the seal is thrashed is because
I removed it while the timing cover was still bolted to the engine.
|
|
 |
To go along with the timing cover seal, I made this installation tool so
the seal would go in straight.
|
|
 |
By using a 7/16-20 bolt, I was able to press the seal in straight using
the threads in the crankshaft.
|
|
 |
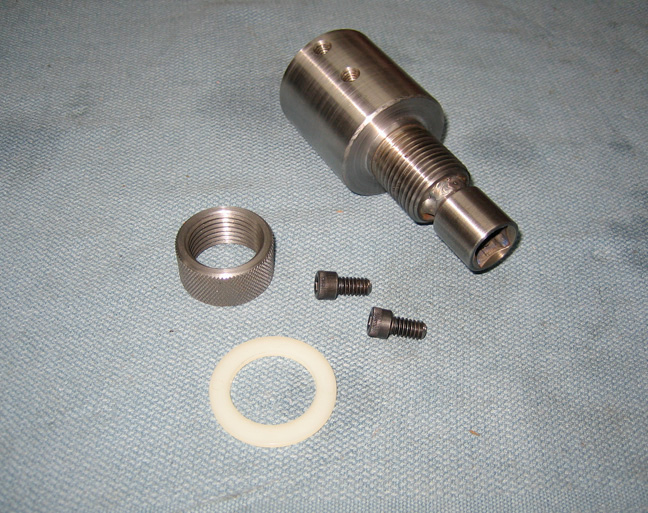
This tool does two things: first it's used to rotate the crankshaft by
using the 1/2" square drive welded to the end. Second, the 1" threaded
area is used to hold a degree wheel along with the round nut that has
been knurled.
|
|
 |
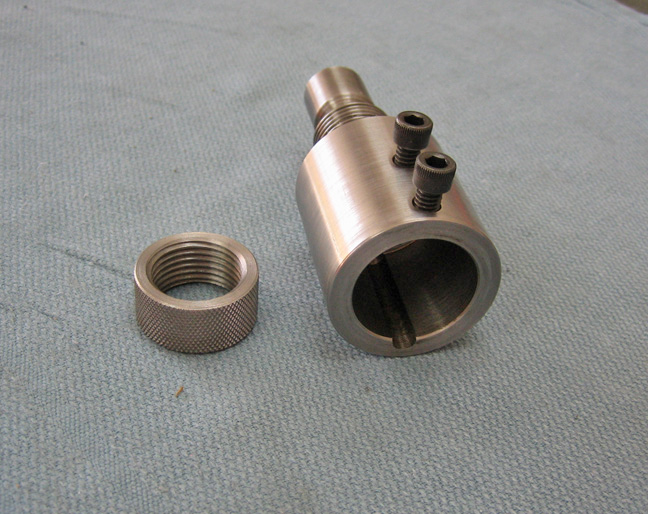
Here you can see the keyway that goes over the crankshaft. Once it's in
place you can lock it in place using the two bolts.
|
|
 |
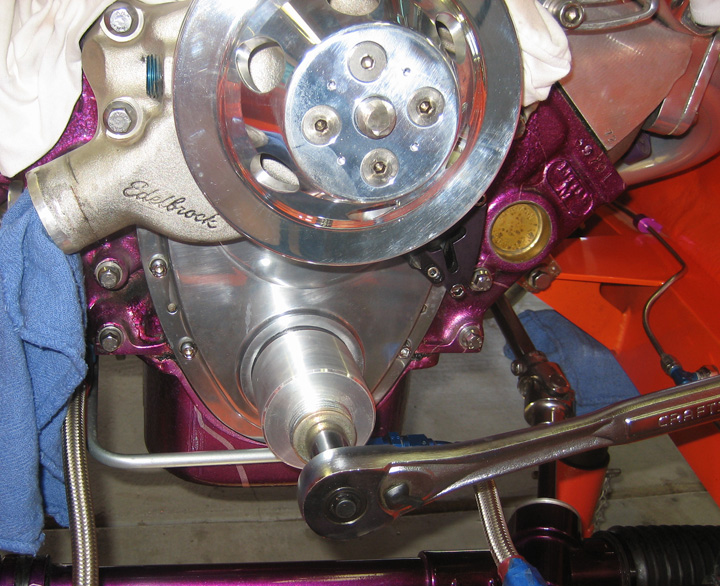
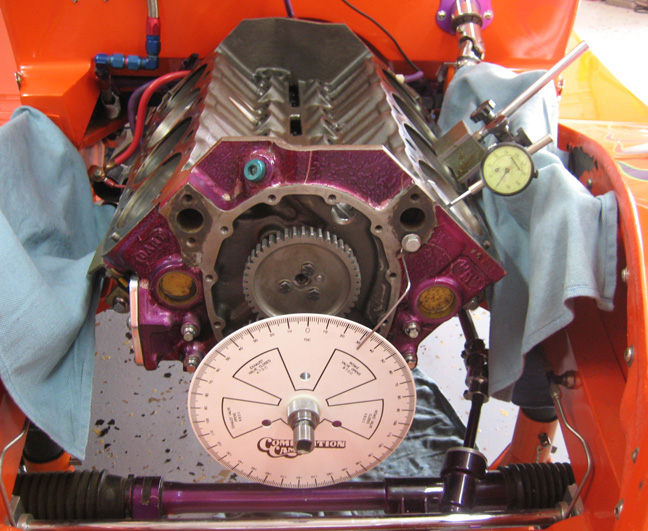
When using a new camshaft it's best to check to make sure it matches the
spec sheet that came with it. With the use of a degree wheel and
indicator you can do just that. Here I'm making sure my new camshaft is
what they claim and it was right on.
|
|
 |
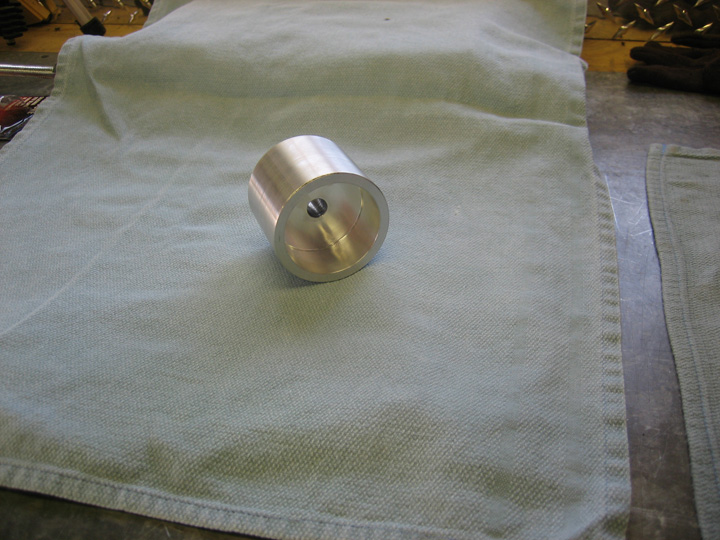
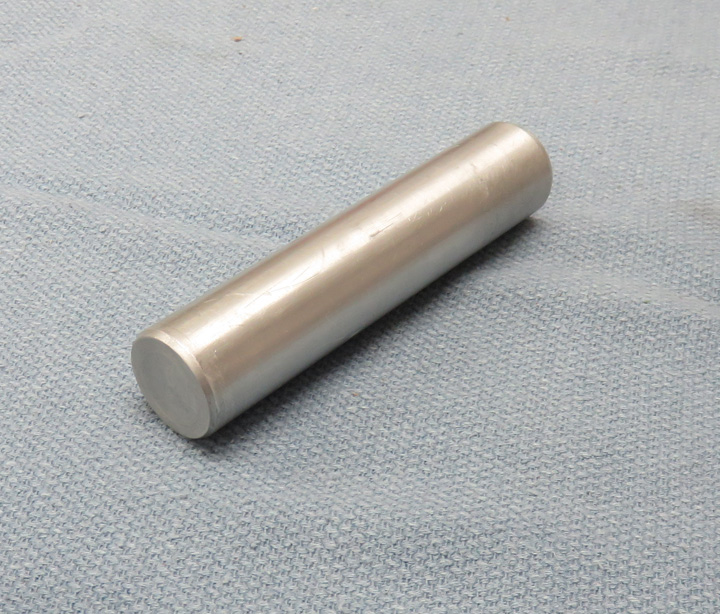
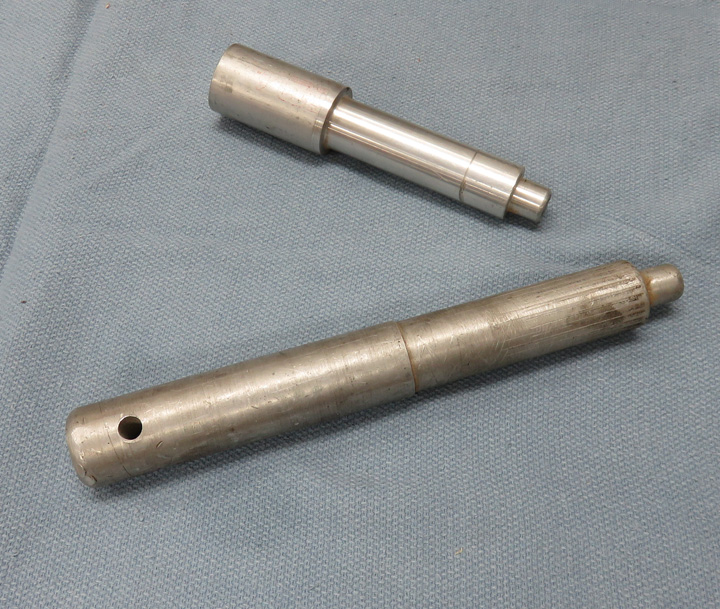
This piece of aluminum has been turned down to the size of my lifter
bore. It's twice as long as a normal lifter so it sticks out of the
lifter bore by a couple of inches. This enables me to place an indicator
on the top surface (which is flat) while it rides up and down on the
camshaft.
|
|
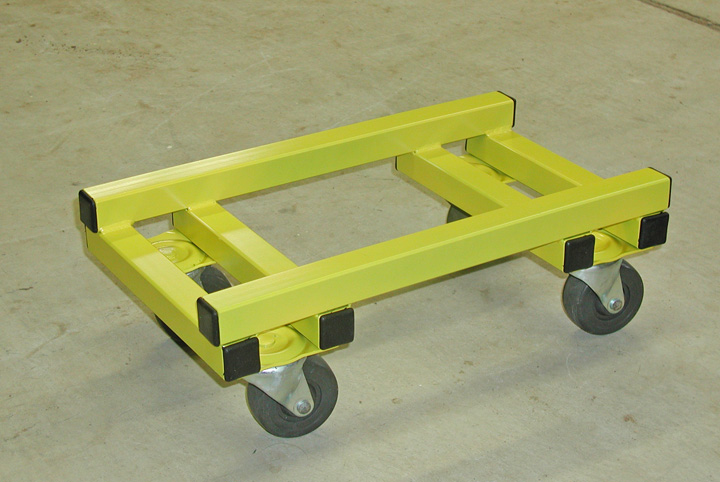
I made four dollies to make it easier to move my car around. They're made out of 1" square
steel tubing with swivel casters at all the corners.
|
|
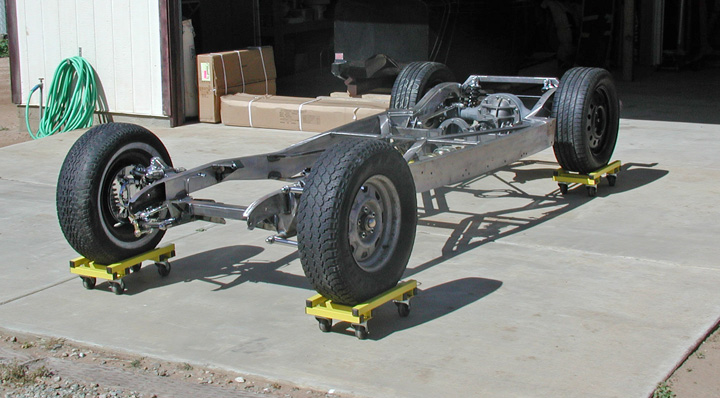
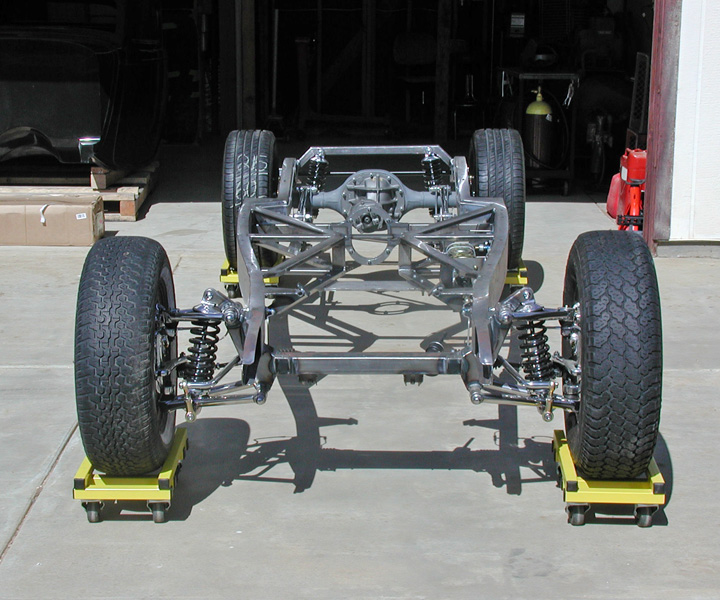
Once you have all the wheels on the dollies, it's very easy to move the
chassis anywhere you want by your self.
|
|
Turn it around...no problem. Turn it sideways, no big deal.
|
|
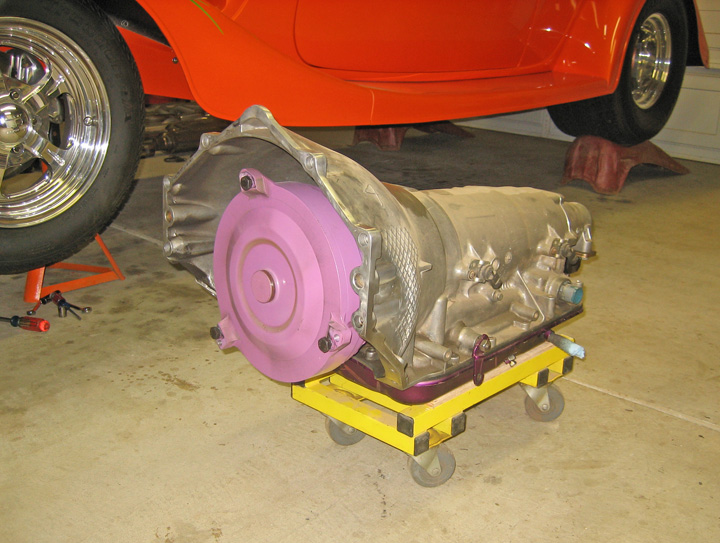
Once I lowered my automatic transmission from the car, I placed it on a
dolly to move it anywhere I wanted.
|
|
|
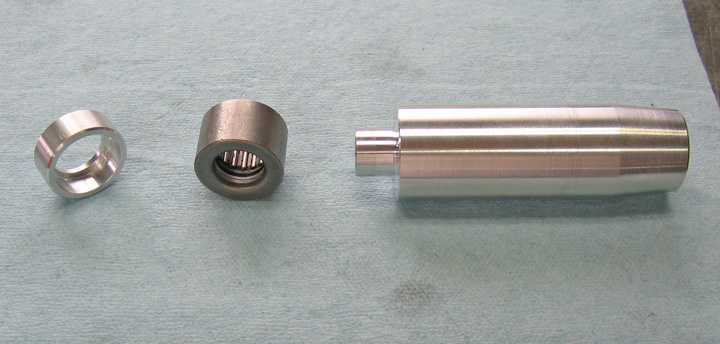
The part in the center is a pilot bearing that press's
in the end of the crankshaft. My transmission input shaft goes through
this bearing which means it needs to go in straight. The piece to the
left is a spacer that I made out of aluminum so the bearing ends up flush once it's
pressed into the crank. The tool on the right is my bearing alignment
tool. I made the small end so it slip-fits into the bearing and the
opposite end is where I hit it
with a hammer.
|
|
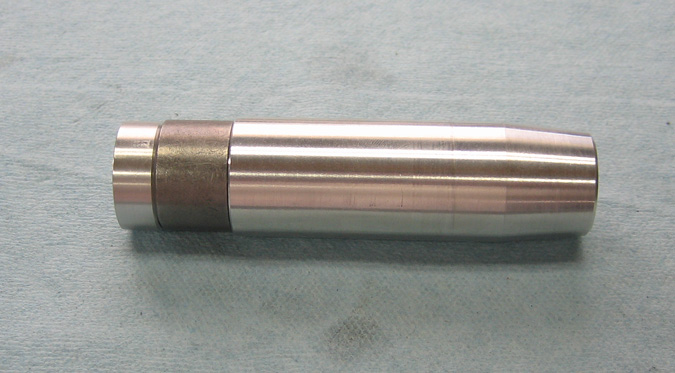
Here you can see how everything fits together. Notice the spacer is
slightly smaller in diameter than the bearing. This way it doesn't
interfere with the press fit at all.
|
|
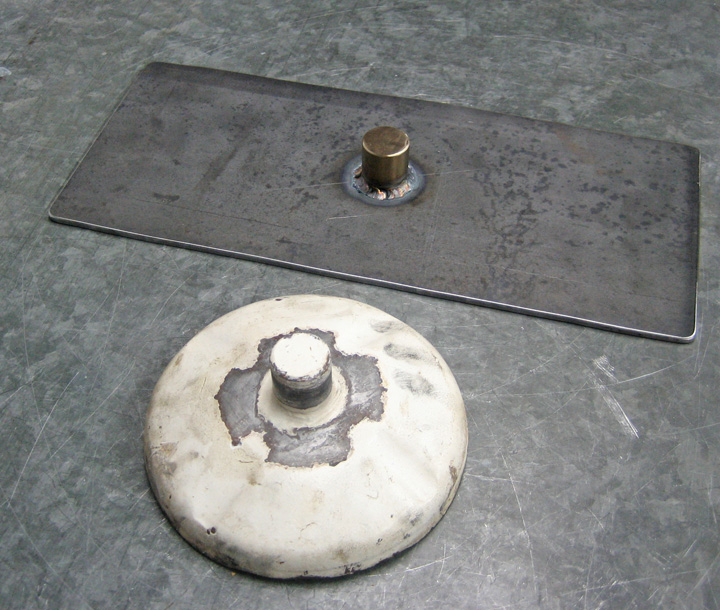
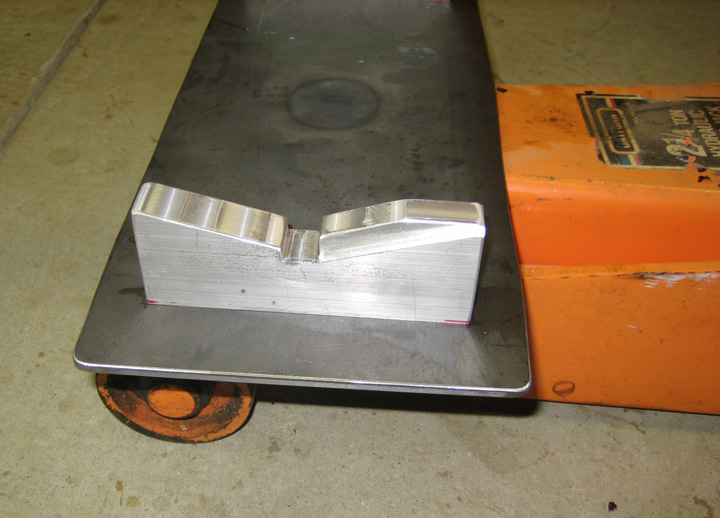
The round white piece (saddle) is what came with my floor jack and is
upside-down at the moment. The flat plate is going to become a custom
saddle that will rest on my floor jack like the original. I made a spud
and welded it to the plate.
|
|
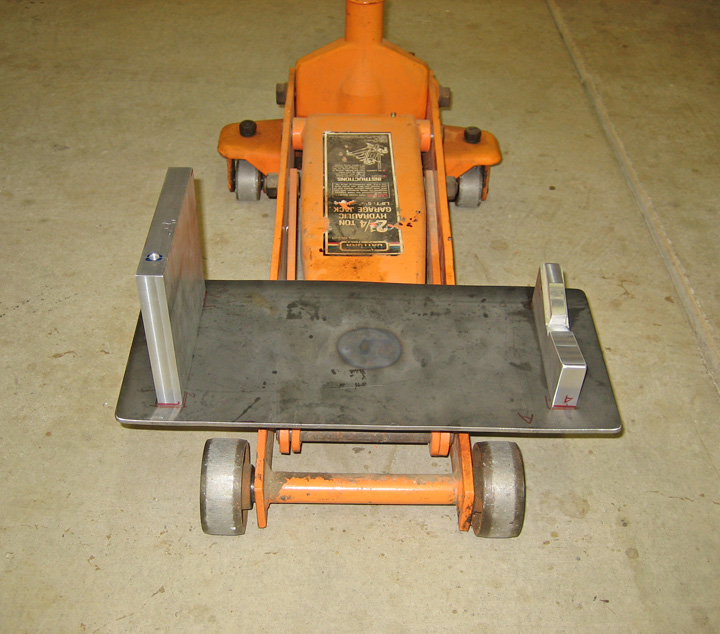
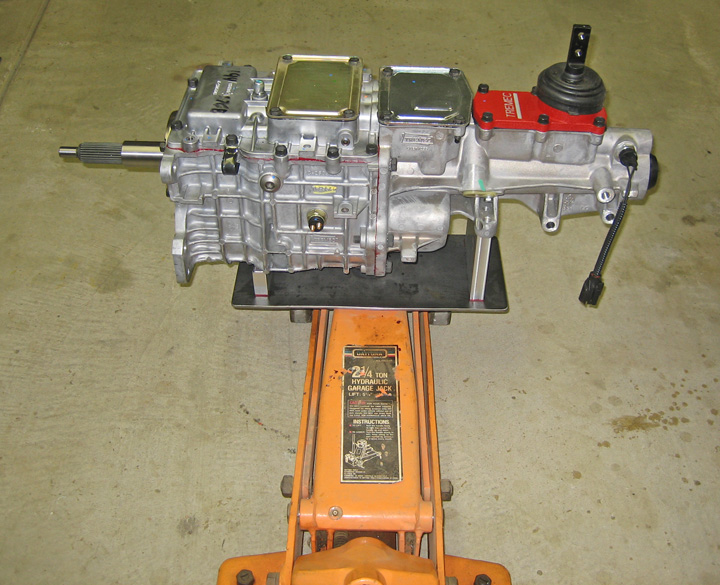
I made blocks out of aluminum that are bolted to the plate to help me with
the installation of my transmission. Notice the threaded hole on the
large block. This hole lines up with one on the transmission so it won't
move while I'm
maneuvering it into place.
|
|
 |
This block fits into the bottom of the transmission casting to help keep
it from moving around as well.
|
|
 |
This worked really well because I ended up trial fitting the trans multiple times.
|
|
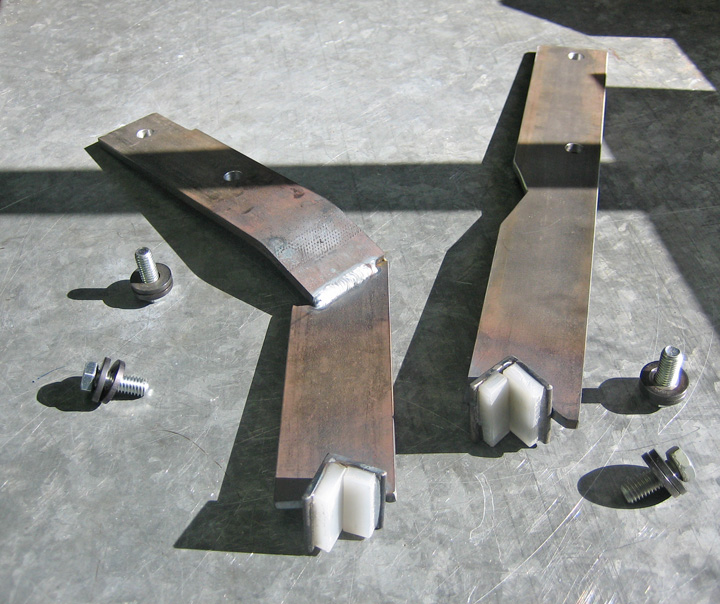
I made these supports to hold my engine in place without the
transmission in the car. They are driver/passenger side specific with
the ends having soft plastic pieces glued on so they won't damage the
paint on the chassis.
|
|
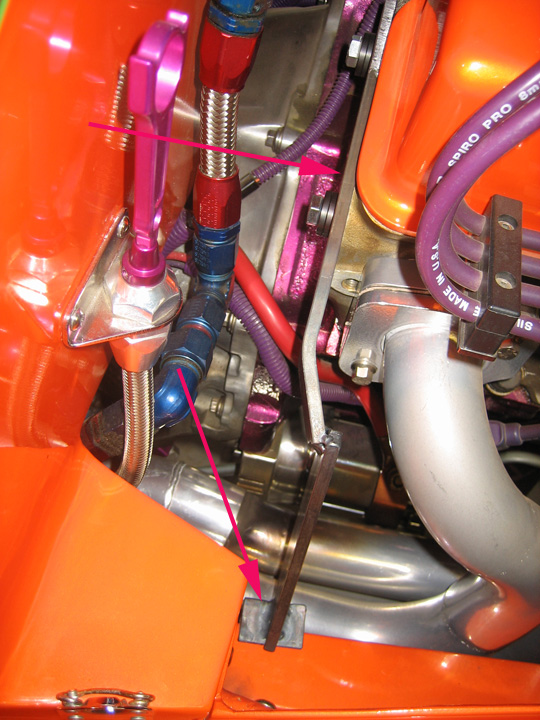
Here you can see the passenger side bolted in place. The reason I made
these instead of using a floor jack with a piece of wood under the oil
pan is so I could work under the car without anything in the way. They
worked really well.
|
|
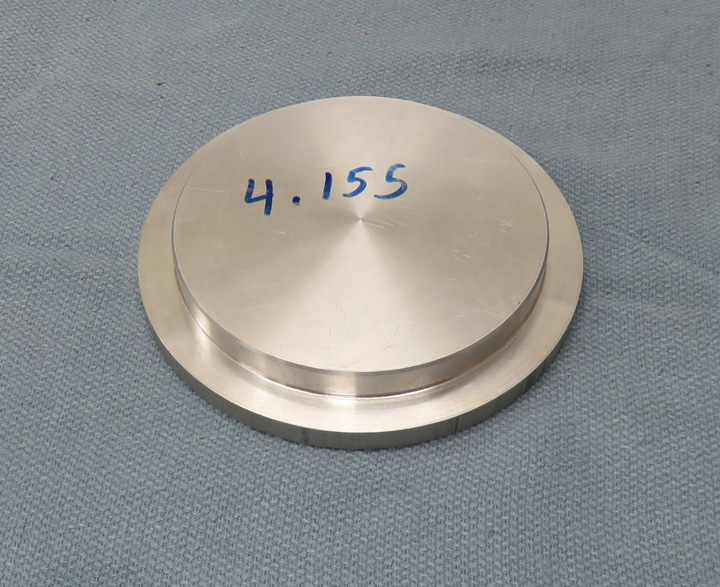
This tool is for squaring a piston ring inside the cylinder bore of an
engine block. When I built the engine for my 33 Coupe, I used what's
called 'file fit piston rings'. The end gap on each ring needs to be a
certain size and to achieve that you take a small amount of material off at a time.
Then you check your work by placing the ring inside the cylinder bore
(near the top) and then use this tool to push it down against the
shoulder tool. At this point the ring is now square in the cylinder
bore. Now you pull the tool back out and check the ring gap with a
feeler gage. The number that you see below is the bore diameter of my engine.
|
|
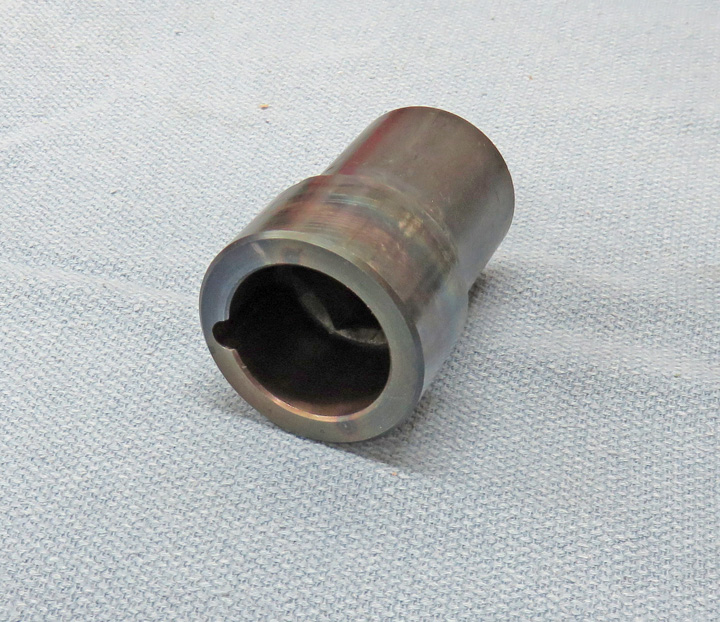
I made this tool to turn the engine over by hand. You place this end
over the crankshaft and line the keyway slot over the key in the crank.
|
|
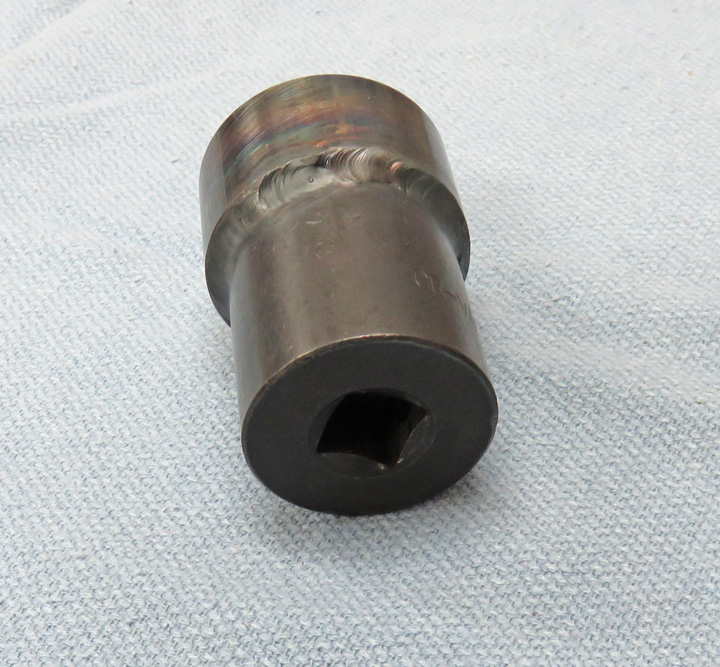
I welded a sacrificial 1/2" drive socket to the opposite side so I could use
a ratchet or breaker-bar to turn the engine over.
|
|
These are clutch alignment tools that I made a long time ago. What these
do is align the clutch disc so it's centered on the flywheel. These are
a must when you change your clutch disc.
|
|
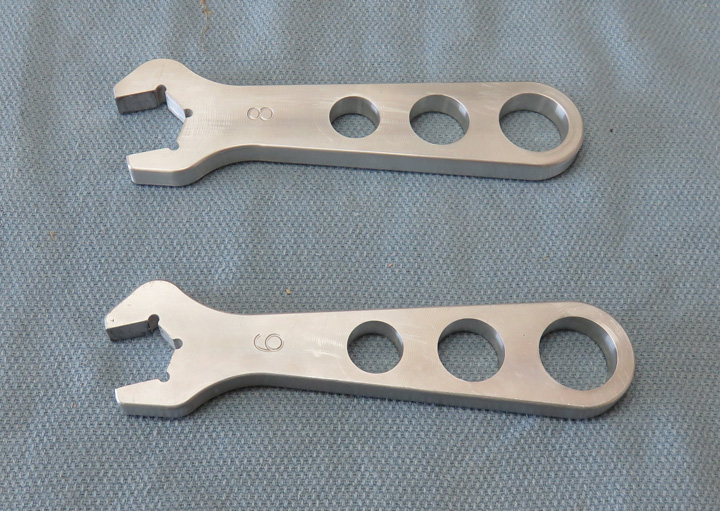
These are AN wrenches that are used on aluminum aircraft fittings. AN
fittings (Army-Navy) are used throughout my car for the fuel system,
radiator overflow and breather lines. The number on the wrench
corresponds to the amount of 1/16's there are in one inch, so the number
8 would be 1/2", which is the I.D. of tubing the wrench fits. They are
made out of aluminum and are about twice as wide as a typical wrench. I
made two sets, one for my buddy Larry and the ones below.
|
|
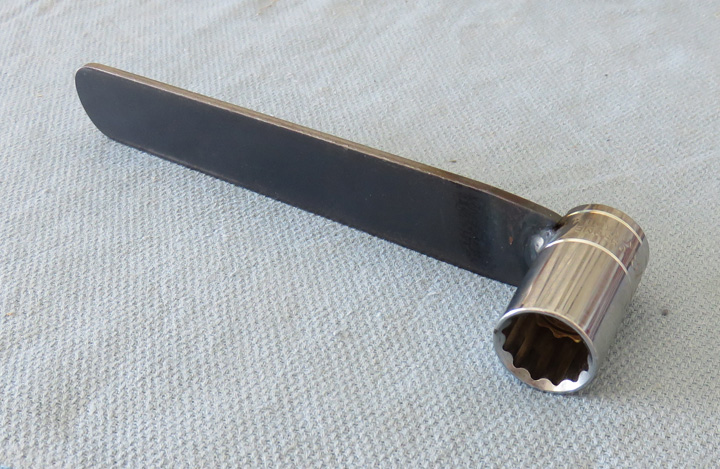
This is a sparkplug wrench I made out of necessity. A normal sparkplug
socket and ratchet wouldn't work because my headers were in the way. I
have used a 5/8" box end wrench to remove plugs many times but this new
wrench works much better. I welded a steel handle to a 5/8" socket with
1/2" drive. The 1/2" drive was large enough for the sparkplug to pass
through and is compact enough to clear my headers. This wrench works
great.
|
|
|
|